 bluename
 How to Identify Caladium Root Rot: Wilting Clues and How I Saved My Plants
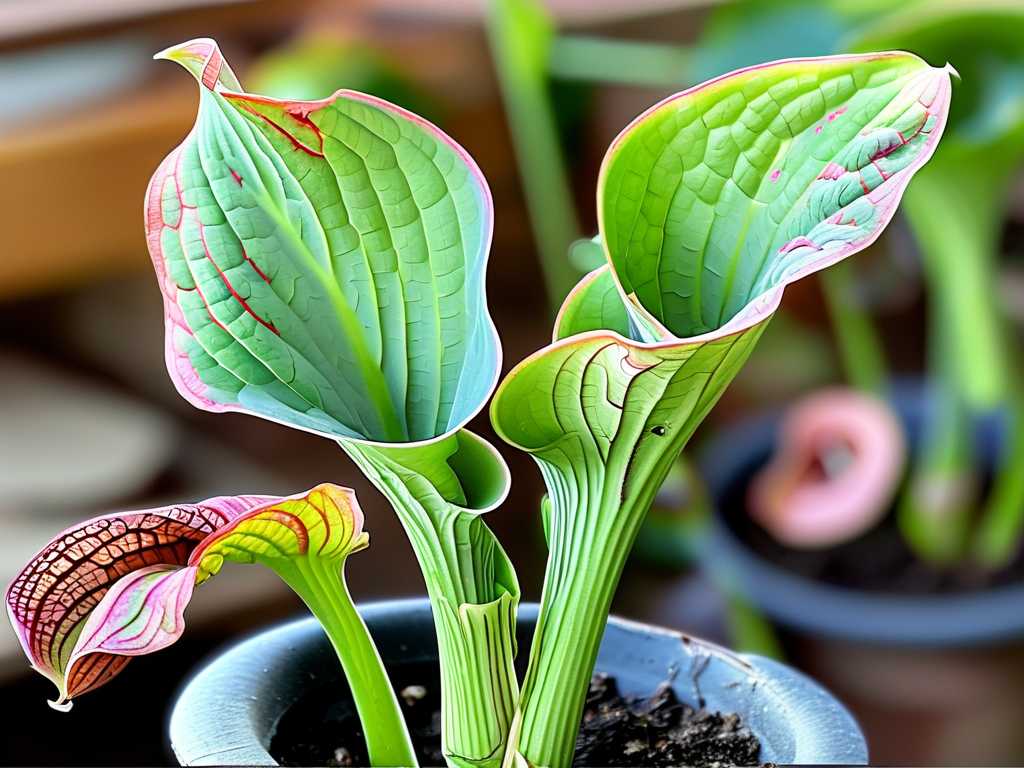
There's a special kind of heartbreak that comes from watching a once-vibrant caladium, with its painterly splashes of pink, red, and green, begin to falter. The leaves, once proud and expansive, start to droop. You water it, thinking it's thirsty, only for the situation to worsen. If this sounds familiar, you might be facing the silent assassin of the houseplant world: caladium root rot. I know this panic intimately because I've been there, standing over a prized 'White Christmas' caladium, feeling utterly helpless as its stems went soft. Through trial, error, and a determined two-week rescue mission, I learned that wilting isn't just a sign of thirst—it's the first cryptic clue in diagnosing a much deeper problem. This guide is born from that hands-on experience, and I'll walk you through exactly how to spot, confirm, and address root rot before it's too late.
Understanding the Enemy: What is Caladium Root Rot?
Before we dive into the clues, let's understand what we're fighting. Root rot is a condition caused by overwatering or poor drainage, which creates an oxygen-deprived, soggy environment around the roots. In this stressed state, the roots become vulnerable to attack by soil-borne fungi, such as Pythium, Phytophthora, or Rhizoctonia. These pathogens decay the root system, severing the plant's lifeline for water and nutrients. The American Horticultural Society (AHA) notes that "overwatering is the single most common cause of plant death," and caladiums, with their delicate tuberous roots, are particularly susceptible. The cruel irony is that the symptoms above the soil—like wilting—mimic those of underwatering, leading well-meaning plant parents to inadvertently deliver the final blow.
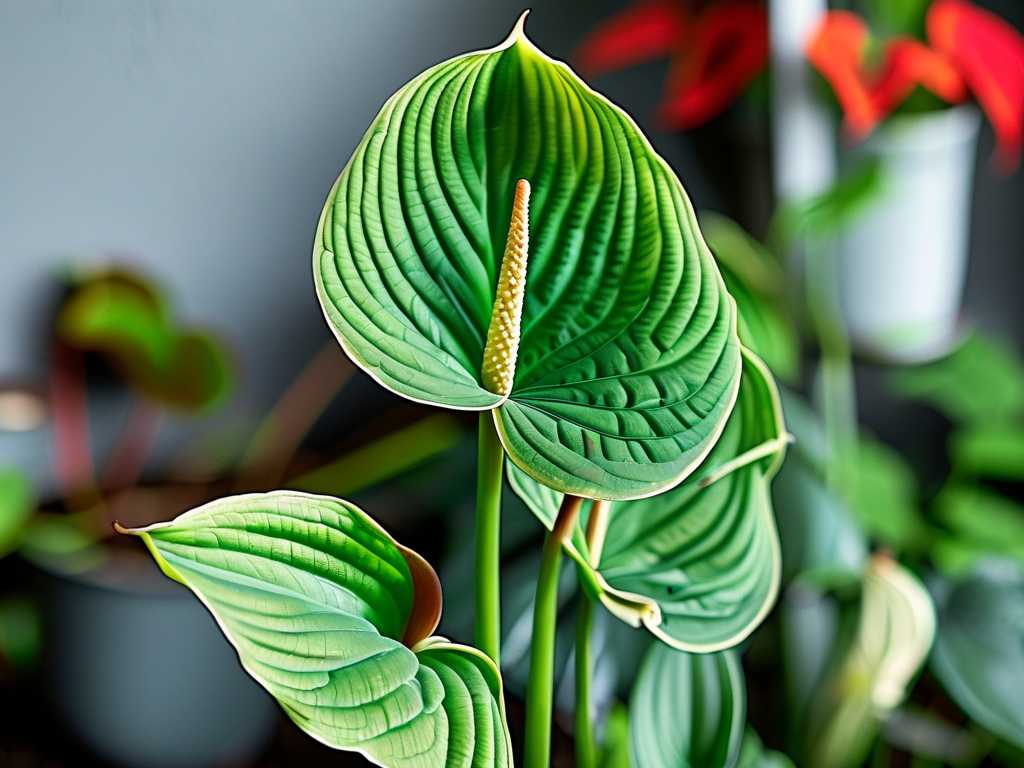
The First Wilting Clue: It's Not Just Dry Soil
My journey with my 'White Christmas' caladium began with a subtle droop. The soil surface felt dry to the touch, so my instinct was to water. This is the classic first mistake. Here’s how to differentiate:
- The Touch Test Beyond the Surface: Don't just check the top inch. Stick your finger deep into the soil, near the pot's edge. If the soil is clumpy, cold, and soggy several inches down, but the plant is wilting, root rot is a strong suspect. Healthy thirst presents with uniformly dry soil.
- The Weight of the Pot: Pick up your pot. A waterlogged pot feels surprisingly heavy, like a damp brick, even if the top looks dry. A plant needing water feels light.
- The Progression of the Wilt: Underwatered plants often wilt but recover quickly after watering. A plant with root rot will not perk up after watering; in fact, the wilt may spread or worsen within hours or days as the damaged roots fail to function.
Beyond Wilting: Other Telltale Signs to Confirm Your Suspicion
Wilting was my first clue, but confirmation came from a constellation of other symptoms. If you see two or more of these alongside wilting, it's time to investigate the roots directly.
- Yellowing and Browning Leaves: This isn't the graceful, even yellowing of an old leaf dying back. Rot-induced yellowing is often rapid, patchy, and can affect newer leaves. The browning typically starts at the margins or tips and moves inward, feeling soft and mushy.
- Stem and Petiole Softness: Gently squeeze the stem (petiole) near the soil line. A healthy caladium stem is firm and turgid. A stem affected by rot will feel soft, mushy, and may even collapse. This was the definitive sign for me—the base of my plant had a suspicious give.
- A Foul Odor: This is a late but unmistakable sign. Gently tip the pot and smell the base or the drainage holes. A healthy root system has an earthy, fresh smell. The smell of root rot is sour, musty, and unpleasant—like decaying vegetation.
The Moment of Truth: Unpotting and Root Inspection
This step is crucial for a definitive diagnosis. I was nervous, but knowing is always better than guessing. Here’s my step-by-step process:
- Prepare Your Workspace: Lay down newspaper. Have clean, sharp scissors or pruning shears (sterilized with rubbing alcohol), fresh well-draining potting mix, and a clean pot with ample drainage holes ready.
- Gently Remove the Plant: Tip the pot sideways and carefully coax the plant and root ball out. Do not pull on the stems.
- Inspect the Roots: This is where the truth is revealed. Healthy caladium roots are firm, white or tan, and may have fine hair-like structures. Rotten roots are the problem. They are dark brown or black, slimy to the touch, and fall apart easily. They often separate from the tuber with little pressure.
- The Tuber Check: Gently remove the soggy soil and examine the tuber itself. It should be firm. Any soft, mushy, or discolored sections on the tuber indicate the rot has advanced.
My Two-Week Rescue Protocol and Observations
After finding a mix of healthy and rotten roots, I sprang into action. This was my rescue protocol, followed over a critical two-week period:
Day 1-2: The Surgical Phase I gently rinsed all soil from the root system under lukewarm water. With my sterilized shears, I meticulously cut away every single dark, mushy root and any soft spots on the tuber until only firm, healthy tissue remained. I then let the tuber and remaining roots air-dry on a paper towel in a warm, shaded spot for 24 hours. This callousing step is vital to prevent new fungal entry.
Day 3: The Fresh Start I chose a pot only slightly larger than the remaining root system (a common pitfall is using too large a pot) with multiple drainage holes. I filled it with a brand-new, airy, and well-draining mix—I used a blend of 60% peat-free potting mix, 30% perlite, and 10% orchid bark. I replanted the tuber at the same depth it was before.
Day 4-14: The Critical Recovery Watch
- Watering: I did not water immediately. I waited until the top 1-2 inches of the new mix were completely dry (about 5 days in) before giving it a very modest drink. I placed the pot on a pebble tray for humidity but ensured the pot itself wasn't sitting in water.
- Light: I kept it in bright, indirect light—no direct sun, which would add stress.
- Observations: The first week was tense. The remaining leaves were still wilted and sad. Here was my "aha!" moment and a key lesson: The plant continued to look rough above ground while it was using all its energy to re-establish roots below ground. I resisted the urge to overwater or fertilize (which would have been fatal). Around Day 10, I noticed the wilting had stopped progressing. The stems felt firmer at the base. By Day 14, there was no new yellowing, and one small leaf even seemed a bit perkier. This was the sign of successful stabilization.
Common Pitfalls I Encountered and How to Avoid Them
- Pitfall 1: The "Just a Little More Water" Trap. My initial error. Always check soil moisture deeply before watering.
- Pitfall 2: Skipping the Sterilization. Using dirty tools can spread pathogens. Always wipe shears with alcohol between cuts.
- Pitfall 3: Overpotting. A large pot holds more wet soil, slowing drying and repeating the initial problem.
- Pitfall 4: Impatience During Recovery. The plant will not look better overnight. Focus on the absence of decline as your first sign of success.
Building Defenses: How to Prevent Caladium Root Rot
Prevention is always simpler than cure. After this scare, I overhauled my care routine:
- The Right Pot: Terracotta is excellent for caladiums as it wicks away moisture. Ensure excellent drainage.
- The Right Mix: I now use my chunky, perlite-heavy blend for all my caladiums. The Royal Horticultural Society (RHS) advises a "well-drained, humus-rich potting medium" for tuberous plants.
- Watering Wisdom: I water only when the top inch or two of soil is dry. I water thoroughly until it runs from the drainage holes, then empty the saucer after 15 minutes.
- Seasonal Awareness: Caladiums need significantly less water during their dormant period in fall and winter.
How can I tell if my caladium is dormant or has root rot? Dormancy is a natural, seasonal cycle where leaves die back after summer. The key difference is the tuber. In dormancy, the tuber remains firm and plump when gently squeezed. In root rot, the tuber or attached roots will be soft and mushy. Dormancy also follows a seasonal pattern, while rot can happen at any time and is usually linked to overwatering.
Can I use hydrogen peroxide or fungicides to treat root rot? For mild cases, after cutting away rot, you can soak the healthy roots in a 3% hydrogen peroxide solution (1 part peroxide to 2 parts water) for a few minutes to disinfect. However, as the AHA emphasizes, physical removal of all infected material is the most critical step. Fungicides can be a preventative shield for remaining healthy tissue but are not a cure for already decayed roots.
My caladium lost all its leaves after treatment. Is it dead? Not necessarily! If the tuber is still firm, there is hope. Place the pot in a warm, dry spot and water very sparingly (just enough to prevent the tuber from shriveling). Come spring, with increased warmth and light, it may send up new shoots. Patience is key.
Watching a caladium struggle is distressing, but wilting is a message, not a death sentence. It's the plant's first plea for help. By learning to interpret that clue—checking the soil deeply, inspecting stems, and having the courage to check the roots—you move from reactive panic to proactive care. My two-week vigil taught me that plant care is as much about restraint as it is about action. By providing a well-draining home and watering with mindful observation, you can enjoy the spectacular foliage of your caladiums for many seasons to come, with roots as healthy as the leaves are beautiful.





