 bluename
 How to Clean Caladium Leaves with Water: A Gentle Rinse Method for Vibrant Foliage
There’s nothing more disheartening than watching the stunning, painterly leaves of your caladium collect a layer of dust. That fine film doesn’t just dull their spectacular colors—it actually hampers their ability to breathe and photosynthesize. For years, I hesitated, worried about causing spots, encouraging rot, or simply doing more harm than good. I tried wiping leaves individually, which was tedious and risked tearing the delicate tissue. Then, I committed to a simple, two-week experiment: cleaning my caladium leaves using only a gentle water rinse. The results were so transformative that I’ll never go back to any other method.
This guide is the culmination of my hands-on trial and error. I’ll walk you through my exact, step-by-step process, share the remarkable improvements I observed over a full two weeks, and honestly detail the mistakes I made along the way so you can avoid them. By the end, you’ll see why a gentle rinse isn’t just cleaning; it’s essential care for unlocking your caladium’s full, luminous potential.
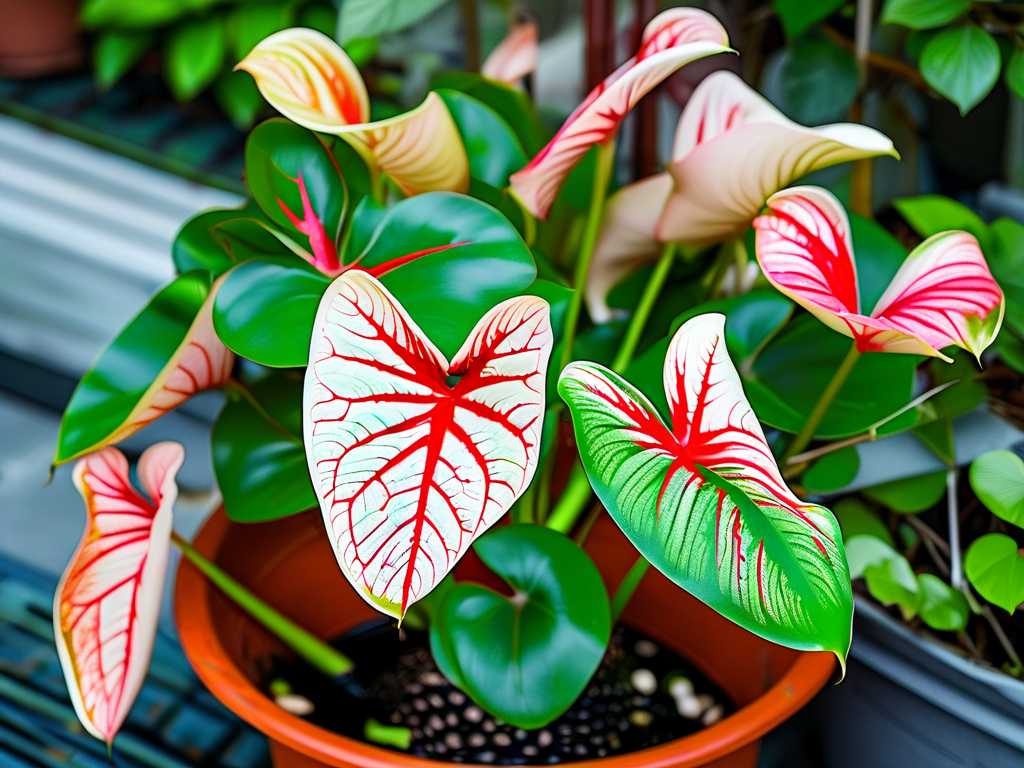
Why Your Caladium’s Leaves Deserve a Gentle Shower
Before we turn on the tap, it’s crucial to understand why leaf cleaning is non-negotiable. Caladiums are understory plants in their native habitats, accustomed to humid, rain-washed environments. Their large, thin leaves are designed to capture dappled light, but this also makes them dust magnets indoors.
Dust acts like a miniature shade cloth, blocking the precious light needed to fuel those vibrant pinks, reds, and greens. According to principles of plant physiology cited by leading horticultural bodies like the Royal Horticultural Society (RHS), a layer of dust can significantly reduce photosynthetic efficiency. Furthermore, clogged stomata (the tiny pores on leaves) can impair transpiration and gas exchange. A gentle rinse with water directly addresses this, mimicking a soft tropical rain. It’s the safest method, as recommended by resources like the American Horticultural Society’s (AHS) guides on houseplant care, which often caution against leaf-shining products that can clog pores.
My Step-by-Step Gentle Rinsing Protocol
After researching and adapting advice from expert sources, I developed a routine that prioritizes the plant’s safety above all. Here is the exact process I followed every time.
Preparing Your Plant and Workspace
First, I always choose the morning for this task. This gives the leaves plenty of time to dry completely before temperatures drop in the evening, a critical step in preventing fungal issues. I move my caladium to the kitchen sink or shower—a location where water can drain freely without waterlogging the soil. I take a moment to check the soil moisture; if it’s already very wet, I might postpone cleaning by a day to avoid overwatering. For the water itself, I use room-temperature or lukewarm water. Cold water can shock the delicate leaves, leading to unsightly spots.
The Art of the Gentle Rinse
I do not use a spray bottle for a full clean, as the mist is often not forceful enough to dislodge dust and can leave mineral deposits if your water is hard. Instead, I use the sink sprayer on its gentlest setting or a watering can with a fine rose attachment. The goal is a soft, rain-like stream, not a high-pressure jet.
I start by tilting the pot on its side, covering the soil surface with my hand or a piece of plastic wrap to prevent it from becoming a soggy mess. Holding the leaf from underneath with my free hand for support, I begin rinsing from the top side of the leaf, following the direction of the veins from the stem toward the tip. I then gently flip the leaf—always supporting its weight—and give the underside a very light pass. The undersides are where many pests like spider mites start, so a careful check and rinse here is great preventative care. I work methodically through the plant, leaf by leaf.
The Non-Negotiable Drying Process
This is the most important step to get right. After rinsing, I leave the plant in the sink or shower to let the bulk of the water drip off. Then, I move it to a warm room with excellent air circulation, but out of direct, harsh sunlight. Direct sun on wet leaves can act like a magnifying glass and cause scorch marks. I use a soft, microfiber cloth or a paper towel to pat (not rub) the remaining droplets from the leaf surfaces, especially where water tends to pool in the central vein. Only when every leaf is completely dry to the touch do I return it to its usual spot.
The Two-Week Transformation: What I Observed
I performed this gentle cleaning ritual once at the start of my observation period. Here’s how my caladiums changed over the following 14 days.
Immediate and Mid-Term Results (Days 1-7)
The difference was visible the moment the leaves dried. The colors were noticeably more saturated, as if I had turned up the contrast. The whites became crisper, the reds deeper, and the greens more vibrant. By day three, the plant simply looked happier and more robust. There was no spotting, no yellowing, and certainly no rot. The leaves felt firm and healthy to the touch.
Long-Term Benefits and Growth (Days 8-14)
The most exciting development happened in the second week. My caladium, which had been in a steady but slow growth phase, pushed out a new leaf. And this new leaf seemed to unfurl faster and larger than the previous one. I am convinced that by clearing the photosynthetic pathway on the existing leaves, I provided the plant with more energy to invest in new growth. The overall presentation of the plant remained pristine, with no quick return of dust, proving the rinse was thorough.
The Pitfalls I Encountered and How I Fixed Them
My journey wasn’t flawless. I made two key mistakes during my initial attempts, and learning from them is vital.
Mistake 1: The Perils of Evening Cleaning Early on, I once rinsed a plant in the late afternoon. Despite my best efforts with patting, the cooler evening temperatures and reduced air circulation meant one leaf’s central vein stayed damp overnight. By morning, a small brown, soft spot had formed—the beginning of rot. I immediately used sterile scissors to carefully cut out that small section to prevent spread. The solution was simple but absolute: I now clean only in the morning, without exception.
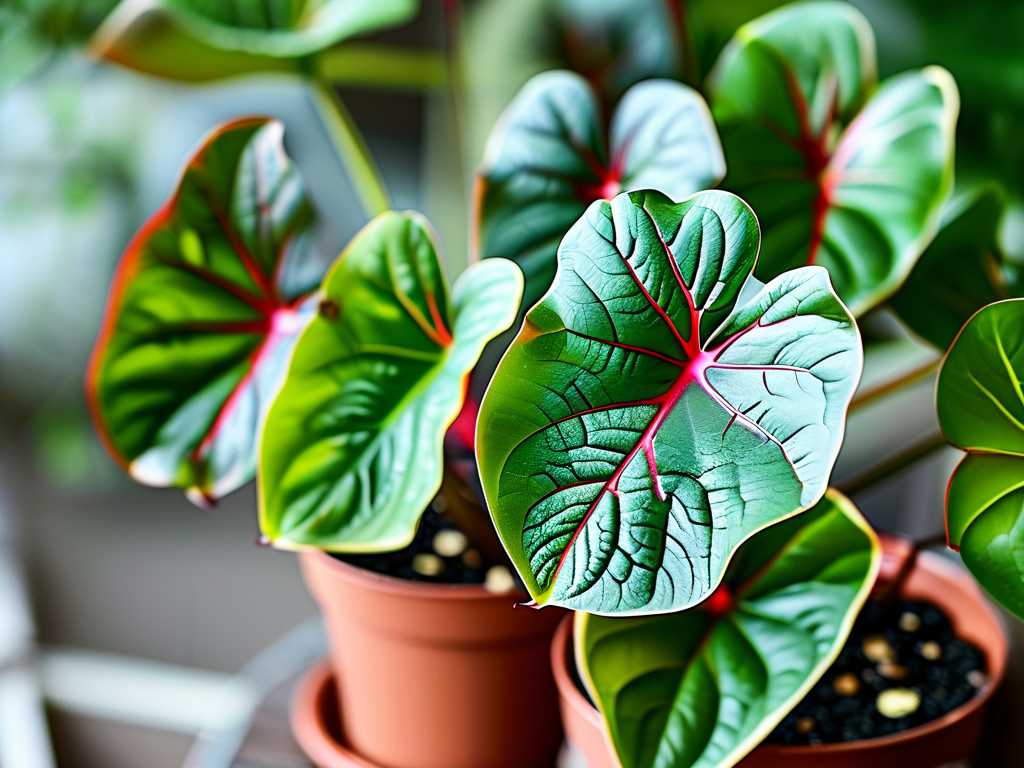
Mistake 2: Overlooking Water Temperature In a hurry, I once used water straight from the cold tap. The shock caused several leaves to develop pale, translucent spots within hours—a sign of cell damage. These spots did not recover. The fix was to always test the water on my wrist, like for a baby’s bottle, ensuring it was pleasantly lukewarm. This small step prevents thermal shock completely.
Addressing Your Top Concerns
Can I use leaf shine products or wipe with milk for extra shine? I strongly advise against it. As noted in AHS-aligned care advice, commercial leaf shines can clog stomata. Homemade remedies like milk can leave a residue that attracts dust faster and may promote fungal growth. Water is all you need for health, which naturally leads to shine.
How often should I gently rinse my caladium leaves? A thorough rinse like this is a periodic maintenance task, not a weekly chore. For most indoor environments, I find doing this every 4-6 weeks is sufficient. You can do a light dusting with a soft brush in between if needed. Over-cleaning can stress the plant.
What if my tap water is very hard? Hard water can leave white mineral spots as it dries. If this is a concern, you have two great options. The first is to use filtered or distilled water for rinsing. The second, which I often use, is to collect rainwater—it’s soft, free, and plants absolutely love it.
Cleaning your caladium’s leaves with a gentle water rinse is more than an aesthetic choice; it’s a profound act of care that supports the plant’s fundamental biology. By mimicking a natural rain shower, you remove barriers to its health and vitality. My two-week experiment proved that this simple, low-tech method enhances color, supports vigorous growth, and deepens your connection to the plant through attentive, hands-on care. Remember the golden rules: always rinse in the morning, use lukewarm water, and ensure leaves are bone-dry afterward. Give your caladium the gentle cleanse it craves, and watch it reward you with a breathtaking display of clean, luminous foliage.





