 bluename
 How to Care for Caladiums After Repotting: Recovery Steps for Thriving Foliage
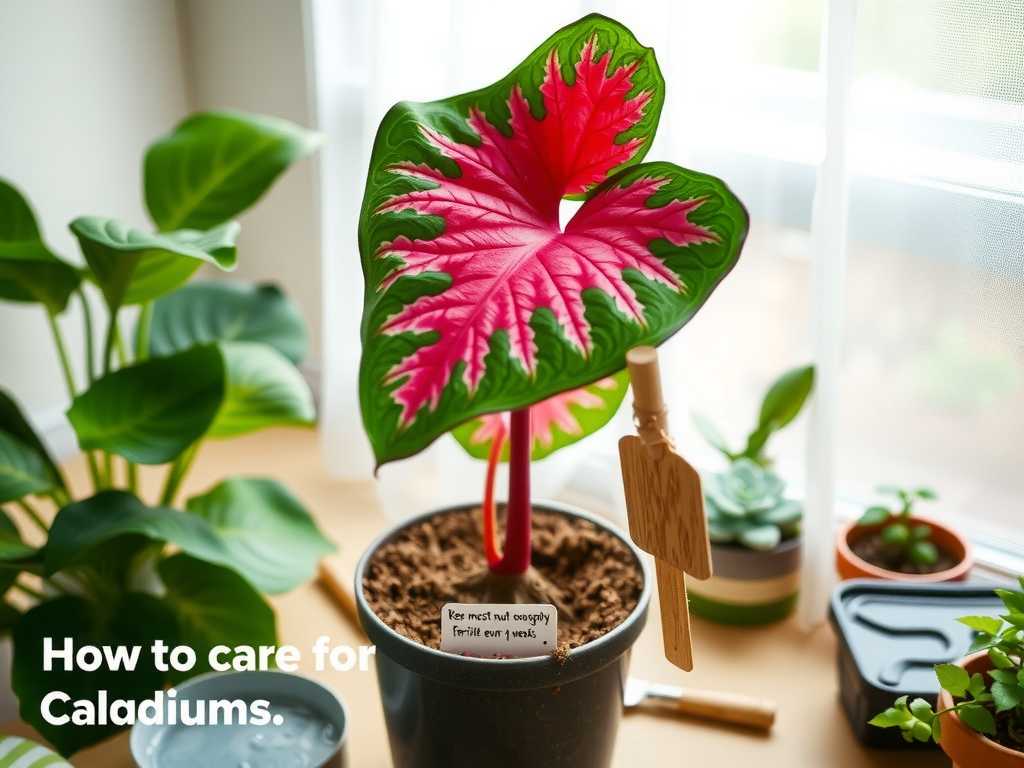
You’ve just given your stunning caladium a fresh start with a new pot and premium soil. The vibrant, heart-shaped leaves that drew you to this plant are the ultimate goal. But now, you’re faced with a drooping, stressed plant, and a wave of worry hits. Will it bounce back? What if you’ve done more harm than good? This post-repotting slump is a critical phase where the right care for caladiums after repotting makes all the difference between a rapid recovery and prolonged decline. Don’t panic. With a clear, step-by-step approach focused on the plant’s immediate needs, you can guide your caladium through this transition and into a period of even more spectacular growth. This guide provides the essential recovery steps, backed by horticultural expertise, to ensure your plant not only survives but thrives.
Understanding the Post-Repotting Stress Response
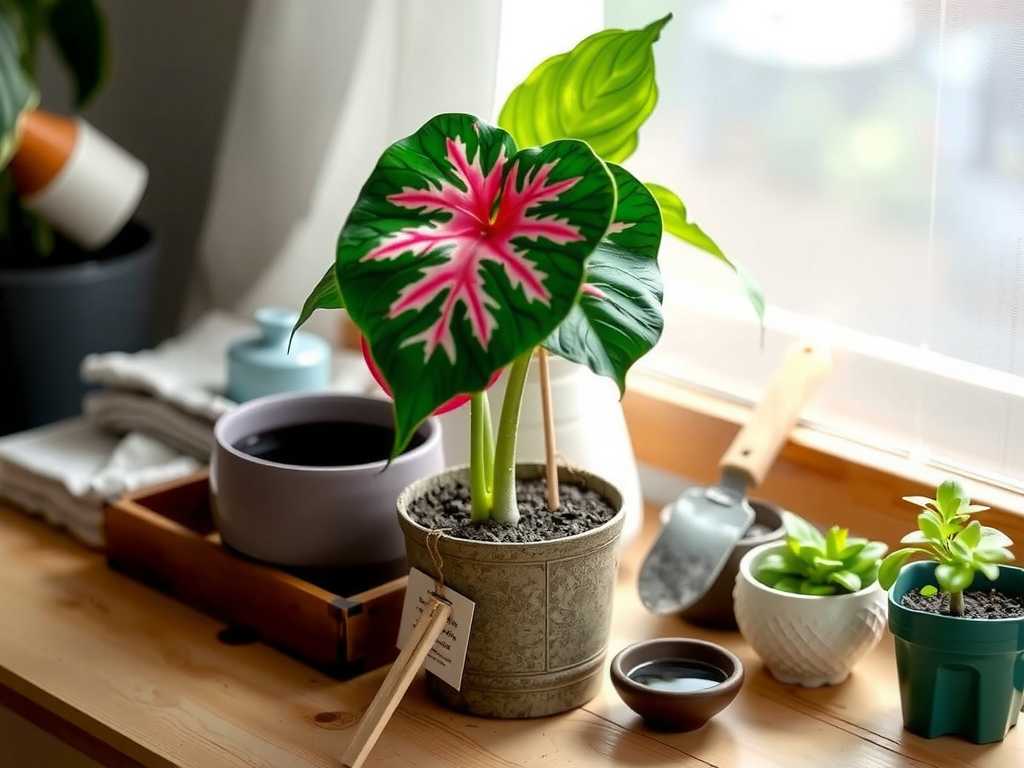
First, recognize that some stress is normal. Caladiums are sensitive to root disturbance. During repotting, fine root hairs—responsible for most water and nutrient uptake—are inevitably damaged. Until these regenerate, the plant’s ability to hydrate itself is compromised. This often manifests as wilting, drooping leaves, or a temporary pause in growth. Your job is not to overcorrect but to provide a stable, supportive environment that minimizes additional strain and allows the plant to heal itself. The Royal Horticultural Society (RHS) notes that minimizing root disturbance and providing consistent aftercare are key to helping any plant overcome transplant shock, a principle that applies perfectly to caladiums.
The Critical First Week: Immediate Recovery Steps
The initial seven days set the tone for your caladium’s recovery. Prioritize consistency and observation over intervention.
Optimal Placement: Light and Temperature Immediately after repotting, place your caladium in a location with bright, indirect light. Avoid any direct sunlight, which can scorch the leaves and dramatically increase water loss through transpiration at a time when the roots can’t keep up. A north or east-facing window is ideal. Maintain a warm environment between 70-85°F (21-29°C). Avoid drafts, air conditioning vents, or sudden temperature drops, as caladiums are tropical plants that crave steady warmth. This stable, gentle setting reduces environmental stress, allowing the plant to focus its energy on root regeneration.
The First Watering: A Delicate Balance Watering is the most crucial and tricky step. Your goal is to settle the soil around the roots and provide moisture without creating a soggy, oxygen-deprived environment that can lead to rot.
- Water thoroughly once, immediately after repotting. Use room-temperature water and water slowly until it runs freely from the drainage holes. This ensures the entire root ball is moistened and eliminates air pockets.
- Then, wait. Do not water on a schedule. Instead, check the soil moisture daily by inserting your finger about an inch deep. The top inch of soil should be allowed to dry out before you consider watering again. The American Horticultural Society (AHS) emphasizes that overwatering is the leading cause of post-transplant failure, as damaged roots are highly susceptible to rot in waterlogged conditions.
- Increase ambient humidity around the plant. Group it with other plants, place the pot on a pebble tray filled with water, or use a room humidifier. Higher humidity reduces moisture loss from the leaves, easing the demand on the compromised root system.
Hold Off on Fertilizer This is non-negotiable. Do not fertilize your caladium for at least 4-6 weeks after repotting. Fresh potting mix typically contains enough nutrients to sustain the plant. More importantly, fertilizers are salts that can chemically burn tender, newly forming roots. Introducing fertilizer now adds another layer of stress and can severely set back recovery. Your plant’s sole focus should be root establishment, not processing nutrients.
Ongoing Care for Sustained Growth and Health
Once your caladium shows signs of new growth—typically a fresh leaf spike or existing leaves perking up—you can transition to a more standard care routine, albeit with continued attentiveness.
Establishing a Smart Watering Routine As new roots establish, the plant will begin to use water more efficiently. Transition from daily checking to a consistent routine based on the “finger test.” Water deeply when the top inch of soil is dry, always allowing excess water to drain away completely. Never let the plant sit in a saucer of water. Consistency is key; erratic watering can cause new stress and lead to issues like leaf yellowing or crisping edges.
Introducing Fertilizer Strategically After the 4-6 week moratorium, you can begin a light feeding schedule to support the vibrant foliar display. Use a balanced, water-soluble fertilizer (such as a 10-10-10 or 20-20-20 formula) diluted to half the recommended strength. Apply this every 4-6 weeks during the active growing season (spring and summer). This post-repotting caladium care strategy ensures you provide support without overwhelming the plant. Always apply fertilizer to damp soil to prevent root burn.
Monitoring for Pests and Problems A stressed plant is more vulnerable to pests like spider mites, aphids, and fungus gnats. Regularly inspect the undersides of leaves and along stems. At the first sign of pests, isolate the plant and treat it promptly with insecticidal soap or neem oil. Also, watch for leaves that yellow and wilt consistently; this is often a sign of overwatering or poor drainage. A single yellowing older leaf may be normal senescence, but multiple warrants a check of your watering habits.
Seasonal Considerations for Long-Term Success Your caladium’s needs will change with the seasons. As daylight wanes in late fall, growth will slow. This is a natural signal to reduce watering frequency significantly and stop fertilizing entirely. If you live in a non-tropical climate, your caladium will enter a dormant period. The leaves will die back. You can then store the tubers (bulbs) in a cool, dry place over winter for repotting the following spring—a cycle where your repotting and recovery skills will be used again.
Expert Tips for Exceptional Foliage For truly spectacular results, consider these advanced insights. Rotate the pot a quarter turn every time you water to ensure even growth and prevent the plant from leaning toward the light. Wipe the large leaves gently with a damp cloth every few weeks to remove dust, which can block sunlight and reduce the plant’s photosynthetic efficiency. According to RHS guidelines, this simple act of cleaning foliage can significantly improve a plant’s overall health and vigor. Furthermore, if you want to propagate, the post-recovery period (when the plant is vigorously growing) is the ideal time to carefully divide healthy tubers, giving you more plants to enjoy.
Frequently Asked Questions
Why are my caladium leaves drooping after repotting? Drooping is the most common sign of transplant shock. It occurs because the damaged roots cannot supply water to the leaves as fast as the leaves are losing it through transpiration. Ensure the plant is in bright, indirect light (no direct sun), maintain high humidity, and water only when the top soil is dry. With proper caladium recovery after repotting, the leaves should perk up within 1-2 weeks as new roots form.
Should I cut back the leaves after repotting? Generally, no. The leaves are the engine of the plant, producing the energy needed for root regeneration. Only remove leaves that are completely yellow, brown, and crispy, or those that are severely damaged. Cutting back healthy foliage removes the plant’s ability to photosynthesize and slows recovery.
How long does it take for a repotted caladium to recover? You should see signs of stabilization (leaves perking up, no further decline) within 7-14 days. Visible new growth, such as an unfurling leaf, typically appears within 3-6 weeks, indicating that the root system has successfully reestablished. Full recovery and a return to robust growth can take up to 2 months, depending on the season and growing conditions.
Successfully nurturing a caladium after repotting is a rewarding exercise in patience and observation. By focusing on the fundamentals of gentle light, cautious watering, and a fertilizer hiatus, you create the stable environment essential for root healing. Remember that the plant’s initial distress is a normal part of the process. Your role is that of a supportive guardian, providing the ideal conditions for nature to take its course. With these steps, your caladium will soon reward your care with a renewed explosion of its signature colorful, painterly foliage, more vibrant and healthy than before.





