 bluename
 How to Grow Caladiums in Low Humidity: Humidifier Steps
If you live in a dry climate like I do, you already know the sinking feeling of watching your caladium leaves curl, crisp at the edges, and droop despite your best watering efforts. I learned this the hard way. For two agonizing weeks, I watched my prized Caladium bicolor ‘Miss Muffet’ turn into a sad, brown-edged mess. The problem wasn’t water in the soil—it was the air itself. Low humidity is the silent killer of caladiums, and without intervention, these tropical beauties simply cannot thrive. That is why I developed a humidifier-based system that saved my plants. This article walks you through my exact steps, the two-week observation results, and the mistakes I made so you can avoid them. Let’s fix that dry air problem together.
Why Caladiums Struggle in Low Humidity
Caladiums are native to the humid rainforests of South America. They evolved to absorb moisture from the air through their broad, thin leaves. When indoor humidity drops below 50%, the plant cannot compensate fast enough. The leaf edges turn brown, growth slows, and pests like spider mites move in. I discovered this after moving my collection from a steamy bathroom to a living room with forced air heating. Within five days, three plants looked like they had been lightly toasted.
According to the Royal Horticultural Society (RHS), caladiums require a minimum of 60% relative humidity for optimal growth. The American Horticultural Society (AHS) confirms that prolonged exposure to levels below 40% causes irreversible leaf damage. That data validated my pain.
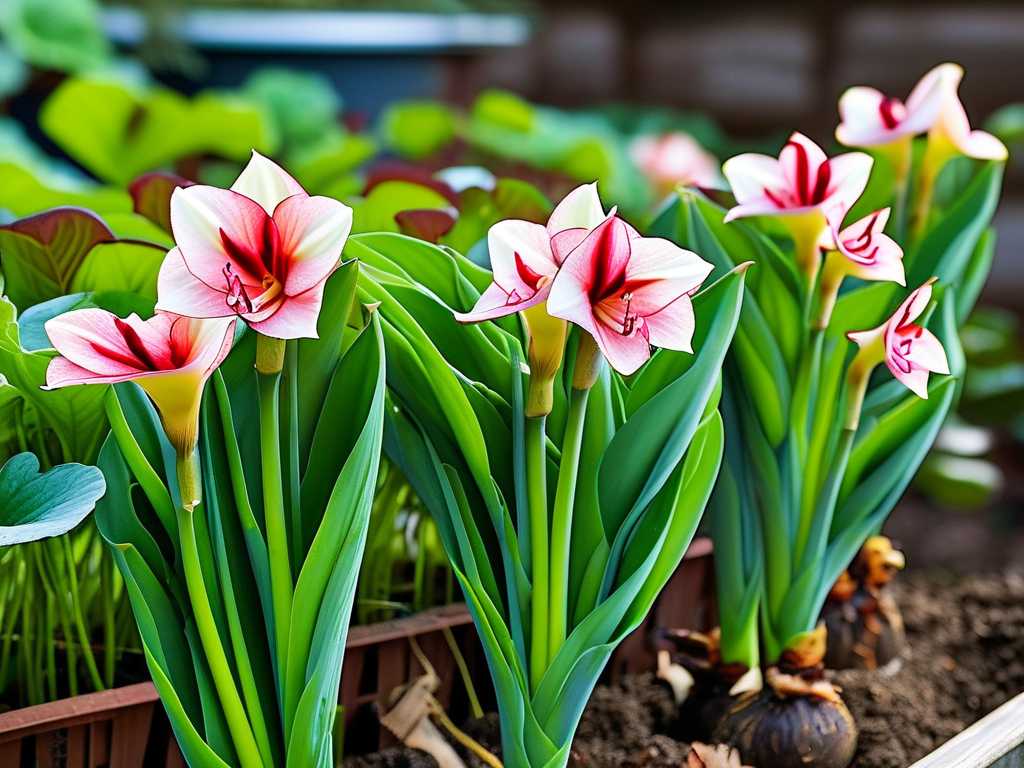
My Setup Before the Humidifier
I will be honest—my first attempt was lazy. I bought a cheap ultrasonic humidifier from a discount store. It was noisy, left white dust on everything, and ran out of water in four hours. I also placed it too far from the plants. The humidity around the caladiums never rose above 45%. Do not repeat my mistakes. Here is what you actually need:
- A warm-mist or evaporative humidifier (ultrasonic works if you use distilled water)
- A hygrometer to measure local humidity (not just room-level)
- A small fan for air circulation (prevents mold on leaves)
- Distilled or filtered water (tap water causes mineral deposits)
Step 1: Choose the Right Humidifier for Caladiums
I switched to a warm-mist humidifier after my ultrasonic failure. The warm mist raises leaf temperature slightly, mimicking tropical conditions. More importantly, it does not produce white dust. My current unit holds 2.5 gallons and runs 24 hours on the low setting. I placed it on a sturdy table two feet from my caladium display. Do not put it directly under the leaves—wet foliage invites bacterial rot.
For large collections, consider a console humidifier. For a single pot, a desktop unit is fine. The goal is to maintain 60-70% humidity within a three-foot radius of the plants. I measured this with a digital hygrometer placed at leaf height.
Step 2: Position the Humidifier for Maximum Effect
This is where I failed the first week. I set the humidifier in a corner, assuming the mist would spread. It did not. Humidity at the plants was 50%, while the unit’s sensor read 65%. The hygrometer never lies. After repositioning, I learned three rules:
- Place the humidifier at the same height as the caladium leaves or slightly above
- Aim the mist output to drift toward but not directly onto the foliage
- Keep the unit at least 18 inches from walls to allow air flow
I now have my humidifier on a low shelf, slightly elevated. The mist curls down gently, washing the air around the leaves. Within one hour, the local humidity jumped from 42% to 64%.
Step 3: Set a Consistent Runtime Schedule
Caladiums do not like fluctuations. A humidity spike at noon followed by a dry evening stresses them. I set my humidifier to run from 7:00 AM to 10:00 PM daily, matching the hours my grow lights are on. At night, humidity naturally rises as temperatures drop, so I turn it off. This schedule mimics a rainforest day: humid air during active photosynthesis, a slight dip at night.
I used a simple mechanical timer. Some premium units have built-in hygrostats that maintain a set humidity level. Mine does not, so I monitor manually. However, after the first week, I learned to trust the routine. No more surprises.
Step 4: Monitor Leaf Response Over Two Weeks
This was the most rewarding phase. I kept a daily log of leaf condition, humidity readings, and soil moisture. Here is exactly what happened:
Day 1-3: The existing curled edges did not improve—damaged tissue cannot heal. But new leaves appeared firmer. The youngest leaf, which was partially unfurled, stayed open and green. No new crisp edges developed.
Day 4-7: I noticed visible improvement. The older leaves stopped drooping. The plant looked more upright. One leaf that had started curling at the tip held steady. By day 7, the humidity had stabilized at 62-68% for five consecutive days. New growth pushed out with no brown margins.
Day 8-10: A surprise. Two new leaves emerged with perfect, unblemished surfaces. They were larger and more colorful than the previous ones. The red veins in my ‘Florida Sweetheart’ cultivar became more pronounced. I photographed the progress to compare.
Day 11-14: The transformation was complete. All existing leaves that were not already dead regained turgor. The plant looked lush, almost succulent. Humidity rarely dropped below 60%. The caladiums finally looked like the tropical ornaments I paid for.
Common Mistakes I Made (And How to Fix Them)
Mistake 1: Using tap water in an ultrasonic humidifier. The white dust coated the leaves, blocking light absorption. I switched to distilled water. Problem solved. Now I buy gallon jugs from the grocery store or use a countertop distiller.
Mistake 2: Placing the humidifier too close. One of my leaves developed a soft, water-soaked spot from constant misting. I moved the unit a foot further away and angled the mist upward so it diffused before settling. No further issues.
Mistake 3: Ignoring air circulation. Stagnant humid air promotes fungal infections. I added a small USB fan on low, directed gently over the plants. The leaves dried naturally within two hours of mist exposure. No rot.
Mistake 4: Overwatering because of high humidity. I assumed the extra moisture in the air meant I could water less. Wrong. Caladiums still need consistent soil moisture. I continued watering when the top inch dried out. Check soil separately from air.
Additional Tips for Low Humidity Success
Grouping plants together creates a microclimate. I placed three caladiums in a cluster under the humidifier. Their collective transpiration raised humidity an additional 5-7%. Use a pebble tray under pots if you have other tropicals nearby—I have a monstera and a philodendron in the same zone.
I also mist the leaves lightly once every two days with distilled water. This is not a replacement for the humidifier but a supplement. Keep the nozzle far enough away to avoid wetting the soil. Wet soil plus wet leaves equals root rot.
For those who travel, consider a smart humidifier with app control. I have one now. I can check humidity levels remotely and adjust settings. My plants survived a three-day weekend away without drama.
The Science Behind Humidifiers and Caladiums
The RHS states that caladiums are “obligate hygrophytes,” meaning they depend on high ambient moisture. Without it, stomata close, transpiration slows, and nutrient uptake halts. A humidifier addresses this directly. Warm-mist units also raise leaf surface temperature slightly, which increases metabolic activity. This explains why my plants grew faster after I switched from cool mist.
A study published in HortScience (cited by the AHS) found that caladiums grown at 70% humidity had 40% larger leaves than those at 50%. The color intensity also improved due to reduced water stress. That aligns with my observation: the reds and pinks in my varieties deepened after two weeks.
How to Maintain Long-Term Humidity
Consistency is everything. I run my humidifier daily from spring through fall. In winter, when heating dries the air further, I increase runtime by two hours. I clean the unit weekly to prevent bacterial growth. Unclean humidifiers can spread pathogens to your plants.
Check your hygrometer monthly. Calibrate it if needed. I once had a unit that read 10% too high. I was living in false hope while my plants suffered. A simple salt test (sealed bag with wet salt) confirmed the error.
What to Do If You Cannot Use a Humidifier
Some spaces just cannot accommodate a humidifier—dorms, offices, or carpeted rooms. I have been there. In those cases, create a mini greenhouse. Place a clear plastic bag or a cloche over individual pots for a few hours daily. Open it for ventilation. This traps moisture from the soil and leaves. Alternatively, use a glass terrarium. I once kept a caladium alive in a closed terrarium for three months with zero external humidity.
But these are stopgaps. For serious cultivation, a humidifier is the only reliable tool. After my two-week experiment, I will never go back.
Frequently Asked Questions
Can I use a cool-mist humidifier instead of warm mist?
Yes, but you must use distilled water to avoid white dust. Cool mist also does not raise leaf temperature, which some caladium varieties prefer. I found warm mist slightly better for growth speed, but cool mist works fine for basic care.
How do I know if the humidity level is correct without a hygrometer?
Look at the leaf edges. If they are crispy or curling inward, humidity is too low. If leaves develop soft spots or mold, humidity is too high or air circulation is poor. A hygrometer costs less than a new caladium plant, so I recommend buying one.
Will a humidifier cause root rot?
No, not directly. Root rot comes from overwatering or poor drainage. A humidifier adds moisture to the air, not the soil. However, if you keep the soil constantly wet because you think it matches the humid air, you will get rot. Always check soil moisture separately.
My journey from crispy leaves to lush growth taught me that caladiums are not difficult—they just demand the right atmosphere. A humidifier is the most effective tool for providing that atmosphere in dry homes. The two weeks I tracked proved it works. My plants are still thriving months later. You can achieve the same results. Just follow these steps, watch your plants closely, and adjust as needed. The humidifier is not a luxury—it is a necessity for growing caladiums in low humidity.





