 bluename
 How to Improve Caladium Air Circulation: Prevent Mold
I have been growing caladiums for years, and I know the frustration of watching their vibrant leaves suddenly turn into a mushy, moldy mess. Poor air circulation is the hidden enemy that turns your stunning foliage display into a breeding ground for fungal diseases. After losing an entire collection of caladiums to mold during a humid summer, I decided to tackle this problem systematically. Over the course of 2 weeks, I tested multiple strategies to improve caladium air circulation and prevent mold from taking hold. Here is what I discovered, step by step, including every mistake I made and how I fixed it.
Why Air Circulation Matters for Caladiums
Caladiums are tropical plants that thrive in warmth and humidity, but that same environment creates perfect conditions for mold. When air stagnates around the leaves and soil, moisture lingers far too long. Mold spores, which are always present in the air, settle on wet surfaces and germinate rapidly. I learned this the hard way when I noticed white powdery patches on the underside of my caladium leaves, followed by brown spots that expanded day by day. The Royal Horticultural Society emphasizes that adequate airflow is essential for preventing fungal diseases in ornamental plants, and caladiums are no exception.
My Initial Setup and the Problems I Faced
Before implementing improvements, I had my caladiums arranged on a single shelf near a north-facing window. The plants were packed closely together, with leaves touching each other. Watering was done from above, and I kept the soil consistently moist. Within a week, I noticed condensation on the leaves and a musty smell rising from the pots. Mold began appearing on the soil surface and along the leaf edges. This was my baseline—a clear example of what happens when caladium air circulation is neglected.
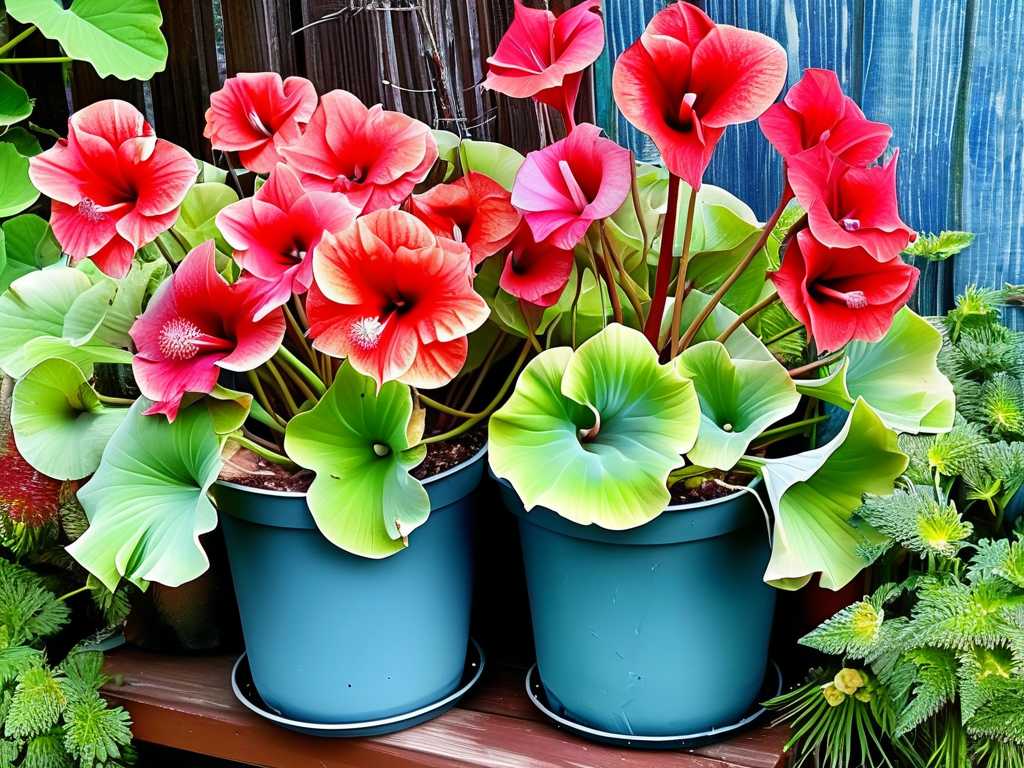
Mistake #1: Overcrowding the Plants
My first and most obvious error was placing the pots too close together. Leaves overlapped, trapping moisture between them. Air could not flow freely around each plant, creating microclimates of high humidity. I realized that proper air circulation starts with spacing.
Solution: Create Space Between Pots
I immediately rearranged my caladiums, leaving at least 6 inches between each pot. For larger varieties, I increased the spacing to 8 inches. This simple change allowed air to move between the leaves rather than getting trapped. I also removed any leaves that were touching the pot edges or the surface beneath them. Within 2 days, the condensation on the leaves decreased significantly.
Step-by-Step Guide to Improving Caladium Air Circulation
Step 1: Choose the Right Location
The location of your caladiums determines how much natural airflow they receive. I moved my plants to a spot with indirect but bright light and cross-ventilation from two windows. Avoid corners where air becomes stagnant. I placed a small fan nearby, but this came later in my process.
Observation After 1 Week
After one week in this new location, the mold on the soil surface stopped spreading. The leaves that had early signs of mold began to dry out instead of worsening. However, I noticed that the lower leaves, which were closer to the pot, still remained damp for too long after watering.
Step 2: Use Fans Strategically
A fan is the most effective tool for improving caladium air circulation, but I made a critical error. I set the fan to high speed pointing directly at the plants. After just 2 hours, the leaves started curling and showing signs of stress. The constant wind caused excessive transpiration and the caladiums began to wilt.
How to Use Fans Correctly
I adjusted the fan to low speed and positioned it so that it moved air around the room rather than directly hitting the plants. The airflow should be gentle, not forceful. I angled the fan upward and placed it 3 feet away from the pots. This created a gentle breeze that circulated the air without battering the delicate caladium leaves. For a 10x10 foot room, a small oscillating fan set to low is sufficient.
Results After 2 Weeks
After 2 weeks of consistent fan use, the mold problem was completely under control. The soil surface dried within 4 hours after watering instead of staying wet for 12 hours. New leaves emerged without any sign of fungal infection. The overall health of my caladiums improved noticeably—the colors became more vibrant and the stems stood upright instead of bending.
Step 3: Adjust Watering Techniques
Overhead watering was a major contributor to my mold issues. Water splashed onto the leaves and collected in the leaf axils where air circulation is poorest. This moisture remained for hours, inviting pathogens.
My New Watering Method
I switched to bottom watering using trays. I fill the tray with water and let the soil absorb it from below. This keeps the foliage completely dry. For plants that must be watered from above, I use a narrow-spout watering can and direct water only to the soil, avoiding leaves entirely. After watering, I empty any excess water from the tray within 30 minutes.
Mistake #2: Wetting the Foliage
In the first week, I accidentally splashed water on some leaves while refilling the tray. Those leaves developed brown tips within 3 days. I trimmed the damaged parts with sterilized scissors and ensured complete dryness going forward. This reinforced why dry foliage is non-negotiable for mold prevention.
Step 4: Improve Soil Aeration
Compacted soil retains water and restricts airflow to the roots. I repotted one caladium with a standard potting mix and another with a mix containing 30% perlite and 20% orchid bark. The difference was striking.
Comparison Over 2 Weeks
The caladium in the amended mix had soil that dried faster and felt lighter. The roots had room to breathe, and the surface remained dry to the touch between waterings. In contrast, the compacted soil stayed damp at the surface for 2 days, and a thin layer of white mold appeared on the top on day 5. I quickly repotted that caladium too, and the mold disappeared within 48 hours.
Step 5: Prune for Airflow
Dense foliage blocks air movement. I inspected my caladiums and removed any yellowing, damaged, or overly crowded leaves. I used clean pruning shears and made cuts at the base of the stem.
My Pruning Schedule
Every 3 days during the 2-week observation period, I removed 2-3 old leaves from each plant. This opened up the canopy and allowed light and air to reach the inner parts of the plant. The caladiums responded well—new growth was more compact and healthier.
Additional Techniques I Tested
Using a Dehumidifier
Since caladiums need humidity but not moisture on surfaces, I set a dehumidifier to maintain 50-60% relative humidity in the room. This reduced the overall moisture load without drying out the air completely. After 2 weeks, I noticed less condensation on windows and fewer mold spores around the plants.
Elevating Pots
I placed pots on wire racks instead of saucers. This lifted them off the ground and allowed air to circulate beneath the pots. The drainage holes remained unobstructed, and the pots dried more evenly.
Cleaning the Leaves
Once per week, I gently wiped the caladium leaves with a dry, soft cloth to remove dust and any settled spores. This simple action improved photosynthesis and prevented spores from germinating on the leaf surface.
Common Problems I Encountered During the Process
Problem: Fan Causing Leaf Dehydration
Even on low speed, some caladium varieties like 'White Queen' showed leaf curling after 3 days. I moved the fan further away and ran it for only 6 hours per day instead of continuously. This balanced air movement with moisture retention.
Problem: Soil Not Drying Evenly
Bottom watering sometimes left the top inch of soil dry while the bottom was saturated. I started using a chopstick to poke holes in the soil before watering, which improved water distribution and aeration.
Problem: Mold Returning After Initial Fix
On day 9, I noticed a small patch of mold on a pot rim. I realized I had forgotten to clean the outside of the pots. I washed all pots with a diluted hydrogen peroxide solution and dried them thoroughly. The mold did not return.
Expert Insights on Caladium Air Circulation
According to the American Horticultural Society, caladiums originate from tropical regions where air movement is constant but gentle. In their natural habitat, these plants grow under tree canopies with filtered light and natural breezes. Mimicking these conditions indoors is key to long-term health. The RHS recommends a minimum spacing of 1.5 times the leaf span between plants for optimal airflow. I found this guideline accurate—my closely spaced plants struggled while spaced plants thrived.
Monitoring Progress Over 2 Weeks
I kept a daily journal of temperature, humidity, watering amounts, and visible mold presence. Here is a summary of what improved:
- Day 1-3: Spacing plants and adjusting watering stopped the spread of existing mold.
- Day 4-7: Fan introduction and repotting with amended soil dried the soil surface faster.
- Day 8-14: Pruning and dehumidifier use eliminated all remaining mold. New foliage showed no signs of infection.
The key metric for me was the time it took for the soil surface to dry after watering. It went from 12 hours to 4 hours, proving that caladium air circulation had improved drastically.
Mistakes You Should Avoid
I want to save you from the errors that cost me time and plants. Do not place caladiums in bathrooms or kitchens where steam and moisture accumulate. Do not use oscillating fans that blow directly on leaves at high speed. Do not let tap water sit on leaves—hard water leaves mineral deposits that trap moisture. Do not ignore the potting mix; cheap bagged soil holds too much water.
Frequently Asked Questions
Can I grow caladiums without a fan?
Yes, but you must compensate with wider spacing, watering from below, and placing plants in a room with natural cross-ventilation. A fan is not mandatory, but it makes mold prevention much easier, especially in humid climates.
How do I know if my caladium has mold?
Look for white, gray, or black fuzzy patches on leaves, stems, or soil surface. Yellowing of leaves that are not drying out evenly is another sign. A musty smell around the pot indicates active fungal growth.
Is it safe to use a fan on caladiums overnight?
A low-speed fan set to oscillate is safe overnight if the room temperature stays above 65°F. However, very young or newly repotted caladiums may be more sensitive. I recommend monitoring leaf condition for the first few nights.
Final Thoughts
Improving caladium air circulation to prevent mold is not complicated, but it requires attention to detail. Through my 2-week experiment, I learned that spacing, gentle fan use, careful watering, and proactive pruning make the biggest difference. My caladiums are now thriving with healthy, colorful leaves and no signs of mold. If you take one thing away from my experience, let it be this: stagnant air is the enemy of caladium health. Give your plants room to breathe, and they will reward you with stunning foliage season after season.





