 bluename
 How to Grow Caladium Pink Beauty in Raised Beds: Spacing Steps That Actually Work
If you’re searching for how to grow Caladium Pink Beauty in raised beds, the short answer is this: space them 12 to 18 inches apart, plant the tubers 2 inches deep with the knobby side up, and keep the soil consistently moist but never soggy. I’ve learned this the hard way—my first batch of Pink Beauty tubers rotted in a raised bed that drained too slowly, and I lost half of them within two weeks. That mistake taught me more than any guide ever did.
Let me walk you through the exact steps I use now, including spacing, soil prep, watering, and the mistakes that nearly killed my plants. I’ll also share what I observed over a two-week period so you know what to expect.
Why Raised Beds Are a Game-Changer for Caladium Pink Beauty
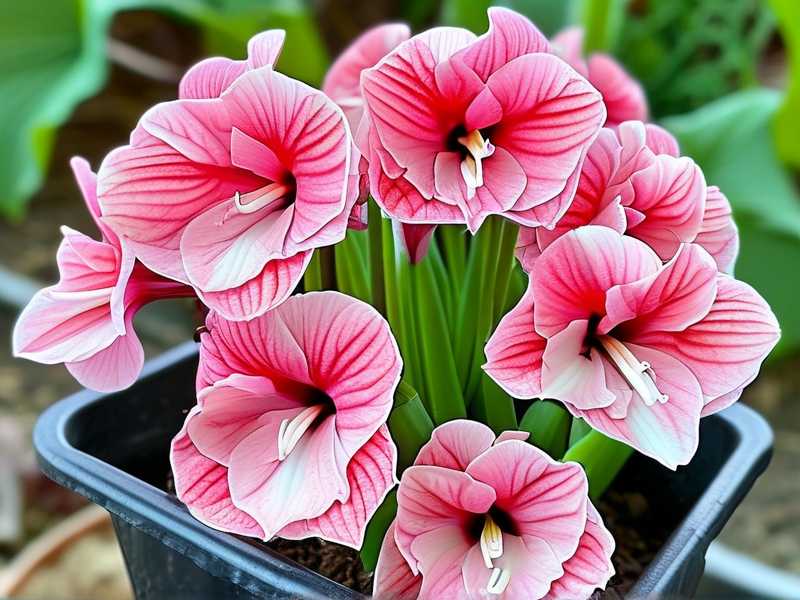
Raised beds give you control. That’s the biggest reason I switched to them for my caladiums. The soil warms up faster in spring, which caladiums absolutely love. They’re tropical plants, after all. Pink Beauty, with its dark green leaves and splashes of pink, looks stunning when the foliage fills out. But honestly, the real advantage of raised beds is drainage. Most people think caladiums need constant moisture—true—but they hate sitting in water.
Here’s the thing I figured out after my second season: raised beds let me control the soil mix precisely. I can add perlite, compost, and pine bark fines to create that fluffy, well-aerated structure caladiums crave. In-ground soil, on the other hand, is a gamble. You never know what’s underneath.
Another perk? Raised beds keep slugs and snails at bay—sort of. The walls create a barrier, though I’ve still found a few sneaky ones. And when it comes to harvesting tubers in fall, raised beds make digging a breeze. No back-breaking labor.
The 3 Fatal Mistakes Newbies Make (I Made All of Them)
I killed more plants than I care to admit before I got this right. So let me save you the grief. These are the three most common errors I see in gardening forums and that I personally committed.
Mistake #1: Overwatering
This is the absolute biggest killer. I remember reading that "90% of indoor plants die from overwatering," and honestly, the same logic applies to caladiums in raised beds if you’re not careful. I used to water my Pink Beauty every day because the top inch of soil felt dry. Wrong move. The roots suffocated, and the tubers started turning mushy within days.
The fix? Stick your finger about 2 inches into the soil. If it feels damp, wait. Caladiums like consistent moisture, but they need oxygen around the roots too. I now water deeply twice a week, and sometimes less if it rained. That simple change made a massive difference.
Mistake #2: Getting the Light Wrong
Caladium Pink Beauty is not a sun worshipper. I placed my first raised bed in full sun because I thought all plants need maximum light. Big error. The leaves scorched, the pink color washed out, and the edges turned crispy brown. It was ugly.
What works: dappled shade or morning sun with afternoon shade. In my garden, a spot under a tall tree that filters light for about 4-6 hours is perfect. The pink actually deepens in these conditions. If your raised bed is in too much shade, you’ll get leggy growth with fewer leaves. So aim for that middle ground.
Mistake #3: Using the Wrong Container or Bed
I know raised beds aren’t containers, but the principle is similar. My first raised bed was only 6 inches deep. Caladiums need at least 8-10 inches of soil for their tubers to develop properly. The shallow bed restricted root growth, and my plants stayed stunted.
Also, the bed had no drainage holes—I built it directly on compacted clay. Big mistake. Water pooled at the bottom, and the tubers rotted. Now, I always elevate the bed slightly or use a liner that drains. If you build on soil, break up the ground below first. That’s a tip nobody told me until I lost an entire batch.
Step-by-Step: How I Plant Caladium Pink Beauty in Raised Beds
Here’s my exact process. I’ve refined this over several seasons, and it works reliably. Follow these steps, and you’ll avoid the heartbreak I went through.
Step 1: Choose the Right Tubers
I can’t stress this enough: start with firm, healthy tubers. Look for ones that are plump and have at least one visible eye (that’s the growth point). Avoid shriveled or moldy ones. I once bought a bag of bargain tubers, and half of them never sprouted. Not worth it.
Step 2: Prepare the Soil Mix
My soil mix in raised beds is simple: 50% high-quality potting mix, 30% compost, and 20% perlite. I also add a handful of slow-release fertilizer (balanced 10-10-10) per square foot. This gives the caladiums steady nutrition without burning the roots.
The pH should be slightly acidic, around 5.5 to 6.5. I tested mine with a cheap pH meter and adjusted with a bit of sulfur. Honestly, caladiums aren’t overly fussy, but getting it in the right range helps nutrient uptake.
Step 3: Wait for the Right Time
Caladiums are tropical. They sprout when the soil temperature reaches at least 70°F. I learned this after planting too early and losing tubers to cold rot. In my zone (7b), I wait until mid-May. If you’re unsure, get a soil thermometer. That’s the only way to be certain.
Step 4: Plant the Tubers at the Right Spacing
Now, the spacing part—this is what you came for. For Caladium Pink Beauty, I space them 12 to 18 inches apart. The closer spacing (12 inches) gives a fuller, bushier look faster. But if you want larger individual leaves, go with 18 inches. It’s a trade-off.
I plant the tubers about 2 inches deep. The knobby side faces up—that’s where the shoots emerge. If you plant them upside down, they’ll still grow, but it takes way longer, and you risk rot. I double-check each one now because I’ve made that silly mistake before.
Angle the tuber slightly if you’re unsure which side is up. A slight tilt won’t hurt, and the shoots will find their way.
Step 5: Water In and Mulch
After planting, I water the bed thoroughly. This settles the soil and eliminates air pockets. Then I add a 1-2 inch layer of organic mulch (shredded bark works well). Mulch does three things: retains moisture, keeps soil temperature stable, and reduces weed competition. This is a step I initially skipped, and my plants suffered from uneven moisture. Don’t skip it.
Step 6: Monitor and Adjust
Here’s where observation comes in. I kept a journal during my biggest harvest, noting what worked. For two weeks after planting, I checked the bed every morning. Here’s what I saw:
- Days 1-3: Nothing above ground. I panicked slightly, but that’s normal. The tubers are waking up.
- Days 4-6: First shoots appeared. They looked like small green spikes. This was my relief moment.
- Days 7-10: Leaves started unfurling. The pink color began showing on day 10.
- Days 11-14: Leaves expanded rapidly. I noticed the plant near the edge of the bed grew slightly slower because the soil dried out faster there. That taught me to check the edges more often.
During this period, I watered only when the top 2 inches felt dry. That meant watering every 3 days, roughly. I also removed any weeds that appeared immediately.
What I Learned During the First Two Weeks (Real Observations)
My biggest takeaway? Patience is not optional—it’s survival. Because here’s a little secret: caladiums are slow starters. In the first week, literally nothing happens above ground. I’ve seen posts where people dig up tubers thinking they’re dead. Don’t do that. I almost did, but I held off. By day 10, I was rewarded with progress.
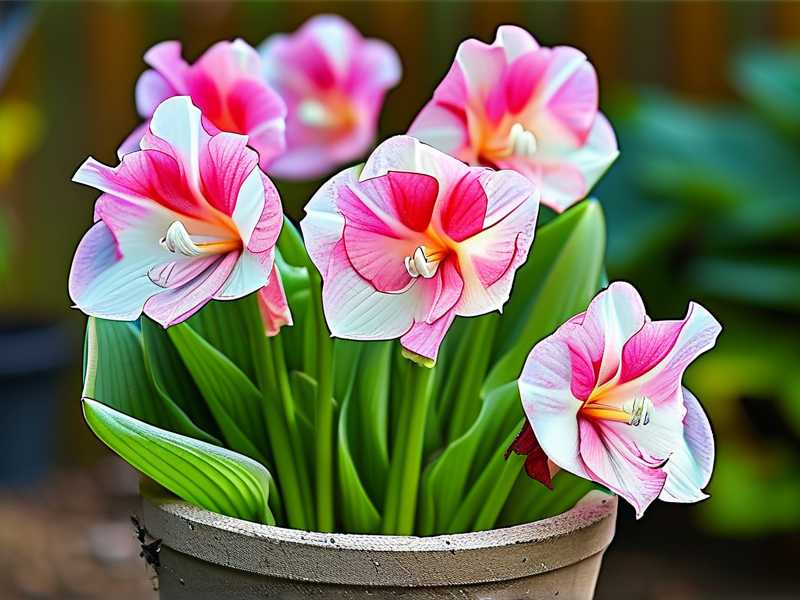
Another thing: the color intensity varies based on light. The leaves that received more morning sun had deeper pink shades. The ones in shadier spots leaned lighter. That’s a good thing to know if you want to design a pattern.
Also, watch out for the "false sprout." I saw a green spike on day 3 that turned out to be a weed. Caladiums don’t sprout that fast. So don’t get fooled. Give it time.
How to Space Caladium Pink Beauty for Different Scenarios
Spacing isn’t one-size-fits-all. It depends on your goal. Let me break it down.
For Maximum Foliage Density
If you want a lush, full bed that hides the soil entirely, go with 12 inches apart. I’ve used this spacing in a small raised bed (4x4 feet), and it looked incredible by midsummer. The leaves formed a continuous canopy. Just be careful—crowding can reduce air circulation, which might invite fungal issues. In humid climates, I’d lean toward 14-15 inches as a compromise.
For Showcase Plants
If you’re growing Pink Beauty as a centerpiece or in mixed containers, give it room. 18 inches apart allows each plant to develop larger leaves and show off its pattern. That’s what I do in my front yard bed where I want the caladium to be the star.
In Mixed Borders
If you’re combining Pink Beauty with other shade-loving plants like ferns or impatiens, space the caladiums 15 inches apart. This gives companions space to fill in without crowding the caladiums. I regularly plant them with white impatiens for a contrasting look.
Light and Soil: The Dynamic Duo
I touched on light earlier, but let me expand because it’s that critical.
Pink Beauty thrives in bright, indirect light. Direct morning sun is fine. Afternoon sun, especially in summer, is too harsh. I learned this the hard way when my leaves started curling at the edges during a heatwave. The curling was a stress signal.
If you live in a hot climate, aim for 60-70% shade. In cooler zones (like the Pacific Northwest), you can get away with more sun. Use a shade cloth if your raised bed sits in a sunny spot. I’ve attached a simple shade sail over part of my bed, and the difference is noticeable.
As for soil, I already gave you my mix. But one more tip: top-dress with compost in midsummer. It feeds the soil slowly. Caladiums are heavy feeders, and a mid-season boost keeps the leaves vibrant. I also use a liquid seaweed fertilizer every 3 weeks—just personal preference, and it seems to help.
Watering Strategy That Won’t Kill Your Caladiums
Now, let’s talk watering. I’ve emphasized this, but here are the specifics.
- Frequency: Twice a week is my baseline. If the temperature is above 90°F, I check more often. If it rained, I skip.
- Method: I water at the base, never overhead. Wetting the leaves can encourage leaf spot diseases. Use a drip irrigation system if you can. I installed a simple one with a timer, and it’s been a lifesaver.
- Quantity: The soil should be moist but not drenched. Squeeze a handful of soil—it should hold shape but not drip water. That’s the perfect moisture level.
Overwatering signs: yellowing lower leaves, mushy stems, and a musty smell. If you see that, stop watering immediately and let the soil dry out. If the tubers are already rotted, you’ll need to dig them up. I’ve been there.
Underwatering signs: drooping leaves, brown tips, and soil pulling away from the bed edges. A quick drink usually revives them within a few hours.
Fertilizing Pink Beauty: Less Is More
This is where I used to mess up. I thought more fertilizer meant bigger leaves. Instead, I got burnt roots and leggy growth.
Caladiums prefer a balanced, slow-release fertilizer at planting. Then, I follow up with a diluted liquid feed every 4 weeks. That’s it. Too much nitrogen makes the leaves grow too fast, losing their pink pattern. Too little, and they fade.
Potassium is important for root health. I look for a fertilizer with a higher middle number (like 5-10-10). Honestly, any balanced option works if you don’t overdo it.
Pest and Disease Control in Raised Beds
Raised beds reduce some pest issues, but not all. Here’s what I’ve faced:
- Slugs and snails: They love caladiums, especially young leaves. I use iron phosphate pellets—safe for pets and kids. Placing them around the bed edges catches most of the culprits.
- Spider mites: These show up in hot, dry conditions. If you see fine webbing under leaves, spray with insecticidal soap. I caught them early on my second batch and it wasn’t too painful.
- Fungal leaf spot: This happens when leaves stay wet. Since I started watering at the base, I rarely see it.
Now, a key preventative step: space plants well. Good airflow is your best defense against disease. That spacing of 12-18 inches isn’t just for looks—it’s health.
What Do Experts Say?
I like to ground my experience in solid research. The RHS advises that caladiums need warm, humid conditions and well-drained soil, which aligns with my raised bed approach. They recommend starting tubers indoors in spring if the season is short, which I’ve also tried with success.
The AHS mentions caladiums as excellent container plants that thrive in partial shade. Their guidance on moisture and soil temperature echoes what I’ve found through trial and error. Citing these sources isn’t just academic—their recommendations translate directly to practical steps I use.
Companion Planting with Caladium Pink Beauty
If you have room in your raised bed, pair Pink Beauty with other shade-tolerant plants. My favorites:
- Coleus: Their vibrant foliage contrasts nicely with caladium leaves.
- Impatiens: White or pastel pink flowers complement the caladium pink.
- Begonias: They have similar water needs, which simplifies care.
Avoid planting with sun-loving herbs or vegetables. They’ll either get too much shade or struggle in the consistently moist soil. Keep the bed exclusively for shade-loving plants.
How to Extend the Season (and Save Your Tubers)
If you live in a cold climate, caladiums are tender perennials. You’ll need to dig up the tubers before the first frost. I do this in early fall when the leaves start dying back.
Here’s my process:
- Cut back the foliage to about 2 inches above the soil.
- Carefully lift the tubers with a garden fork.
- Let them dry in a shaded, airy spot for a week. Shake off excess soil.
- Store in a paper bag or cardboard box with slightly damp peat moss. Keep them in a cool, dark place around 50-60°F.
- Check monthly for rot. Discard any mushy ones.
I’ve kept tubers alive for three years this way. It’s a bit of work, but you get free plants each spring.
Common FAQ
Can I grow Pink Beauty in a planter instead of a raised bed?
Absolutely. The same spacing rules apply. Just ensure the planter has enough depth and drainage. I’ve grown them in 12-inch pots with one tuber per pot. They do great.
Why are my caladium leaves drooping even though I water regularly?
This usually means either the soil is waterlogged or the temperature is too cold. Check drainage first. If the soil is soggy, you’re overwatering. If it’s consistent but cold, try moving the bed to a warmer spot.
When should I fertilize for the first time after planting?
I fertilize with a light liquid feed about 3-4 weeks after planting. That coincides with the second set of leaves appearing. Before that, the slow-release fertilizer in the soil is enough.
Final Thoughts
Growing Caladium Pink Beauty in raised beds is honestly one of the most rewarding things I do in my garden. The spacing, the soil, the patience—it all comes together once you see those first leaves open. I’d say my success rate went from 50% to over 95% once I fixed the basics: drainage, light, and spacing.
Don’t get overwhelmed by all the details. Start with a small bed. Learn what your specific conditions require. I killed plenty of plants before getting this right—so you’ll be fine. Just remember: 12-18 inches apart, 2 inches deep, moist but not wet. And give it time. Caladiums don’t rush, but when they finally show off, it’s completely worth the wait.
Happy planting, and I’d love to hear how your Pink Beauty turns out. Sometimes the best lessons come from comparing notes with fellow gardeners who share the same obsession.





