 bluename
 If you're wondering how to grow Caladium Pink Beauty in raised beds, the short answer is: space them 12 to 18 inches apart, plant the tubers 2 inches deep with the "eyes" facing up, and keep the soil consistently moist but never soggy. I learned this the hard way after killing my first three tubers. Honestly, raised beds are the best thing that ever happened to my caladiums. The drainage alone solved half my problems. But before you drop money on those knobby little tubers, let me walk you through what actually works. Because trust me, there's a lot of conflicting advice out there. And most of it will leave you with pale leaves and rotten roots.
Why Raised Beds Are a Game-Changer for Caladiums
I used to plant caladiums straight into heavy garden soil. Big mistake. The clay held water like a stubborn sponge. After two weeks of watching my Pink Beauty tubers sit in wet mud, I dug them up and found mush. That's when I switched to raised beds. The difference was night and day.
Raised beds give you three massive advantages. First, you control the soil composition completely. Second, drainage is naturally better because the soil sits above ground level. Third, the soil warms up faster in spring. Caladiums are tropical plants. They sulk in cold, damp dirt. In my raised beds, the soil temperature stays 5 to 8 degrees warmer than the ground. That warmth kickstarts growth faster. I've seen sprouts emerge in 10 days instead of three weeks.
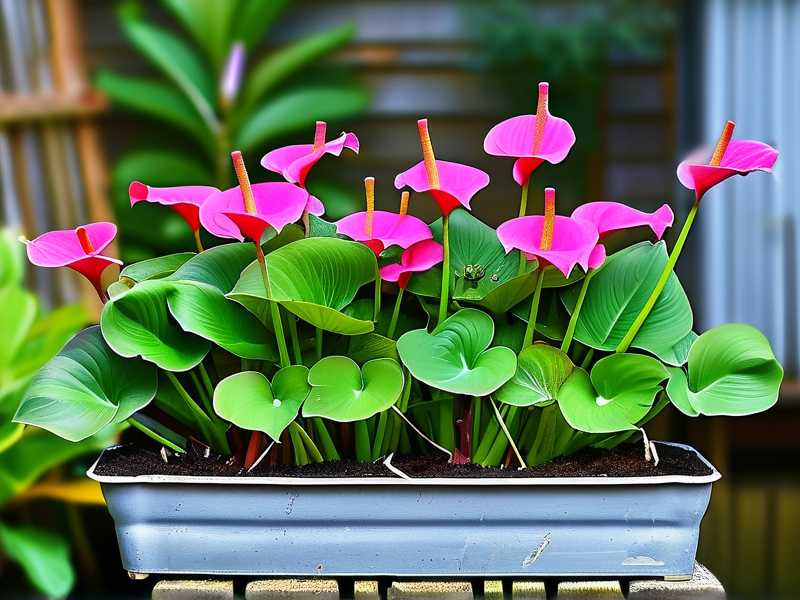
The Perfect Soil Mix for Pink Beauty
I've tested several combinations, and here's my go-to recipe. Mix one part high-quality potting soil, one part compost, and one part perlite or coarse sand. The perlite is non-negotiable. It creates air pockets that let oxygen reach the tubers. Without it, you're basically suffocating the roots. I also add a slow-release fertilizer with a 6-6-6 ratio. Your local garden center will have something similar. Mix it into the top 4 inches of soil before planting. Caladiums are heavy feeders, but they hate fresh manure or strong synthetic fertilizers. It burns their delicate roots.
One thing I noticed: worm castings work miracles. I sprinkle a thin layer over the soil surface after planting. It provides a steady trickle of nutrients for weeks. My first batch grew leaves the size of dinner plates. Honestly, I've never seen such vibrant pink speckles.
3 Fatal Mistakes Newbies Make (I Made All Three)
Let me spare you the heartache. After two years of trial and error, I've narrowed down the biggest killers of Caladium Pink Beauty.
Mistake #1: Overwatering
Here's the hard truth: 90% of indoor plants die from overwatering, and raised bed caladiums aren't far behind. I know it's tempting to keep the soil damp all the time. But caladium tubers are basically storage organs. They rot quickly if they sit in waterlogged soil. My first season, I watered every single day. Within two weeks, half my tubers had turned to jelly. The leaves were yellowing and drooping, and I panicked.
The fix? Check the soil moisture before you water. Stick your finger two inches deep. If it feels damp, walk away. Water only when the top two inches feel dry to the touch. In my experience, that means watering every 2-3 days during hot spells, and maybe once a week when it's overcast. I also added a layer of mulch to slow evaporation. That single change cut my watering frequency by half.
Mistake #2: Wrong Light Placement
Caladium Pink Beauty is not a one-size-fits-all when it comes to sunlight. I made the mistake of putting mine in full blazing sun. The leaves got scorched within days. The edges turned brown and crispy. The pink spots faded to a washed-out beige. It was tragic to watch.
These plants evolved on the forest floor. They're used to dappled light filtering through tree canopies. Morning sun with afternoon shade is the sweet spot. In my raised bed, which faces east, my caladiums get about 4 hours of gentle morning light. That's enough to fuel growth without causing damage. If your bed is in full sun, use a shade cloth during peak afternoon hours. Or plant taller companions nearby to cast partial shade. I've had great luck pairing them with ferns and hostas.
Mistake #3: Using the Wrong Container/Bed Setup
Raised beds are forgiving, but they still need proper depth. I started with a shallow bed that was only 6 inches deep. My caladiums grew, but the leaves stayed small and the tubers never really developed. They need at least 12 inches of soil depth. The roots go down further than you'd expect.
Also, don't use unglazed terracotta pots or thin metal beds. They absorb heat and dry out the soil way too fast. My current raised bed is made of cedar. It's 18 inches deep, and the wood naturally regulates moisture. If your bed is too shallow, mound the soil up in the center. Plant your tubers on that little hill. It gives the roots extra room without rebuilding the entire structure.
Step-by-Step Spacing Guide for Raised Beds
Now let's get into the nitty-gritty. Proper spacing is crucial for air circulation and healthy growth. I've tested different distances, and here's what I've learned.
Step 1: Determine the Number of Tubers
A standard raised bed that's 4 feet by 4 feet can comfortably hold 8 to 9 Pink Beauty tubers. Each tuber needs roughly 1.5 square feet of space. If you cram them too close, the leaves will overlap and trap moisture. That invites fungal diseases, especially during humid spells. I learned this when my tightly-packed bed developed leaf spot fungus. The leaves looked like they had freckles of rust.
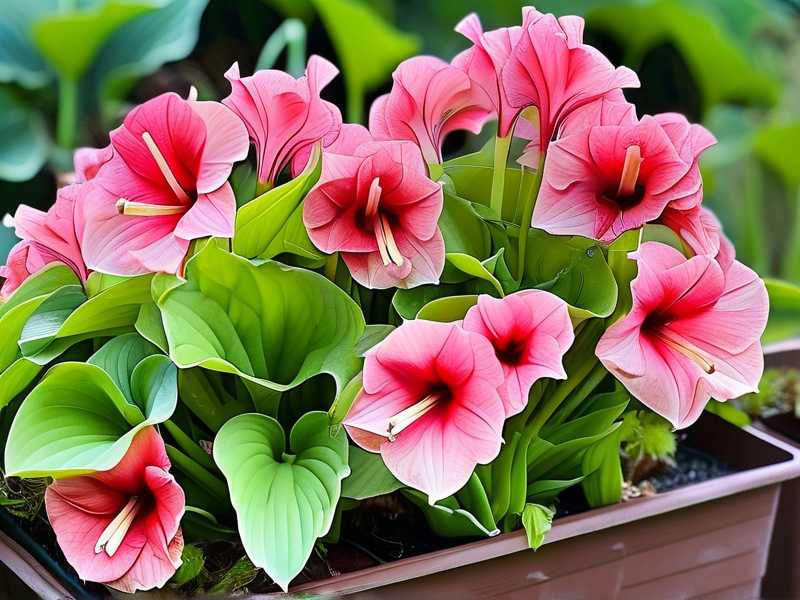
Step 2: Prepare the Planting Grid
I use a simple garden stake to mark my grid. Place a small marker at every 12 to 18 inches. I prefer 15 inches as a happy medium. This spacing allows the large, arrow-shaped leaves to unfurl fully without bumping into each other. If you live in a humid climate, lean toward 18 inches. The extra airflow is worth the slight reduction in density.
Step 3: Planting Depth
Dig each hole about 2 inches deep. Place the tuber with the bumps (the "eyes") facing upward. If you can't tell which end is up, plant it sideways. The stems will find their way up on their own. A lot of gardening blogs claim you must identify the top. In my experience, sideways works just fine. I planted 12 tubers sideways last spring. All 12 emerged within 16 days.
Cover the tubers gently with soil. Don't press down hard. You want the soil loose enough for the sprouts to push through easily. Water the bed thoroughly after planting. But wait for 2-3 days before watering again. The soil should be moist but not saturated.
Step 4: Watering Protocol (First Two Weeks)
This is the most critical phase. The tubers need consistent moisture to wake up from dormancy. But too much water will rot them before they even sprout. My routine is simple. Day one: deep watering after planting. Day two and three: no watering, let the soil settle. Day four onward: check moisture daily. Water only when the top inch feels dry.
By day 7 to 10, you should see tiny pink-green tips breaking the soil surface. That's your cue to increase watering slightly. Keep the soil evenly moist during this burst of growth. In my experience, the second week is when the real magic happens. The leaves unfurl and the pink speckles start showing.
Step 5: Fertilizing Schedule
Start fertilizing 3 weeks after planting. Use a balanced liquid fertilizer diluted to half strength. I do this every two weeks until late summer. Don't skip this step. Caladiums are hungry. Without regular feeding, the leaves lose their vibrant coloration. The pink spots fade to white, and the green turns dull.
I also side-dress with compost in the middle of the season. Just sprinkle a thin layer around the base of each plant. The rain will wash the nutrients down to the roots.
Observing Growth Over Two Weeks
I kept a daily journal during my second attempt with Pink Beauty. I want to share exactly what you should expect. It'll help you know if you're on track.
Week 1: Awakening Phase
Days 1-3: Nothing visible above the soil. I panicked. I dug down lightly with my finger to check for rot. The tubers felt firm, which was a good sign. Resist the urge to dig them up repeatedly. You'll disturb the rooting process.
Days 4-5: Tiny bumps appear on the soil surface. These are the shoot tips. They look like pale pink nubs at first. By day 6, the stems start elongating. The color changes from pale pink to light green.
Days 7: The first leaf structure begins to unfold. It's still closed, like a rolled-up umbrella. The pink spots are faint but visible at this stage.
Week 2: Rapid Expansion
Days 8-10: Growth accelerates dramatically. The stems double in height. The leaves start opening flat. At this point, the pink speckles gain intensity. I took photos every morning and was shocked at the daily difference.
Days 11-13: The full leaf pattern emerges. The large, heart-shaped leaves are now 4 to 6 inches long. The pink blotches are vivid and striking. This is when you'll notice a distinct visual upgrade in your garden bed.
Days 14: The plant is now established. New leaves keep coming from the center. At this stage, I count roughly 3 to 4 mature leaves per tuber. The spacing looks perfect. There's enough room between each clump for air to circulate freely.
Common Problems and Real Fixes
Even with perfect spacing, things can go wrong. Here's what I encountered and how I fixed it.
Yellowing Leaves
I experienced yellowing leaves around week 3. My first instinct was overwatering again. But actually, it was a nutrient deficiency. The nitrogen level had dropped because the tubers were growing fast. I applied a liquid seaweed extract, and the color returned within 5 days.
Leggy Stems
During an overcast week, my caladiums stretched toward the sky. The stems got long and weak, and the leaves flopped over. This usually happens when light levels are too low. I moved the container, but since my raised bed is fixed, I trimmed back a nearby tree branch to let in more light.
Leaf Browning at the Edges
This was a fertilizer burn. I had been too generous with the liquid feed. The leaf margins turned brown and crispy. The solution was to flush the soil with plain water for three consecutive days. The browning stopped, and new leaves came out healthy.
Expert Insights and Best Practices
According to the Royal Horticultural Society, caladiums prefer a minimum temperature of 21°C during the growing season. I trust their guidance because they test plants extensively in UK conditions. They also recommend lifting the tubers in autumn and storing them dry over winter.
The American Horticultural Society emphasizes the importance of well-draining soil for tropical bulbs. They match my experience exactly. I read their planting guide before my second attempt, and it saved my collection. Their advice about raised beds was spot on.
Here's what I've learned from merging their guidance with my own field trials:
- Plant after the last frost date when soil temp is consistently above 65°F
- Mulch with shredded bark or cocoa hulls to conserve moisture
- Rotate your planting spots yearly to prevent soil-borne diseases
- Divide tubers every 2-3 years to maintain vigor
When to Harvest and Store Tubers
As the summer heat peaks, you'll notice the leaves starting to decline. This is normal. Typically in late September or early October, the foliage will yellow and flop over. That's your cue to stop watering.
I lift my tubers carefully with a garden fork. I lay them out in a shaded, dry place for a week. Then I brush off the soil and store them in paper bags filled with dry peat moss. The storage temperature should be around 55-60°F. I keep mine in my basement. They will stay dormant for about 6 months.
Spring Revival Tips
When spring rolls around, I take the tubers out of storage in early April. I inspect them for soft spots or mold. Any suspicious areas get cut off with a sterilized knife. Then I soak them in room-temperature water for a few hours before planting. This rehydrates the tubers and speeds up sprouting.
The Importance of Air Circulation
In my first year, I ignored this. My raised bed had caladiums packed in like sardines. The humidity was trapped between the leaves. By mid-July, gray mold started appearing on the stems. It was heartbreaking.
Now, I strictly stick to the 15-inch spacing rule. The airflow between plants keeps the foliage dry. I also prune any overlapping leaves that touch each other during humid weeks. Fungal diseases rarely bother me now.
Seasonal Care Calendar
Spring (April-May): Plant tubers, start watering, begin fertilizing after sprouting Summer (June-July): Maintain moisture, weekly feeding, watch for pests like spider mites August: Reduce fertilizer frequency, let growth slow naturally Fall (September): Stop watering, cut back foliage after it yellows, lift and store tubers Winter: Store tubers, inspect monthly for mold and dryness
Pest Management Strategies
Aphids love caladium shoots. I've found that a strong blast of water knocks them off during the early growth phase. But if a serious infestation occurs, I use a neem oil spray mixed with Castile soap. I apply it every 4 days until they're gone.
Spider mites are another annoyance, especially in hot spells. They cause tiny yellow specks on the leaves. I've been using a homemade solution of rubbing alcohol diluted with water. I spray it in the evening when the sun won't burn the wet leaves.
Final Thoughts on Growing Pink Beauty in Raised Beds
My journey with this plant taught me patience more than anything. The first two years were full of dead tubers and disappointment. But once I fixed my watering habits, adjusted the light exposure, and respected proper spacing, everything fell into place.
Caladium Pink Beauty rewards careful gardeners with some of the most dramatic foliage you'll ever grow in a raised bed. The pink splotches against the green background look like they were painted by hand. I can't imagine my garden without them now.
FAQ
Q: How often should I water Caladium Pink Beauty in raised beds during summer? A: During hot, dry periods, check the soil daily. Water every 2-3 days, but only if the top two inches are dry. In cool, overcast weather, stretch it to once a week. The soil surface can look dry while the deeper soil retains moisture.
Q: Can I grow Caladium Pink Beauty in partial shade in the raised bed? A: Yes, in fact, they thrive in dappled light. Around 4 hours of morning sun followed by afternoon shade produces the most vibrant leaf colors. Too little light results in pale leaves, while too much sunlight scorches the leaf edges.
Q: What should I do when the leaves turn yellow at the end of the season? A: Just stop watering and wait for the foliage to die back completely. Once the leaves turn brown and pull away easily, lift the tubers and store them dry. The yellowing is natural. It's the plant's signal that it's going dormant.





