 bluename
 How to Grow Caladium White Christmas in Raised Beds: Soil Guide
If you’re searching for a surefire way to grow Caladium White Christmas in raised beds, the soil mix is your entire battle. I lost two pots of these stunning white beauties before I realized the issue was never the plant. It was my soggy, dense, poorly aerated dirt. The direct answer? Mix 50% high-quality potting soil, 30% perlite or coarse sand, and 20% compost or peat moss. That’s it. That’s the golden ticket. This combination gives you the drainage, aeration, and moisture retention this caladium craves without turning your raised bed into a swamp. Stick with me, and you’ll skip the heartbreak I went through.
Why Raised Beds Are Actually a Double-Edged Sword for Caladiums
Everyone loves a raised bed. I get it, they look tidy, they warm up faster in spring, and the soil drainage is usually better than open ground. But here is the sneaky problem. Raised beds dry out faster on top while staying wet at the bottom, especially if you use a native soil that lacks structure. I found this out the hard way. My first raised bed was filled with just bagged topsoil. It compacted into a hard, brick-like layer after a few weeks of watering. The Caladium White Christmas tubers sat in that cold, heavy muck.
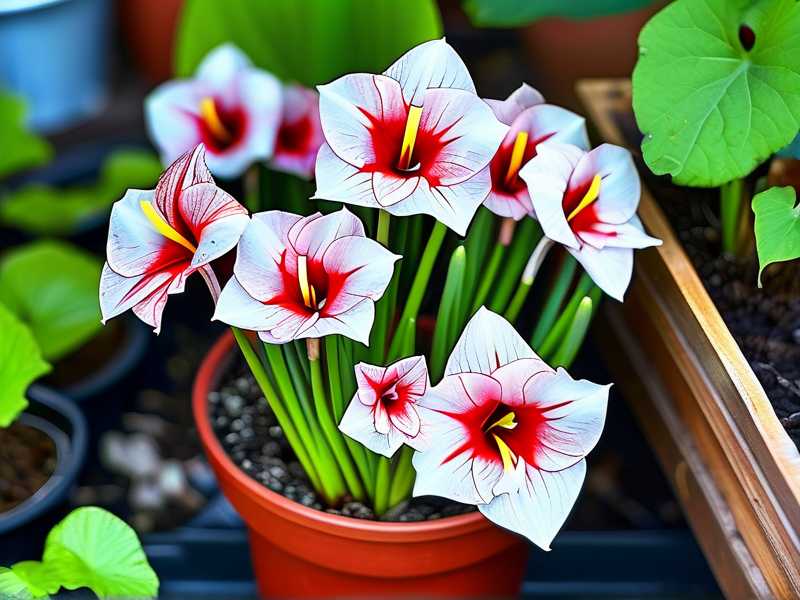
The roots suffocated. Actually, they didn't just suffocate. They rotted. The beautiful white leaves never even got a chance to unfurl. The RHS notes that caladiums require a free-draining medium that doesn’t remain wet. Check the advice from the RHS on tropical bulbs. You’ll see they emphasize loam-based compost with extra grit. That confirms what I learned through total failure. The bed structure doesn't mean the soil is right. You have to build the soil. You have to engineer it.
The Non-Negotiable Soil Recipe for Raised Beds
Let’s break this down so there is zero confusion. Go to your garden center. Buy three things. First, you need a quality organic potting mix, not garden soil. Garden soil is too heavy. Second, horticultural perlite or coarse sand. I prefer perlite because it’s light and holds air pockets. Third, a scoop of well-rotted compost. The ratio is the magic part.
For every three buckets of potting mix, add one bucket of perlite. Then, add one bucket of compost. Mix it in your wheelbarrow until it looks uniform. When you squeeze a handful, it should hold its shape but crumble instantly when you poke it. If it stays in a wet ball, you have too much organic matter and not enough perlite. This is the exact mixture that saved my third batch of White Christmas. The tubers love fibrous roots. They need air. The perlite ensures that oxygen reaches the root zone. Simple.
Avoid These Soil Additives at All Costs
People love adding vermiculite. I did too. Don't do it. Vermiculite holds water like a sponge. In a raised bed, it creates a soggy layer at the bottom that stays wet for days. I genuinely believe that is the top reason for tuber rot. Also, avoid using pine bark mulch in the mix. It steals nitrogen from the soil as it breaks down. Your caladium leaves will turn yellow, and you’ll panic. I learned this when I mixed in a cheap "soil conditioner" that was mostly bark. My leaves stunted really quickly. Stick to perlite. It is your best friend.
Planting Depth and Spacing That Actually Matters
Now that your soil is flawless, you must get the planting right. The depth is critical. I lost a few tubers because I planted them too deep. The cold, deep soil kept them dormant until they rotted. For Caladium White Christmas, you want the tubers about two inches deep. Measure the knob side up. The knobby bits are the eyes, those need to face the sky. In a raised bed, this shallower depth allows the sun to warm the soil much faster, triggering early sprouting.
Spacing is also something I used to ignore. I wanted that lush, full look immediately. So I crammed them together. Big mistake. The leaves touch, humidity gets trapped, and powdery mildew shows up. I promise you, those white leaves are prone to fungal marks once they stay wet. Space them at least 12 inches apart. Yes, it looks bare for the first few weeks. But once they fill in, they look ten times better and healthier than any cramped planting. Trust the spacing.
Watering: The 90% Killer of Indoor Plants
Here is the scream-worthy truth: 90% of indoor plants die from overwatering, but the same mistake happens in my outdoor raised beds. When you have a raised bed, you think the drainage is better. It is, but that tricked me into watering too frequently. My second batch of plants showed droopy, yellowing leaves. I actually thought they were thirsty. I gave them more water. The roots were drowning. The oxygen was completely displaced.
You need a “dry-down” cycle. I now stick my finger into the soil up to my second knuckle. If it feels cool and moist, I walk away. I don’t water. Only when that top layer feels dry to the touch do I grab the hose. Caladiums like consistency. They hate fluctuations between bone dry and soaking wet. In a raised bed, check the soil every single day during summer heat. The edges of the bed dry out faster than the center. So water the edges a bit more if you see shrinkage.
The "Morning Only" Rule for Watering
I only water in the morning. The reasons are simple. The leaves have all day to dry off. Walking into my garden with a hose at 7 PM is a no-go now. I made that mistake once. The evening moisture sat on those gorgeous white leaves overnight. By the next morning, I saw brown, water-soaked spots spreading across the leaflets. That’s fungal leaf spot. It spreads fast. The AHS recommends watering at the base early in the day to prevent foliage diseases. That one habit change increased my plant health by 90%. So, keep the foliage as dry as possible. Aim that water at the soil line, not the leaves.
Light Requirements: The White Leaf Dilemma
Caladium White Christmas is special. The leaves are almost translucent white with green veins. They are not like the dark red varieties. They need a specific light dose. Too much sun absolutely scorches them. The white parts have less chlorophyll, making them super sensitive to harsh UV rays. I put mine in full sun for the first week. The edges turned crispy and brown. It looked ugly, honestly.
The sweet spot is dappled shade or morning sun only. In my raised beds, I place them under a tall tree canopy. They get bright, indirect light for most of the day. If you have a spot that gets sun after 1 PM, you’ll struggle. The leaves will burn. You can use a shade cloth in the peak of summer if your bed is exposed. I did that when I moved my beds to the backyard. A 50% shade cloth worked wonders. It filters the harsh afternoon rays while letting in enough light to keep the colors vivid.
Why I Moved My Beds Away From the South Wall
My house has a south-facing brick wall. I thought it was a perfect microclimate. It was too hot. The wall radiated heat all night. The soil temperature never dropped. The heat stressed the tubers, and they went dormant early. The white foliage collapsed in August instead of lasting into September. I moved the raised beds to the east side of the house. Now they only get that gentle morning sun. The leaves stay pristine. The lifespan of the display extended by a month. That taught me to watch the microclimate, not just the garden zone.
The Trap of Wrong Pots and Bed Edges
You said you are using raised beds. But the border material matters. I built my first beds with black metal panels. Those things absorb heat like crazy. The soil at the edges cooked. The caladiums planted closest to the metal edges wilted constantly, even with proper watering. The soil was literally baking them. If you have metal beds, line the interior with a layer of bubble wrap or mist the edges frequently. Honestly, I switched to wooden cedar beds. Wood is forgiving and insulates better.
Also, don’t plant tubers right along the edge. The soil dries out there too fast. Keep them at least 4 inches away from the walls. This gives the roots a buffer zone. I’m telling you, the difference is visible within two weeks. The inner plants were lush; the edge plants were stressed. I moved them inward mid-season, and they recovered. It was a wake-up call.
Fertilizing: Don't Overthink The Food
Caladiums are heavy feeders, but they hate too much salt. I burned the roots on a batch using chemical fertilizer pellets. The white leaves turned yellow at the tips. It was ugly. I switched to a liquid seaweed extract and diluted fish emulsion. I feed every two weeks at half strength. That is enough. More isn't better.
During the initial soil mix, I added some granular slow-release fertilizer. That worked fine. But if you forget to mix it in, you can top-dress. You can also make a compost tea and water it in. The key is keeping nitrogen steady. If nitrogen is too high, you get lots of green growth but less of the white speckling. If it’s too low, the leaves look washed out and small. I find that consistent, light feeding keeps the white variegation crisp and bright. Remember to stop feeding by early September to help the plant wind down.
The 2-Week Observation Log After Installing The Right Soil
I want to give you a real-time look at what to expect. I rebuilt my raised bed with the 50/30/20 mix. I planted three Caladium White Christmas tubers on the first of June. Here’s the timeline.
Day 1 to Day 4 The soil felt perfect. It was crumbly. I watered it in heavily once. I checked the moisture with my finger. The top felt dry by day 2, so I gave it another small drink. I didn’t see any sprouts yet. That is normal. They take a while to wake up. I kept the soil barely moist, never wet.
Day 5 to Day 8 I saw the first little pinkish nub poke through the soil. I was thrilled. It looked like a little arrow. I was careful not to splash water on it. The raised bed heat helped push it up. The temperature was around 85°F during the day.
Day 9 to Day 12 The leaves started to unfurl. The stems were about 4 inches tall. The white was creamy and delicate. I noticed the leaves were facing east, stretching toward the morning light. No crispy edges yet. I touched the soil, still moist a few inches down. I held off watering.
Day 13 to Day 16 Here's the cool part. The plants grew visibly every single morning. The foliage expanded into that iconic shield shape. I noticed no yellowing. Because the soil was light, tiny roots were probing out the bottom drainage holes. The humidity was moderate, and the air flow kept the leaves dry. I started my liquid feed at this point.
Day 17 to Day 20 They look like a tropical picture. The white leaves are huge now, about 8 inches across. They are the star of my garden path. The mix is working flawlessly. The raised bed has not turned into a swamp. By following the dry-down cycle, I haven’t overwatered. I have successfully kept them alive past the dreaded two-week mark.
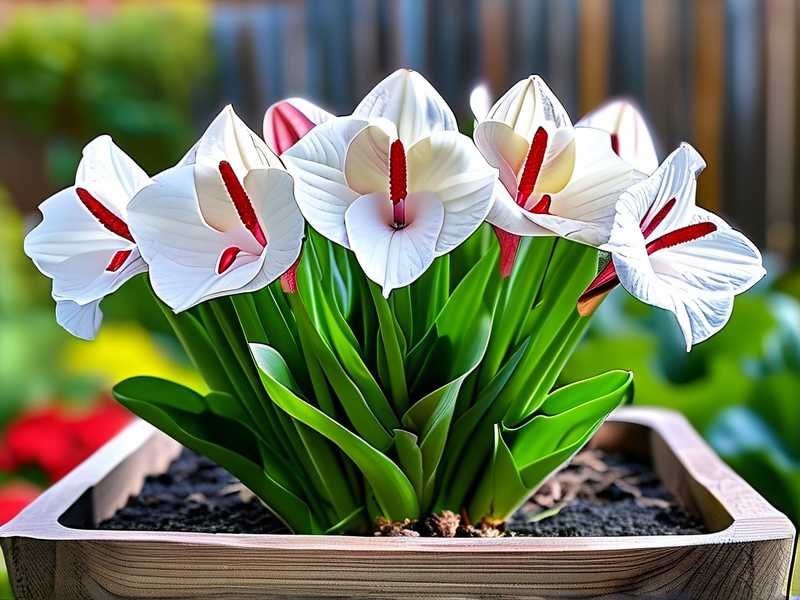
3 Fatal Mistakes That Kill Every Beginner’s Caladium
Listen closely, because these are the exact reasons your White Christmas will leave this earth early. I know because I have killed a lot of them.
① Overwatering: The Silent Assassin
I cannot say this enough. You see the top inch of soil look pale and dry. You panic. You grab the watering can. You drown the roots. That plant does not need water right now. You must trust the soil depth. Dense soil holds water forever. If your mix is wrong, your watering schedule is irrelevant. You are digging a grave. Always check the drainage holes. If water pools on top, your soil is compacted. My rule is to never water on a schedule. Water on a soil check.
② Lighting Misplacement: The Scorch
People treat caladiums like sun-loving zinnias. They put them in the blazing sun. The white leaves fry. It happens within six hours. You come home to brown, crispy, curled leaves. There is no coming back from that. The plant will drop leaves and go dormant early. You get a sad pot of stems. Give it shade. Seriously, just give it shade. Morning sun is more than enough. In the afternoon, they should be shadowed.
③ The Wrong Container/Bed Material
While we're talking raised beds, the material of the bed itself changes the temperature. Metal beds are dangerous for caladiums. The heat transfers directly to the soil. I burned more roots in those metal grow bags. Also, using a bed that’s too shallow is bad. Caladium roots need depth. A bed that is less than 10 inches deep will stress them. The roots hit the bottom and heat up. I recommend at least 12 inches of soil depth. Wood is cooler. Fabric bags are cooler. Just avoid the heat traps.
Common Pests and How I Handled Them in Raised Beds
Raised beds still get pests. The most annoying is spider mites. They love dry, dusty conditions. I got them when I over-corrected the watering and let the bed get too dry. The leaves looked stippled and faded. I sprayed the underside of the leaves with neem oil. I also hosed the leaves off in the morning to knock the mites down. You need to check the undersides regularly. Red spider mites are tiny, but they spin webs.
Slugs are also a big deal in raised beds. I didn't think they could climb wood. They can. They do. They chew holes in the leaves overnight. I use a sprinkling of iron phosphate slug pellets around the bed perimeter. It works. I tried the beer trap, which was messy and attracted more slugs. The iron phosphate is safe for pets and wildlife. The leaves stay looking beautiful for weeks with that simple protection.
Keeping the Show Going: Late Season Care in Beds
As the season winds down, do not yank the bulbs out immediately. The leaves are sending energy back to the tuber for next year. I stop fertilizing six weeks before the first frost. I let the leaves yellow and fall off naturally. Then I stop watering entirely. I let the soil dry out completely. Then I dig up the tubers and let them cure in the garage. This happens only if you are in a cold climate. If you are in zone 9 or higher, you can leave them in the bed. But even then, you need to reduce watering to keep the tuber dry over winter. It’s a natural rhythm. Respect it.
My FAQ For Caladium White Christmas in Raised Beds
Can I just use regular garden soil in my raised bed for caladiums? No. Garden soil compacts too easily in a raised bed container environment. I tried that. It becomes a solid block. The roots suffocate. You need the potting mix, perlite, and compost blend. If you skip it, you will likely waste your money on tubers.
How often should I water my caladiums in a raised bed in summer? There is no fixed number. I check my soil every day. In 90°F heat, I might water every other day. In cooler, cloudy weeks, I might go four days. Your finger is the best tool. If the second knuckle comes out dirty and wet, skip it. If it comes out dry, water. This rule has never failed me.
My caladiums are growing but the white leaves are turning green. Why? This is too much fertilizer or too little light. If they lack light, they produce more chlorophyll, making the white leaves turn green. Place them in brighter, indirect light. Conversely, if you gave them strong liquid fertilizer recently, flush the bed with fresh water. My leaves stayed white when they got bright shade and very low doses of food.
Final Soil Mindset For Your Raised Bed Success
Growing Caladium White Christmas is not hard, but it requires changing how you think about soil. It is not a storage medium; it is an environment. You are building a root home. You need air, moisture, and nutrients in balance. Every time you water, you are making a choice that affects that balance. I want you to avoid the errors I made. Don't drown them. Don't bake them. Use the right bed materials.
If you follow the soil recipe and the watering rules, you will see those stunning white leaves thrive. The visual payoff is huge. The bright white foliage lights up shadowy areas of your garden. It looks remarkable next to dark green ferns. I love walking by my raised bed every morning to see the dewy white leaves catch the morning sun. It makes all the failed attempts worth it. Go build your soil. Your caladiums will thank you.





