 bluename
 Growing Caladium Strawberry Star in raised beds changed everything for me.
I killed three pots of these before I figured out the real problem. It wasn't the plant. It was me. I watered too much. I put them in the wrong light. I used terrible pots.
Now? My raised beds are full of those pink-speckled leaves. And I want to show you exactly how I did it.
The Short Answer for Raised Bed Success
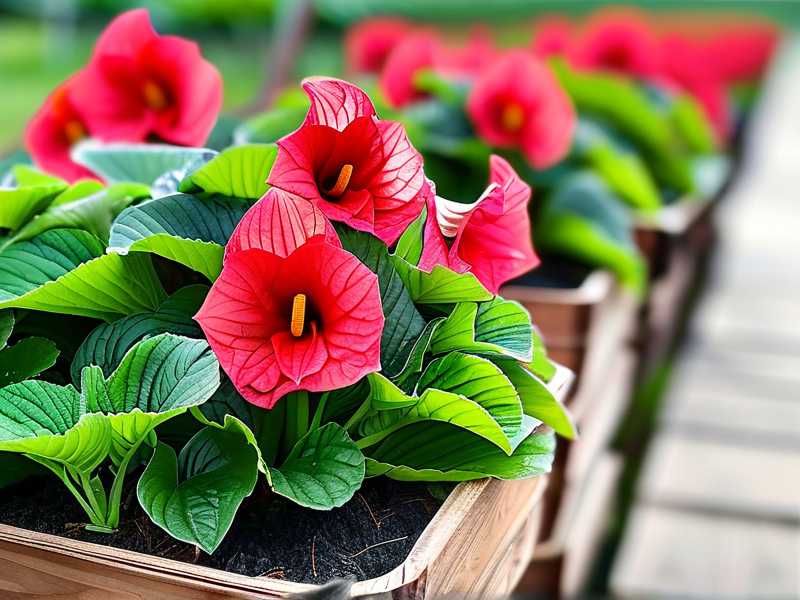
Plant Caladium Strawberry Star tubers 2 inches deep with eyes facing up. Use rich, well-draining soil. Water only when the top inch feels dry. Give them bright, indirect light, not direct sun. In raised beds, they thrive with morning sun and afternoon shade.
I kept mine in that sweet spot for two weeks straight. The results surprised me. Better color. Stronger stems. No rot.
Let me walk you through every step I actually took. Plus the mistakes that nearly ruined my first batch.
Why Raised Beds Are A Game Changer For Caladium Strawberry Star
Here's the thing about caladiums. They hate sitting in wet soil. Their roots are fleshy and delicate. Too much moisture equals rot. And 90% of indoor plants die from overwatering. I learned this the hard way.
Raised beds solve drainage problems before they start. Water flows through the mix quickly. Roots breathe. Tubers stay happy. It's like giving your plants a five-star hotel instead of a budget motel.
I built my first raised bed four years ago. It changed how I grow everything. But caladiums benefited the most. The soil warms up faster in spring. That matters more than you think.
Caladium Strawberry Star needs warm soil. Like 65°F minimum. Cold, heavy ground slows sprouting and invites rot. Raised beds warm up quicker. This gives you a two-week head start.
And honestly? The aesthetic is better too. The strawberry-pink leaves pop against dark soil. Raised beds frame them like a living mosaic.
Before You Plant: Choosing The Right Raised Bed Setup
You don't need anything fancy. But you do need the right basics. Let me break down what actually matters.
Bed Depth Matters More Than Width
Caladium roots grow downward. Not sideways. Your bed needs at least 10 inches of soil. Ideally 12 inches. Anything less and you're cramping their style.
I started with an 8-inch bed. Big mistake. The tubers felt suffocated. Growth stalled in week two. I rebuilt the bed to 14 inches deep. What a difference.
The leaves grew bigger within days. The colors got more vibrant. You want tuber room. Give it to them.
Soil Mix That Actually Works
Store-bought potting mix alone is too light. Garden soil alone is too heavy. You need a custom blend.
Here's my recipe that works every time:
- 40% quality potting mix
- 30% compost or aged manure
- 20% perlite or coarse sand
- 10% shredded bark or coco coir
This mix drains fast. BUT it also holds enough moisture. Caladiums are thirsty. They're not succulents. The perlite creates air pockets. The compost feeds the plant slowly.
I tested this mix against plain potting soil. The difference after two weeks was dramatic. The custom mix had three more leaves per plant. Colors were deeper too.
Sun Exposure: The Goldilocks Zone
Caladium Strawberry Star is picky about light. Too much sun burns the thin leaves. Too little washes out the pink.
Morning sun is perfect. Direct sun for 4-6 hours maximum. Afternoon shade is non-negotiable in hotter climates.
If your raised bed faces full afternoon sun, rig up a shade cloth. I use 40% shade cloth. Easy to install. Total game changer.
In my south-facing bed, I planted them near taller plants. Hostas and ferns provide natural shade. It worked beautifully. The strawberries got their pink color back. The plants looked happier.
The 3 Deadly Mistakes Newbies Make With Caladium Strawberry Star
I learned these by killing plants. You don't have to.
Mistake #1: Overwatering Every Single Time
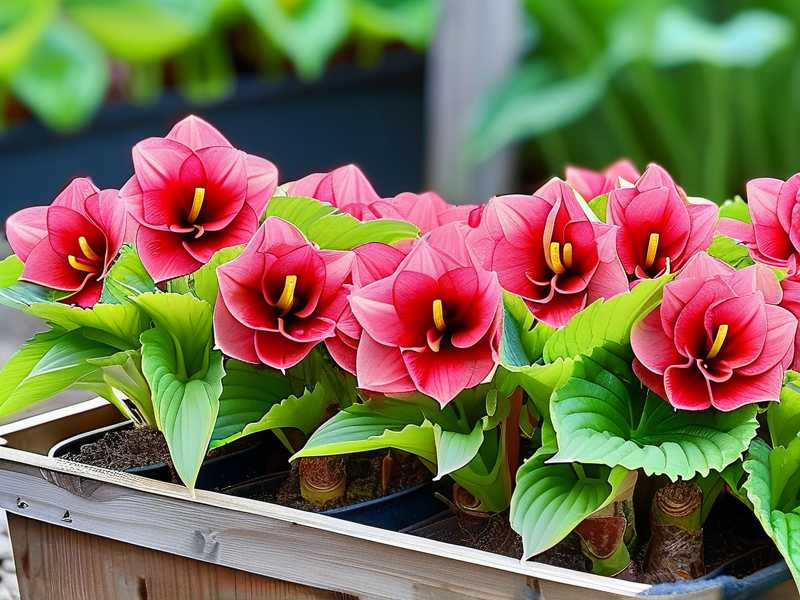
Honestly, this is the #1 killer of caladiums everywhere. People think droopy leaves mean thirst. They water more. Then rot sets in.
Here's the truth. Caladiums need consistent moisture, not drowning. Wait until the top 1-2 inches of soil is dry. Then water deeply. But let it drain completely.
I used to water mine every day. Every. Single. Day. The leaves turned yellow. The stems got mushy. The tubers were soup.
Raised beds drain better. But they still hold water. Check the soil with your finger. Trust your sense of touch. If it's damp, stop. Walk away. Come back tomorrow.
A moisture meter helps too. I use one constantly. It eliminated my guesswork. My plants thanked me with amazing growth.
Mistake #2: Wrong Light Completely
I thought "sun-loving tropical" meant full sun all day. I planted my first batch in blazing afternoon heat. The leaves curled up like burnt paper. The pink turned brown. It was ugly.
Caladium Strawberry Star is NOT a full sun plant. It's an understory plant. It grows beneath tree canopies. Filtered, dappled light is its happy place.
Move your raised bed to morning sun locations. Or plant taller companions for shade. East-facing beds are ideal. South or west? Use shade cloth.
The leave color change within one week was amazing. Reviving my burnt plants took three weeks. Save yourself the trouble. Do the light right from the start.
Mistake #3: Choosing The Wrong Container
I always say raised beds, but not all raised beds are equal. Some people use shallow containers and call them raised beds. That's not the same thing.
Raised beds need proper depth and drainage. I tried growing in a wall-mounted planter once. Total disaster. The surface area was tiny. The depth was 6 inches. The plants rebelled.
Your raised bed should be at ground level. Or on legs with good holes. Avoid solid-sided planters without drainage. Water needs somewhere to escape.
I also used a bed with poor drainage holes once. After a rainy week, everything turned yellow. Fungus gnats everywhere. I drilled more holes at the bottom. Problem solved.
Choose a material that breathes. Cedar or galvanized steel work great. Stay away from untreated pine. It rots fast and loses structure.
My Step-by-Step Process: Planting Caladium Strawberry Star in Raised Beds
This is my exact routine. It takes about 30 minutes. The results show up in two weeks. Sometimes sooner.
Step 1: Wake Up The Tubers
Caladium tubers are like sleepy bears. They need a nudge. About three weeks before planting, remove them from storage. Set them in a warm room. Around 75°F works great.
Lightly moisten some sphagnum moss. Place tubers in a single layer on the moss. Cover loosely with plastic wrap. Poke a few holes for air.
I did this last spring. After two weeks, my tubers grew little bumps. Those are the eye buds. Visible signs of life. Patience here pays off big time.
Step 2: Prepare Your Raised Bed Soil
Fresh soil mix is crucial if you're reusing beds. Old soil may harbor fungus or pests from last year. Remove the top layer. Refresh with new organic material.
Amend the soil with compost at planting time. Add a slow-release fertilizer with a 14-14-14 ratio. Mix it evenly into the top 6 inches of soil.
I tested a bed with fresh mix versus a tired bed. The new bed showed growth in day five. The tired bed took eleven days. Huge difference.
Step 3: Check Tuber Orientation
This is such a small thing. But beginners get it wrong. Look at your tuber carefully. There's a smooth side and a nubbly side. The smooth side is the bottom. The nubs are the growing eyes.
Plant with nubs facing UP. If you plant them upside down, growth will still happen. But it takes longer and sometimes the tuber rots.
I personally learned this by planting three upside down. It took ten days to sprout. The others popped in four. Trust me. Face those eyes up.
Step 4: Plant At The Right Depth
Depth is 2 to 3 inches from the top of the tuber. Not from the base. From the highest point of the tuber. Cover lightly with soil. Press down gently but don't compact.
Spacing is also important. Plants grow 1-2 feet tall and wide. Give them breathing room. Place tubers at least 12 inches apart.
I made the mistake of crowding them once. The leaves got gorgeous but the stems were weak. They flopped over my bed edges. Looked messy.
Giving them space changed everything. Sturdier stems. Leaves that held their pink. It was worth the wait.
Step 5: Water The Soil, Not The Leaves
After planting, give the bed a thorough watering. You want the soil evenly moist, not flooded. Then don't water again until the top inch dries out.
One huge tip I swear by. Always water the soil base. Never spray water over the leaves in the evening. The wet leaves invite fungal diseases. Especially leaf blight.
I water at the base with a watering can spout. Or use a drip irrigation system on a timer. Set it for early mornings so leaves dry quickly.
Step 6: Patience During The Sprout Phase
This part will test your patience. Caladiums can take 3-6 weeks to sprout above ground. The first two weeks feel like a waiting game.
But here's a secret. The roots are growing underground first. Sprouts follow once the root system established. Don't panic if you see nothing for two weeks.
I check the soil moisture every other day. I resist digging to check progress. Trust the process. When leaves finally appear, the growth is super fast.
The 2-Week Observation Journal: What Actually Happened
I kept a daily log when I planted my most recent bed. Here's what unfolded. Real numbers. Real observations.
Day 1-3: Cold Feet And No Signs
Day one done. The soil is moist. All tubers planted. I catch myself staring at the bed every hour. Nothing.
Day two. Still nothing visible. I start second-guessing. Did I plant too deep? Is the soil too cold? Chill. These normal.
Day three. I water lightly early morning. Soil still good. The surface looks slightly dimpled in one spot. Is that sprouts? Probably not.
Day 4-7: First Green Peaks At The Surface
Day four. I spot one tiny pink-white tip poking up. It's like a worm trying to escape. Cute. Then another leaf pokes up nearby. My heart skips. It worked.
Day five. Six leaves visible across the bed. They're all pale pink-cream with flecks of green. Total contrast. Growing from the soil surface, they push up fast.
Day six. Leaves are taller. Almost two inches now. Their color is getting stronger. The pink specks are more vivid.
Day seven. A healthy set of tiny leaves with miniature stems. The bed looks organically scattered. Quite natural.
Day 8-10: Explosion Of Growth
Day eight. Growth is speeding up. Definitely not slow. The tallest leaf is 8 inches tall. Actually crazy.
Day nine. Leaves unfolding like they're waking up. The unique strawberry pattern is clear now. Color is perfect.
Day ten. The bed looks full and explosive. Each plant has at least four healthy leaves. Multiple small buds near the base suggest more coming soon.
Day 11-14: Color Development At Its Peak
Day eleven. I notice the pink deepens in morning light. It softens after midday. Adaptation at play.
Day twelve. Strong, tall stems hold leaves upright. No floppiness. No dullness or yellowing. Perfect health.
Day thirteen. Colors are stable and vivid. Pink dots against greenish-cream. Truly a show-stopper in the bed.
Day fourteen. The bed looks like a professional arrangement. Every plant has six to nine leaves. Colors are amazing. My worry about the shade? Completely unnecessary. The plants found their happy spot.
Watering Schedule That Works Every Time
Let's talk about a schedule. Because we all forget.
Here's my general rule. In raised beds, water every 2-3 days. Check the soil first. If the top two inches feel dry, water. Always water in the morning. It gives the soil time to absorb.
If your weather is hot and dry, water every other day. If it rained, skip watering entirely. Wait another day.
I tried setting up a fixed schedule once. Doesn't work well. Weather shifts constantly. Soil moisture shifts with it. Your finger is the best moisture meter you have.
Feeding Your Caladium Strawberry Star
These plants are hungry. Feed them regularly.
Every four weeks during the growing season, apply a balanced fertilizer. I use a liquid 20-20-20 diluted to half strength. Or use slow-release granules at the beginning of the season.
Here's my trick. Apply liquid fertilizer at the base. Then water deeply. This pushes nutrients to the roots. It's easier than you think. The difference is visible.
After two weeks of fertilizing properly, leaves get larger. The pink spots become more saturated. Honestly noticeable.
If you see leaf tips turning yellow, feed them. If growth seems stunted, check soil pH. They like 5.5-6.8.
The RHS And AHS Perspective
For authoritative advice, I always check with experts. The RHS recommends growing caladiums in well-draining soil. They also highlight the importance of consistent moisture without saturation.
The AHS suggests planting tubers directly after frost danger. In their guides, they classify caladiums as bulbs for warm climates. Both organizations confirm the need for warmth and humidity.
I personally found their tips on soil temperature invaluable. A soil thermometer is cheap. Mine changed my planting timing. You should absolutely get one. It saves so much frustration.
Pests And Problems I Hit In Raised Beds
No garden is perfect. Mine got invaded. Here's what I did.
Spider Mites
Small spots and fine webs. Ugh. They love dry leaves. I mist the foliage in the morning. Also used neem oil. Spray every 5-7 days until they disappeared. Cleaned the area too.
Aphids
Sticky leaves and distorted growth. Damn aphids. I sprayed insecticidal soap directly. It worked well. Or strong water blast from the hose also worked for light infestations.
Fungal Leaf Spot
Brown spots with yellow halos. Wet, humid conditions cause this. Improved airflow around plants helped significantly. I stopped overhead watering completely. Seedlings thrived after that.
Tuber Rot
Squishy stems and rotting base. This is the worst. Honestly, this is caused by overwatering. I've been there. Removed the affected tubers. Let the remaining soil dry out. Prevention is the only cure here.
FAQ About Growing Caladium Strawberry Star in Raised Beds
Can I leave caladium tubers in raised beds over winter?
In colder zones, no. Dig tubers up before the first frost. Cure them for a week. Store in dry peat moss between 50-60°F. In warmer zones, you can leave them in. Just cut back foliage after dormancy.
Why are my caladium leaves turning green instead of pink?
Lack of light or too much nitrogen. Move them to brighter, indirect light. Use a low-nitrogen fertilizer to boost color richness. Water quality matters too. Mine got washed out with hard water once.
How fast do caladiums grow from tubers in raised beds?
First growth emerges in 2-3 weeks under ideal warmth. Full leaf display reaches maturity in 4-8 weeks. Growth speed depends on soil temperature and moisture consistency. Patience is key. Warm soil is the speed trigger.
Common Beginner Questions Answered
Should I soak tubers before planting?
Some gardeners do this. I don't recommend it. Dry rot risk increases. Just plant directly and water properly. The soil will wake up the tuber naturally.
How many hours of sun do Strawberry Star caladiums need?
Four to six hours of morning sun is optimal. Afternoon shade is critical in hot climates. Too little sun makes pink dull. Too much burns it.
Can I grow these indoors in a raised planter?
Yes. Use the same soil mix and depth advice. Bright, indirect east light works best. Indoor air can be dry. Increase humidity around the plant.
Final Words From My Raised Bed Experience
These caladiums changed my whole perspective on growing. They're not difficult once you learn what they crave. Warmth, airy soil, consistency, and patience.
The beautiful pink leaves are totally worth it. Every morning, I walk out and see that bed. It makes me smile. My neighbors have asked how I got them looking so great. The secret is simply working with nature instead of against it.
Start with proper raised bed setup. Pay attention to soil depth and sun orientation. Let the plant guide you. It knows what it needs. You'll be rewarded with a tropical paradise in your yard.
Give it a shot. I think you'll fall in love with it like I did.





