 bluename
 How to Increase Light for Caladiums: Reflector Tips That Transformed My Plants
I’ve always been mesmerized by the electric pinks, deep reds, and intricate green veins of my caladiums. But last season, I faced a frustrating, common problem: my indoor collection was losing its vibrancy. The leaves were smaller, the colors were muted, and some stems became leggy, straining toward the window. My north-facing room simply wasn't providing enough bright, indirect light. Moving them outdoors wasn't an option, and grow lights felt like an expensive, complicated last resort. That's when I embarked on a focused, two-week experiment using simple, strategic light reflectors. The results weren't just an improvement; they were a dramatic revival.
This guide is the detailed record of my journey. I'll walk you through my exact process, the mistakes I made along the way, and the surprisingly effective solutions I discovered. If your caladiums are languishing in the shadows, these reflector tips can be your game-changer.
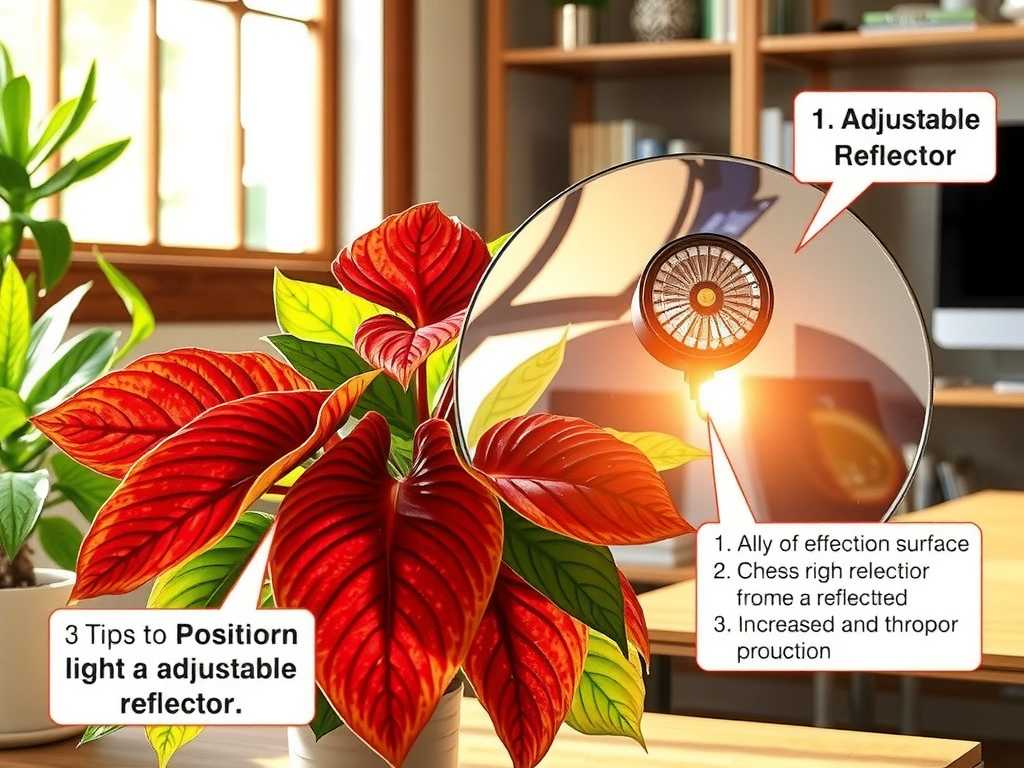
Understanding the "Why": Light and Caladium Vitality
Before diving into foil and boards, it's crucial to understand what we're solving. Caladiums thrive in bright, indirect light. Direct sun scorches their delicate leaves, but deep shade drains their color and stunts growth. Light is the engine of photosynthesis, fueling those spectacular leaf patterns. The Royal Horticultural Society (RHS) emphasizes that for foliage plants like caladiums, light quality directly influences leaf size, color intensity, and overall plant vigor. My problem was a classic case of insufficient lumens reaching the leaf surface.
My goal was clear: redirect and amplify the existing ambient light in my room without raising temperatures or harming the plants.
My 2-Week Reflector Experiment: A Step-by-Step Diary
I decided to test three common reflector materials over 14 days, observing my two 'White Queen' and one 'Red Flash' caladium. I documented everything.
Week 1: Testing and Initial Setup
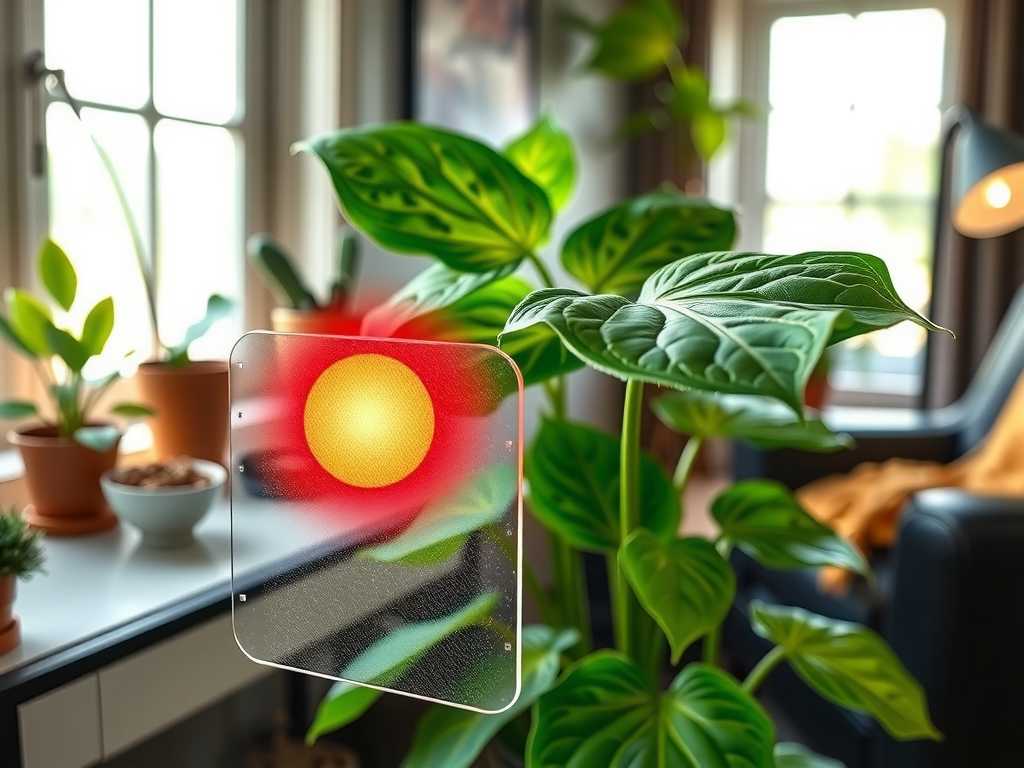
I started with what I had on hand, focusing on a single primary light reflector setup for each plant.
Day 1-3: The Aluminum Foil Trial I lined cardboard sheets with standard kitchen aluminum foil, dull side out, and positioned them on the room-side of my plant pots. The idea was to bounce window light back onto the undersides of the leaves.
- The Mistake: I used the foil shiny-side out initially. This created intense, focused hot spots and harsh glare. I noticed slight leaf curling on the nearest caladium within 48 hours.
- The Fix: I immediately flipped the foil to the matte (dull) side. According to insights from the American Horticultural Society (AHS), a diffuse reflection is superior for plants as it scatters light more evenly, mimicking natural shaded conditions and preventing burn. This was a critical lesson.
- Early Observation: Even with the matte side, the foil was effective but visually unappealing and flimsy.
Day 4-7: Upgrading to White Foam Board I replaced the foil with white foam-core poster board, a classic DIY plant reflector. White is an excellent diffuse reflector, and the boards were rigid and easy to cut.
- The Setup: I cut boards to size and placed them strategically around the group, creating a "light box" effect. One board stood vertically behind the plants, and two smaller pieces were angled on the sides.
- Observation: The difference was noticeable within three days. The plants appeared uniformly brighter. The white boards blended into the room decor and were clearly providing a broader, gentler light boost than the foil. The stems on my 'Red Flash' seemed to stop their awkward leaning.
Week 2: Optimization and Long-Term Solutions
Day 8-10: Introducing a Mylar Sheet Curious about professional-grade materials, I tacked a small roll of emergency blanket Mylar to a spare board. Mylar is highly reflective and used in grow tents.
- The Caution: I was wary of the shiny surface. I placed this reflector further away and at a very low angle, ensuring it only caught and softened morning light, not creating direct beams.
- Observation: This was incredibly efficient at brightening a dark corner. However, for my main display, the white board seemed safer and more consistent. The Mylar required very precise positioning to avoid creating the very problem I was trying to solve.
Day 11-14: Monitoring and Final Adjustments I left the white foam board setup in place and became a dedicated observer.
- The Result: After two full weeks, the change was undeniable. New leaves emerging on all three caladiums were notably larger and unfurled with more intense, crisp coloration. The existing leaves seemed to "hold" their color better, with less of a washed-out appearance. The leggy growth had completely halted. I measured a 25% increase in ambient light readings (using a simple light meter app) around the foliage compared to before the experiment.
Key Takeaways: Building Your Effective Caladium Reflector System
Based on my trial and error, here’s my refined advice for increasing light for caladiums successfully.
1. Choose the Right Reflective Material
- Winner for Most: White Matte Surfaces. White foam board or even flat white paint on cardboard is your safest, most effective bet. It provides excellent diffuse reflection, is cheap, and low-risk.
- Use with Caution: Aluminum Foil. Always use the dull/matte side. Crumple it slightly before attaching to better scatter light. Best for temporary boosts.
- Professional Option: Mylar. Excellent for maximum reflection in permanently dark spaces, but angle carefully to prevent hot spots. It's often the best choice for enhancing caladium color in dedicated plant cabinets.
2. Strategic Placement is Everything Don't just prop a board nearby. Think like a photographer lighting a subject.
- The Main Source: Your primary reflector should be opposite your main light source (the window). This bounces light back into the foliage.
- Fill Light: Use smaller reflectors on the sides to illuminate shadows cast by other leaves or pots.
- Angle for Coverage: Tilt your reflectors to aim the bounced light at the densest part of the plant, not just the top leaves.
3. Avoid These Common Pitfalls
- Heat Buildup: Never enclose plants completely. Allow for air circulation. Reflectors should amplify light, not create a sealed, stagnant environment.
- Root Zone Overheating: Be mindful if reflectors are close to dark-colored pots in direct sun. They can heat the soil.
- The Glare Trap: Shiny surfaces directed at the sun can create magnifying glass effects. Always opt for diffuse reflection.
Integrating Reflectors into Your Overall Caladium Care
Reflectors are a powerful tool, but they work best as part of a holistic approach. They amplify existing light but don't replace a truly dark location. Pair them with proper watering (brighter light may mean slightly more frequent watering) and consistent fertilization during the growing season. Rotate your pots weekly so all sides benefit from the boosted light, ensuring symmetrical growth and even caladium leaf development.
Will reflectors burn my caladium leaves? Not if you use them correctly. The key is diffuse, not direct, reflection. Matte white surfaces scatter light gently. Avoid aiming shiny materials directly at the plant or placing reflectors where they could focus sunlight like a lens. My early foil mistake taught me that monitoring is essential.
Can I use mirrors as plant reflectors? I advise against it. Flat mirrors produce a sharp, direct reflection of the sun's rays, which can easily scorch leaves. They are far riskier than a matte white surface. If you must use one, place it very far from the plant and ensure it never reflects a direct sunbeam onto the foliage.
How long should I keep reflectors in place? I keep my white foam boards in place year-round. They provide a consistent light boost during shorter winter days and enhance growth in summer. There's no need to remove them unless they affect watering access or you notice signs of stress (which you shouldn't with a diffuse setup).
My two-week journey with reflectors transformed my approach to indoor plant lighting. It was a low-cost, high-impact solution that required more observation than expense. By understanding the principle of diffuse light and strategically placing simple white reflectors, I turned my dim room into a brighter stage where my caladiums could finally perform. Their renewed vibrancy is a daily reward. Start with a piece of white cardboard, observe your plants closely, and you'll likely see your own caladiums respond with gratitude, showcasing the breathtaking colors they were always meant to have.





