 bluename
 How to Reduce Light Stress for Caladiums: Dimming Steps for Vibrant, Happy Leaves
I’ll be honest—I used to think “the more light, the better” for my caladiums. I wanted those stunning, painterly leaves in shades of pink, red, and white to be as bold and beautiful as possible. So, I placed them in my brightest south-facing window, confident I was giving them a tropical treat. Big mistake. Within days, I noticed the heartbreaking signs: leaves that were once soft and lush began to look washed out, with faded colors. Some developed crispy, brown edges and tips, while others seemed to curl inwards, as if trying to hide from the sun. My vibrant caladiums were clearly suffering from light stress, and I knew I had to act quickly to reduce light stress for my caladiums. This guide is the result of my personal, hands-on journey to fix this problem, detailing the exact dimming steps I took over a critical two-week period, the pitfalls I encountered, and the remarkable recovery I witnessed.
Understanding the Problem: Why Caladiums Hate Harsh Light
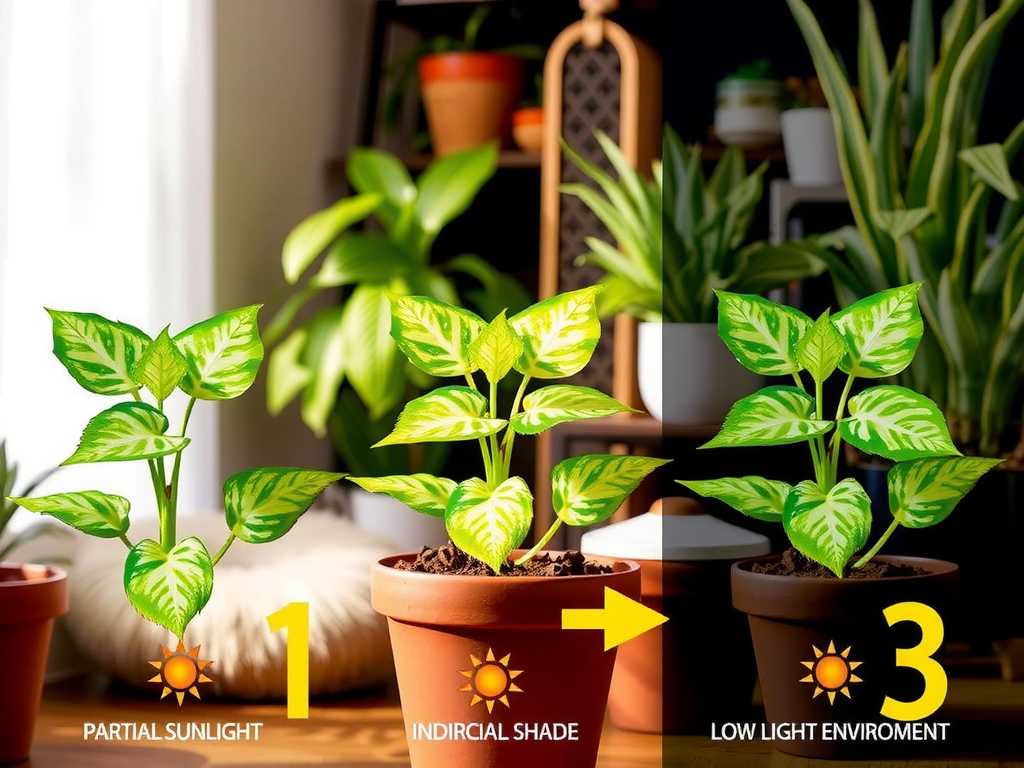
Before diving into the solution, it’s crucial to understand why this happens. In their natural habitat under tropical forest canopies, caladiums thrive in dappled, filtered light. Their spectacular foliage is actually an adaptation to capture limited light, not to withstand a direct sun assault. When exposed to too intense light, several damaging processes occur:
- Photo-bleaching: The pigments in the leaves break down, leading to faded, washed-out colors.
- Leaf Scorch: Plant tissues literally get burned, causing crispy brown patches and edges.
- Moisture Imbalance: Excessive light accelerates transpiration (water loss), leading to curling leaves and general dehydration, even if the soil is moist.
The Royal Horticultural Society (RHS) consistently advises that caladiums require bright but indirect light, explicitly warning against direct summer sun which can scorch the leaves. My experience was a textbook case of ignoring this expert guidance.
My Two-Week Rescue Plan: Practical Dimming Steps
I committed to a gradual, observant process. Drastic changes can shock a stressed plant further, so patience was key. Here was my week-by-week plan to reduce light stress and restore leaf health.
Week 1: The Immediate Intervention Phase
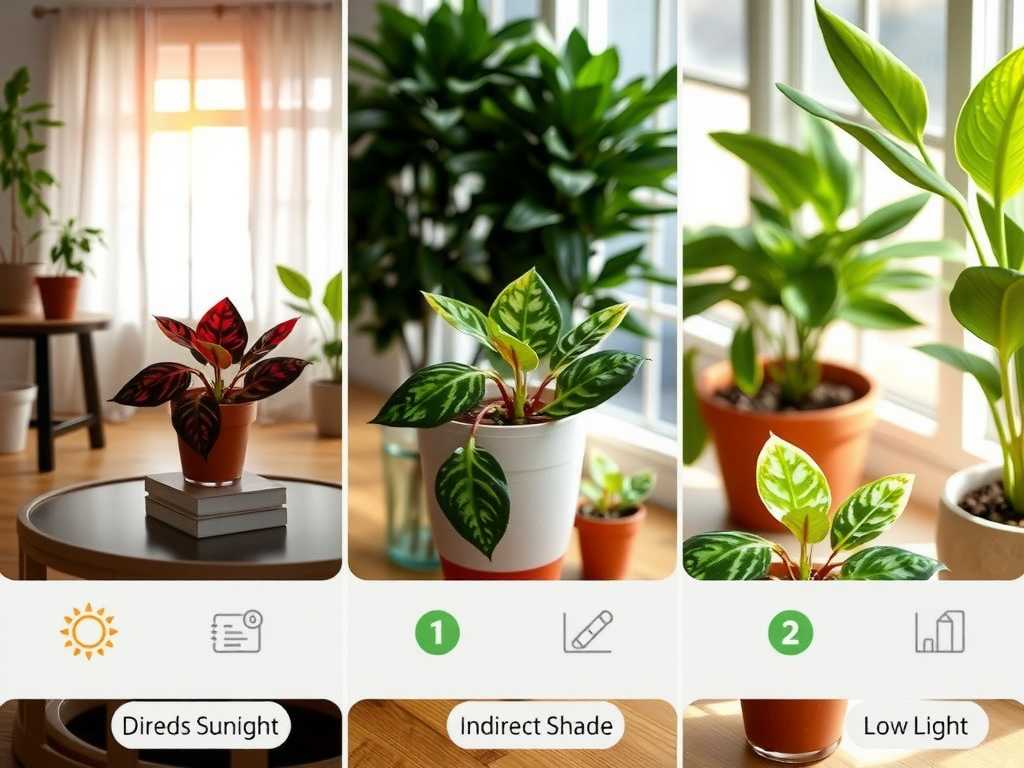
The goal of this week was not to fix everything but to stop the damage in its tracks and begin the adjustment.
- Step 1: The Strategic Relocation (Day 1). I immediately moved my caladiums out of the south-facing window. I chose a spot about 3-4 feet back from the same window, where the sun’s rays would not directly touch the foliage at any point during the day. The light was still very bright but diffuse. For a plant in an east or west window, simply pulling it back from the pane or using a sheer curtain as a filter can achieve the same light reduction effect.
- Step 2: The Humidity Boost (Day 1). Recognizing that light-stressed caladiums often deal with concurrent moisture stress, I placed their pots on a wide, water-filled pebble tray. I ensured the pot sat on the pebbles, not in the water, to prevent root rot. This localized humidity helps the leaves rehydrate.
- Step 3: Assessment and Pruning (Day 3). After a couple of days in the new spot, I assessed the damage. One leaf was over 50% scorched and crispy. Following the principle of redirecting energy, I used sterile scissors to carefully remove this severely damaged leaf at the base of its stem. I left leaves with only minor tip browning, as they could still contribute to the plant’s recovery.
- Observation Notes (End of Week 1): The most significant change was that the damage progression had completely halted. No new brown spots or crispy edges appeared. The leaves, however, still looked tired and slightly curled. The soil was drying at a noticeably slower rate—a clear sign the light intensity was now more appropriate.
Week 2: The Recovery and Adjustment Phase
This week focused on supporting new growth and fine-tuning the environment.
- Step 4: Introducing a Filter (Day 8). I found that the spot 3 feet from the window was perfect for one caladium, but another still seemed a bit too exposed during midday. For this plant, I installed a sheer, white curtain. This created a perfect bright, indirect light environment, softening the sun’s intensity while maintaining ample brightness for photosynthesis. This is a crucial dimming step for many indoor gardeners.
- Step 5: Optimizing Care (Ongoing). I adjusted my watering to match the new, slower drying cycle, checking the soil moisture with my finger before watering. I held off on fertilizer, as stressed roots are sensitive, and the goal was recovery, not forced growth.
- Step 6: The Turning Point (Days 10-14). This was the most rewarding period. I noticed the stems of the remaining leaves seemed to stand more upright, losing their defensive curl. The colors on the existing foliage, particularly the deep greens and red veins, appeared richer and more defined against the white background of the curtain. Then, on Day 12, I spotted it: a tiny, tightly furled new leaf spear emerging from the tuber. This was the ultimate sign of success—the plant was no longer in survival mode but was investing energy in new growth.
The Pitfalls I Encountered (And How I Solved Them)
My journey wasn’t perfectly smooth. Here’s where I stumbled and what I learned:
- The “Just a Little Direct Sun” Trap: Early on, I thought morning sun from an east window would be safe. For some caladium varieties, it might be, but for my already-stressed plants, even an hour caused further bleaching. Solution: I eliminated all direct sun exposure entirely during recovery. Consistency is vital.
- Overwatering in Panic: Seeing curled leaves, I initially watered more frequently. This led to soggy soil and the onset of yellowing lower leaves—a sign of potential root issues. Solution: I returned to a disciplined “finger-test” watering routine, allowing the top inch of soil to dry out between waterings. The pebble tray addressed aerial humidity without risking wet soil.
- Expecting Instant Color Return: I hoped the faded leaves would magically regain their deep colors. They didn’t. The existing damaged foliage will not fully recover its original vibrancy. Solution: I shifted my focus to preserving these leaves as energy factories and celebrated the arrival of new growth, which displayed the true, rich colors my plant was capable of in the correct light.
Expert Insight: Why This Method Works
The American Horticultural Society (AHS) emphasizes the concept of “right plant, right place.” For caladiums, the “right place” is defined by quality of light, not just quantity. My step-by-step approach to reducing light exposure aligns with this principle by systematically replicating the plant’s preferred conditions. The gradual adjustment prevents shock, the increased humidity supports turgor pressure in leaves, and the removal of severely damaged tissue redirects the plant’s finite energy toward healing and new growth. This holistic care strategy addresses the root cause (light intensity) and the symptoms (moisture stress).
Common Questions from Fellow Caladium Lovers
-
Can a caladium recover from severe light stress? Yes, absolutely. The tuber underground is a reservoir of energy. Even if all leaves are damaged, as long as the tuber is firm, reducing light stress and maintaining slightly moist soil can encourage it to push out new shoots. Patience is essential—it may take several weeks.
-
What’s the best artificial light for caladiums if I don’t have good window light? LED grow lights are excellent. Place them 12-18 inches above the plant and use a timer to provide 10-12 hours of light per day. Look for full-spectrum or “bright white” lights; they provide the intensity needed for foliage color without the heat stress of direct sun.
-
How do I know if my caladium is getting too little light after I move it? The signs are different. You’ll see leggy growth, with abnormally long stems reaching for light. The new leaves may be smaller, and the iconic vibrant colors may become dull or more green-dominated. If you see this, gradually move the plant to a slightly brighter location (still indirect) until you find the sweet spot.
Watching my caladiums transform over those two weeks was a powerful lesson in listening to plants. They communicate their needs clearly through their foliage. The journey to reduce light stress isn’t about plunging them into darkness, but about thoughtfully dimming their environment to mimic the gentle, filtered light of their origins. By following these observant, gradual steps—relocating, filtering, and supporting—you’re not just saving a stressed plant; you’re setting the stage for it to produce its most breathtaking, colorful leaves yet. The emergence of that first new, perfectly formed leaf in the soft light is the only reward you’ll need.





