 bluename
 Growing Caladium Pink Beauty from corms changed my gardening game completely. I struggled for years, watching these stunning plants wither, until I figured out the exact prep steps that work. The secret? Start with firm, plump corms and wake them up indoors, about 6 to 8 weeks before your last frost date.
I remember my first batch. I got so excited and just chucked them straight into the garden. Total disaster. 90% of indoor plants die from overwatering, but my corms died from a mix of cold soil and pure neglect. I lost almost every single one. It was a heartbreaking lesson, but it taught me that preparation is everything. This guide covers the exact prep steps I now use to get vibrant, lush growth every single time, with zero rot and maximum blooms.
The Cold, Hard Truth About Caladium Corms
Think of a caladium corm like a tiny, sleepy turtle. It’s waiting for the perfect moment to wake up and stretch. If you rush it, it won’t move. If you drown it, it’s gone forever.
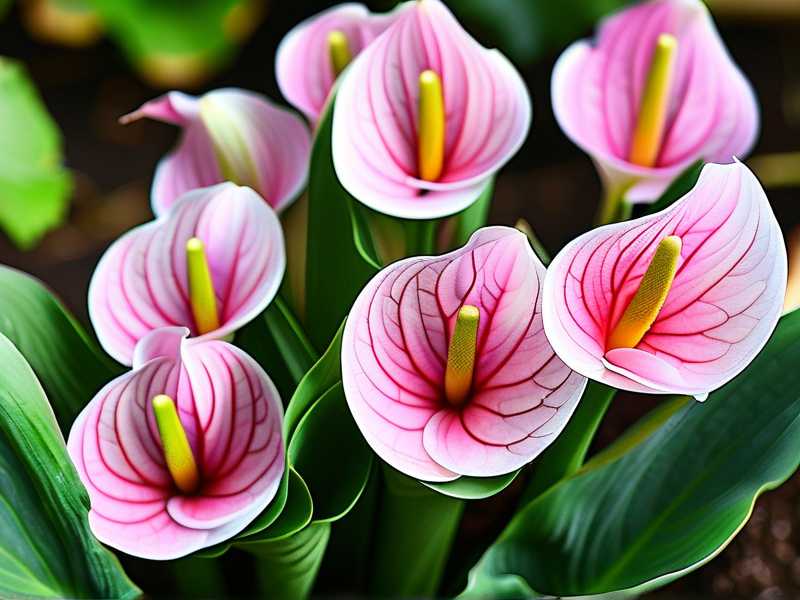
These plants are tropical beauties. They hate cold feet. Soil temperature below 60°F (15°C) is a death sentence. I’ve learned that waiting for the perfect outdoor moment is risky. You need a controlled environment.
That’s where the prep steps come in. You’re essentially building a little greenhouse for them inside your home. This gives them a head start. It also lets you spot any bad corms before they ruin your soil.
Why I Swear By Pre-Sprouting Pink Beauty
I used to think pre-sprouting was overkill. I was wrong. Starting corms indoors is the smartest move, especially for a variety like Pink Beauty. It bridges the gap between indoor safety and outdoor living.
Here is why this step is non-negotiable for me:
- Faster Growth: Once planted outdoors, they don't waste time. They have leaves ready to go.
- Better Rot Control: I can use a sterile potting mix. This cuts the rot risk massively. When I used garden soil, things got soggy fast.
- Extended Bloom Time: You gain weeks of beautiful foliage. It feels like a head start on the season.
- Instant Garden Impact: No staring at empty soil. I plant actual plants, not lumps of earth.
The Royal Horticultural Society (RHS) suggests that tubers and corms benefit from starting in pots for a reliable display. The American Horticultural Society (AHS) also promotes container planting to manage soil temperature and moisture. I found this advice spot on.
My 3-Step Prep Process for Pink Beauty
Here’s the exact routine I follow every spring. I’ve been doing this for three years now, and it works like a charm.
Step 1: The Health Check and Wake-Up Call
Once my corms arrive in the mail or from storage, I don't plant them right away. First, I give them a good look.
I look for areas that feel soft or look brown and mushy. That’s rot. I used to think I could just plant it and hope for the best. Huge mistake. One bad corm can spoil the whole batch and attract fungus gnats.
If they feel a bit dry or shriveled, that is totally normal. They need moisture to plump up. I soak them in a bucket of lukewarm water. Just water, nothing else. I tried adding fertilizer once. Total waste. They don't need food yet.
I let them hang out in the water for about 30 to 45 minutes. This is like giving them a huge glass of water after a long nap. They absorb what they need and puff back up.
Step 2: Potting Up the Corms
While they are soaking, I prepare my pots.
The Pot: I use plastic nursery pots with excellent drainage. Size matters. A 4-inch pot is perfect for one medium corm. For a larger corm, I might use a 6-inch pot.
The Soil: This is crucial. I use a light, airy potting mix with lots of perlite. I mix two parts quality potting soil to one part perlite. This ensures the water flows right through. Heavy garden soil is too dense. It holds water and causes rot. The RHS actually recommends loam-based or peat-free compost with added grit for drainage.
After soaking, I place the corm in the pot. Here is the trick I learned from a nursery owner. Look for the "eyes" or tiny pink bumps. That is the top. That faces upward.
I cover the corm with about an inch of soil. Do not bury it too deep. It has to push through less soil to find light.
Finally, I water thoroughly until water runs out of the bottom. Then I let it be. I never water again until I see a sprout poking out. This is the rule I live by. The moisture in the soil is enough to start the growth process.
Step 3: Location, Light, and the Two-Week Wait
This is the part where patience is mandatory. I place the pots in a warm spot. The warmer, the better. I aim for a consistent temperature of around 70°F to 75°F (21°C to 24°C). I put them on top of my refrigerator once. That worked well, as it gives off subtle heat.
I use a grow light for 10 hours a day, but bright, indirect sunlight works fine too. Initially, they don't need intense light. They need warmth.
Now, this is where the "2-week observation" phase begins.
I keep a little journal or just check them daily. Here is a typical timeline:
- Day 1-3: Nothing. The soil is moist. I resist every urge to water. I might poke my finger in to check the moisture level an inch down. If it feels damp, I leave it.
- Day 4-7: I start to see little bumps, maybe. If not, I don't panic. Some corms are just slower.
- Day 8-10: This is usually the magic moment. I see the first green or pink shoot push through the soil. It looks like a tiny, folded spear. My heart skips a beat every time.
- Day 12-14: The shoot is getting taller. The first leaves are starting to unfurl. They look like little folded umbrellas. At this point, I start watering more regularly, keeping the soil lightly moist but never soggy.
I made the mistake of giving my corms too much sun on day 10. The little shoot got sunburned and turned brown. I panicked and moved it to a shadier window. It recovered, but I learned my lesson. They need gentle light until they have more leaves.
Critical Mistakes That Killed My Caladiums
I want to share the hard lessons I learned. It took me three tries to get this right. Here are the top three mistakes that cause the most heartbreak.
Mistake 1: Watering Like a Maniac
I know I said it already, but I’ll say it again. Overwatering is the #1 killer. I remember my second attempt with Pink Beauty. I was so worried they were thirsty that I watered them every other day. The corms sat in soggy soil. They rotted within two weeks. The pot started to smell, and fungus gnats appeared.
That is when I had to accept that patience is the most crucial ingredient. They need enough moisture, not a swimming pool. I treat the corm like a dry seed. It needs to germinate first. Think of it this way: a dormant corm doesn't have roots to drink water. The soil just needs to be damp, not wet.
Mistake 2: Putting Them in The Wrong Spot
Light is tricky. I started my first batch in a dark corner, thinking the warm spot was enough. The corms took forever to sprout, and when they did, the stems were leggy and pale.
Then, I placed my second batch in a south-facing window with direct sun. Bad move. The soil heated up too much, and the delicate new shoots burned.
I finally found the sweet spot. A north or east-facing window that gets bright, indirect light is perfect. Too much direct sun can scorch the tender leaves while they are forming. Not enough light makes them weak. Balance is key.
Mistake 3: Using the Wrong Pot
I tried to be fancy once. I planted corms directly into a beautiful ceramic pot with no drainage hole. I thought I could just add a layer of pebbles at the bottom. That is a myth. The water collects at the bottom and creates a swamp.
The roots need air. They drown without proper drainage.
Now, I only use pots with holes on the bottom. I also never let the pot sit in a saucer of standing water. After a heavy watering, I dump the runoff out. I also prefer clear plastic cups to pot them in for step one. Why? Because I can see the roots forming against the sides. It tells me when the plant is ready to move up. The AHS emphasizes that good drainage is the most important aspect of container gardening. I completely agree.
Moving to The Great Outdoors
Once my Pink Beauty has a few leaves, it’s not ready for the garden just yet. I have to "harden it off." This is a fancy term for getting the plant used to the outdoors.
I start by putting the pots outside in a shaded area for an hour. Just one hour. The next day, I leave them out for two hours. And I slowly increase that time over a week.
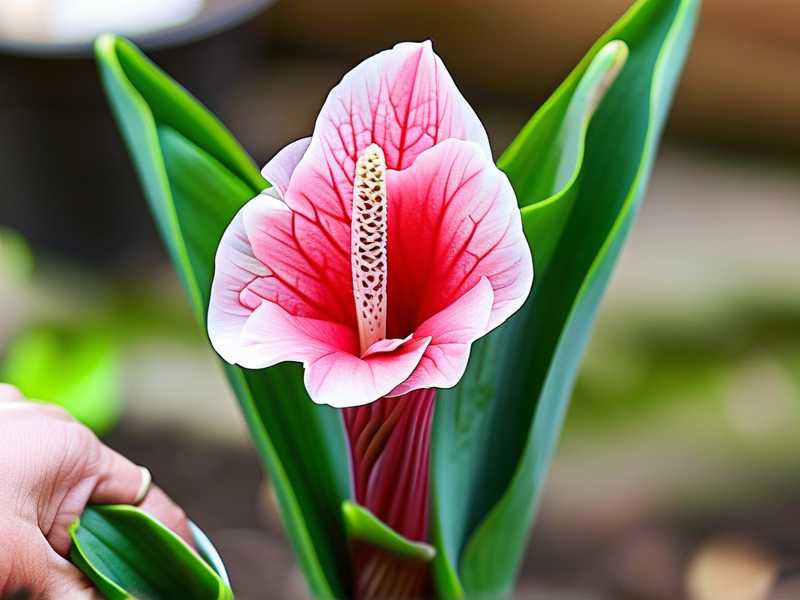
I introduce them to dappled, morning sun. After a week, they can handle more sun, but I always keep them away from the harsh afternoon sun. They like filtered shade.
When I finally transplant them into the ground or a bigger patio pot, the soil must be warm. I wait until the night temperatures are reliably above 60°F.
I dig a hole, place the corm with the shoots facing up (they will still be attached to the root ball), and cover it. I water it in well. By this point, they are bigger, stronger, and less prone to shock.
The 2-Week Home Stretch
Once they are in the ground or final pot, the observation doesn't stop. The initial two weeks after transplanting are critical.
I check the soil every morning. The top inch should be dry before I water again. Caladiums like a drink, but they hate to sit in it. I also feed them with a diluted liquid fertilizer. I look for a formula with lower nitrogen, like a 5-10-10 mix. The RHS suggests a nitrogen-rich feed to promote leaf growth, but I find a balanced one is better for the roots first. I use a half-strength solution every two weeks.
I swap out my regular potting mix for a mix that includes a bit of compost. It gives the corms a gentle nutritional boost. I found that this extra care creates thicker, more robust leaves. The color is more vibrant, almost like they are glowing.
My Essential Toolkit for Corms
Here is what I always have on hand before I start this process. It saves me time and panic.
- Sterile potting mix: Always fresh. I don't reuse old soil, as it might harbor diseases.
- Perlite: To make the mix fluffier.
- Clear plastic cups or small nursery pots: For the initial starting phase.
- Grow light: Actually, low-strength light works too.
- Fungicide powder: I dip the corms in this to prevent rot. It’s a 5-second dip that saves me headaches later.
- A small notebook: I track the dates of when I plant and when they sprout. It helps me get the timing right next year.
- Watering can: With a narrow spout to water the soil, not the leaves.
Seasonal Care: Getting Them Ready for Dormancy
Pink Beauty corms are perennials, but only in warm zones. They will die back in the winter.
I don't have to do this in my climate if I keep them in pots. I move the pots indoors and let the foliage die back naturally. I stop watering. Once the leaves turn yellow and pull away easily, it’s time to dig up the corms or let them rest in the pot.
For potted ones, I gently knock the plant out of the pot and shake off the soil. I cut back the dead stems, leaving about two inches above the corm. Then, I let them dry in the sun for a day. This "curing" process seals them against rot.
I store them in a box filled with dry peat moss. They need a cool, dry, dark place. The temperature should be around 60°F. I have used the garage before, but a basement is better because temperatures are more stable.
It's funny, they look like knobby, ugly little rocks in winter. But I know exactly what they will become in spring.
Troubleshooting Common Problems
Sometimes things still don't go right. Here is how I handle the hiccups.
- Sprouting is slow: It just means the corms need more warmth. I place a heat mat under the pots. It boosts the soil temperature and speeds things up.
- Leaves are pale: Usually a sign of too little light. I move the pots closer to a window, but still out of harsh, direct sun.
- The stems flop over: This is usually a water issue. Almost always too much water. I let the soil dry out completely before watering again.
- Brown spots on the leaves: I usually blame this on sunburn. The water droplets act like magnifying glasses. That is why I always water the soil, not the plant.
People Also Ask About Caladium Prep
How long does it take for corms to sprout in pots?
Generally, it takes about 2 to 3 weeks. My typical timeframe is 12 to 14 days if the soil is warm. Colder rooms will see 3 to 4 weeks. Patience is a virtue here. If you worry they’re slow, check for rot by gently pushing the soil away. If the corm is firm, you are fine.
What side of the corm goes up?
Look for the small, pinkish or white spikes. Those are the "eyes." Sometimes the skin is smooth on the bottom. The side with the bumps goes up. If you can’t tell, plant it sideways. The plant will naturally find its way up. It’s a miracle of nature.
Can I plant them directly in the garden without pre-sprouting?
Yes, you can. But you lose time. Your display will be shorter. You also have less control over soil moisture. In my experience, pre-sprouting gives a higher success rate.
Do Caladiums need big pots?
Only if you are keeping them in containers for the season. One corm will do fine in a 6 to 8-inch pot. If you want a fuller look, plant three corms in a 10-inch pot. They don't mind being cozy.
Why are my caladium leaves falling over?
This is almost always a watering problem. If the soil feels wet, you are overwatering. If it feels bone dry, you are under-watering. Master the "finger test." Stick your finger an inch into the soil. If it feels damp, wait. If it feels dry, water it.
Final Thoughts for New Plant Parents
Growing Pink Beauty caladiums isn't hard. It just requires a shift in mindset. You aren't just watering a plant. You are preparing a survival package. Starting the corms indoors in controlled conditions is the kindest thing you can do for them.
The prep is the hard part. Once they sprout, they are reliable and gorgeous. I still get a little thrill when I see that first pink-edged leaf break the surface. It feels like a small victory. And it is. It’s proof that I didn't mess it up again.
Take your time with the prep steps. Don't rush the season. Keep the soil warm, the humidity okay, and the water rationed. You will be rewarded with a spectacular show of heart-shaped leaves that light up any shady corner. It makes the wait totally worth it.





