 bluename
 How to Position LED Grow Lights for Caladiums: The Ultimate Height Guide
I’ve always been mesmerized by the electric veins and painterly splashes of color on caladium leaves. But when I moved my collection indoors, those vibrant colors began to fade. The new growth was leggy, reaching desperately for any light source, and the stunning reds and pinks washed out to a dull green. I realized my beautiful, shade-loving caladiums were, ironically, light-starved indoors. The solution was clear: I needed a grow light. But simply buying one wasn't enough. The real question—the one that cost me weeks of trial and error—was how to position LED grow lights for caladiums correctly. Getting the height wrong meant either scorched, crispy leaves or a return to weak, stretched growth.
This guide is the result of my two-week experiment, where I meticulously adjusted heights, documented changes, and learned from my mistakes to find that perfect sweet spot for lush, colorful caladiums.
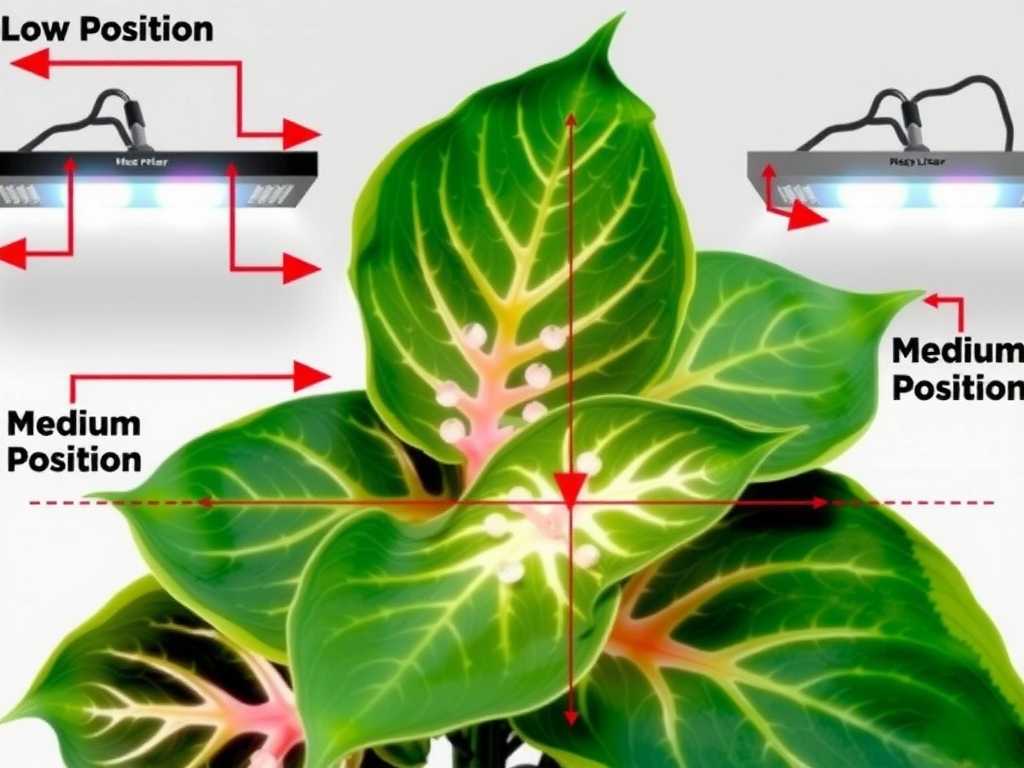
Understanding Caladiums' Unique Light Needs
Caladiums present a fascinating paradox. In their natural tropical habitat, they thrive on the dappled light of the forest floor, protected by a canopy. They crave bright but indirect light. Direct, harsh sun burns their delicate, paper-thin leaves in minutes. Our goal with LED grow light positioning is to replicate that bright, filtered canopy.
Unlike fruiting plants that demand high-intensity light for flowering, caladiums need sufficient Photosynthetically Active Radiation (PAR) to maintain their spectacular foliage color and compact growth habit without causing stress. Dr. Lynette Morgan, a noted horticulturist, emphasizes that "foliage plants like caladiums require a lower Daily Light Integral (DLI) than flowering crops, but consistency and quality of light are key for pigment development." This means we need enough light intensity, but we must manage it carefully through distance.
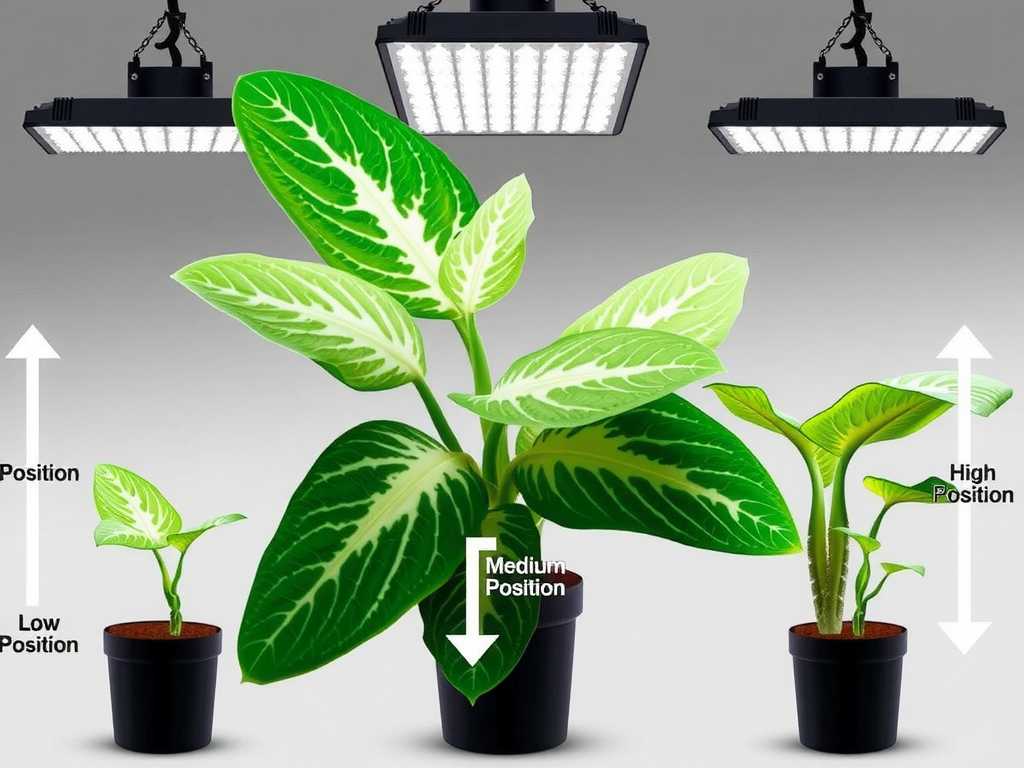
My 2-Week Experiment: Finding the Perfect Height
I selected a shelf with three healthy but slightly faded Caladium ‘White Queen’ plants. I used a full-spectrum LED panel light, which I know provides the balanced light spectrum needed for overall plant health. I also invested in a simple lux meter (a more accessible tool for home growers than a PAR meter) to bring objectivity to my process. My mission was to track the effects of different hanging heights over a 14-day period.
Week 1: The Trial and Error Phase
I started with the light a cautious 24 inches above the leaf canopy. After 3 days, I noticed no negative effects, but also no positive change. The plants were stable but stagnant. The new leaf unfurling was still slightly paler than I’d hoped. My lux meter read around 1,500 lux at leaf level—too low. I knew I had to move closer.
- My First Mistake (The Scorch): Eager for results, I lowered the light drastically to 12 inches. Within 48 hours, I saw the first signs of trouble. The leaves closest to the light center developed a bleached, papery look at the tips, and the vibrant red veins on the ‘White Queen’ started to look faded and stressed. This was classic light burn. The intensity was simply too high, likely delivering over 5,000 lux directly to those top leaves, mimicking harsh direct sun.
- The Fix: I immediately raised the light to 18 inches. I also rotated the plants 90 degrees to ensure all sides received even exposure and no single leaf was directly under the hottest point for too long. I trimmed the one severely scorched leaf to redirect the plant's energy.
Week 2: Dialing It In and Observing Success
At 18 inches, I monitored closely. The light burn stopped progressing. After 4 days at this new height, I observed a clear turning point. The new leaf that had been struggling to unfurl did so with noticeably more intense color. The existing leaves seemed to "perk up," with a healthier sheen. My lux meter now showed a consistent 2,800 to 3,200 lux across the canopy—a range I’d identified as ideal for bright, indirect light replication.
By the end of the two weeks, the results were undeniable. The plants were no longer stretching. The internodes (spaces between leaves) were shorter, giving a bushier appearance. Most importantly, the iconic white and red coloration was more vivid and defined than it had been since I brought them indoors. I had found my goldilocks zone.
Your Step-by-Step Guide to Optimal LED Grow Light Height
Based on my experience, here is a clear, actionable guide. Remember, your starting point depends on your light's power.
- Know Your Light's Power (PPFD/Wattage): This is crucial. A low-wattage (15W) bulb needs to be much closer than a high-wattage (150W) fixture. Check your manufacturer's guidelines for a recommended hanging height.
- The Safe Starting Point: If guidelines aren't available, begin with the light 24 inches (60 cm) above the plant canopy for medium-powered panels (50-100W). For weaker lights, start at 18 inches; for very powerful ones, start at 30 inches.
- Observe and Measure (The 7-Day Watch): Keep the light at this height for 4-7 days. Watch for signs:
- Too High (Light Starvation): Stretching stems, smaller new leaves, fading or green-washing of colorful patterns.
- Too Low (Light Burn/Stress): Bleaching, yellowing, or crispy brown patches on leaves facing the light; leaves curling upward or downward to avoid intensity.
- Make Incremental Adjustments: Adjust the height in 2-3 inch (5-7 cm) increments every few days based on your observations. Move the light closer if growth is leggy, raise it if you see any scorching.
- The Target Zone: For most full-spectrum LED panels, the ideal final height for caladiums is between 18 and 24 inches above the leaf canopy. This typically provides the perfect balance of intensity for robust growth and color without stress.
Critical Factors Beyond Just Height
Positioning isn't just about vertical distance. During my experiment, I learned these elements are non-negotiable.
- Light Duration is Key: Height controls intensity, but duration controls the total "dose" of light. Caladiums need 10-12 hours of consistent light per day. I use a simple outlet timer to ensure a regular photoperiod, which is vital for their circadian rhythm. The Royal Horticultural Society (RHS) advises that consistent daily light periods are often more important than extreme intensity for foliage plants.
- Even Coverage and Rotation: A single light source creates hotspots. My scorching incident was partly because that leaf was directly under the diode cluster. Ensure your light adequately covers the entire plant group. Rotate your caladium pots a quarter turn every time you water to promote even growth and prevent one-sided stretching or burning.
- Canopy Management: As your caladiums grow, the top leaves get closer to the light. You must either raise the light or be prepared to gently prune taller leaves to maintain the optimal distance. I make a habit of checking the distance every weekend.
Common Questions on Caladium Care Under Lights
Can I use any LED light for my caladiums? While a standard white LED bulb might keep them alive, a full-spectrum LED grow light designed for plants is vastly superior. It provides the blue wavelengths that encourage strong, compact growth and the red wavelengths that help enhance and maintain those stunning leaf pigments. The investment directly impacts the vibrancy of your display.
My caladium leaves are still curling. Is it the light? Leaf curl can be a sign of light stress (too intense), but it's more commonly a watering or humidity issue. Caladiums love high humidity. Ensure you're watering when the top inch of soil is dry and consider using a humidity tray or humidifier nearby, especially when artificial lights and indoor heating can dry the air. The American Horticultural Society (AHA) notes that many foliage problems are misdiagnosed and often relate to root zone or atmospheric moisture.
How do I know if my caladiums are getting enough light without a meter? The plant itself is your best indicator. Look for firm, upright stems and new leaves that unfurl with strong, vibrant color matching or exceeding the older leaves. Steady growth without stretching is the clearest sign you've nailed the correct grow light height for caladiums.
Finding the perfect position for your LED grow light over caladiums is a dynamic process, not a set-it-and-forget-it task. It requires an attentive eye and a willingness to adjust. Start conservatively high, observe your plants like a hawk for those first critical weeks, and make small, incremental changes. When you see that new leaf unfurl with dazzling, electric color under your carefully positioned light, you’ll know the patience was worth it. Your indoor space will be transformed into a gallery of living art.





