 bluename
 How to Choose LED Grow Lights for Caladiums: Wattage Steps
I’ve always been mesmerized by the electric beauty of caladiums—those heart-shaped leaves splashed with vibrant pinks, reds, and whites. But when I moved my collection to a room with less-than-ideal natural light, their colors began to fade, and growth stalled. The quest for the perfect artificial sun began, and I quickly realized the most confusing part was figuring out how to choose LED grow lights for caladiums, specifically navigating the often-misunderstood world of wattage steps. It’s not just about picking the brightest light; it’s about matching the intensity to the delicate needs of these tropical plants at every stage of their life. After extensive trial, error, and a dedicated two-week observation period with my plants, I’ve broken down the process into clear, actionable steps.
Understanding Caladiums' Light Needs: It's Not Just About Power
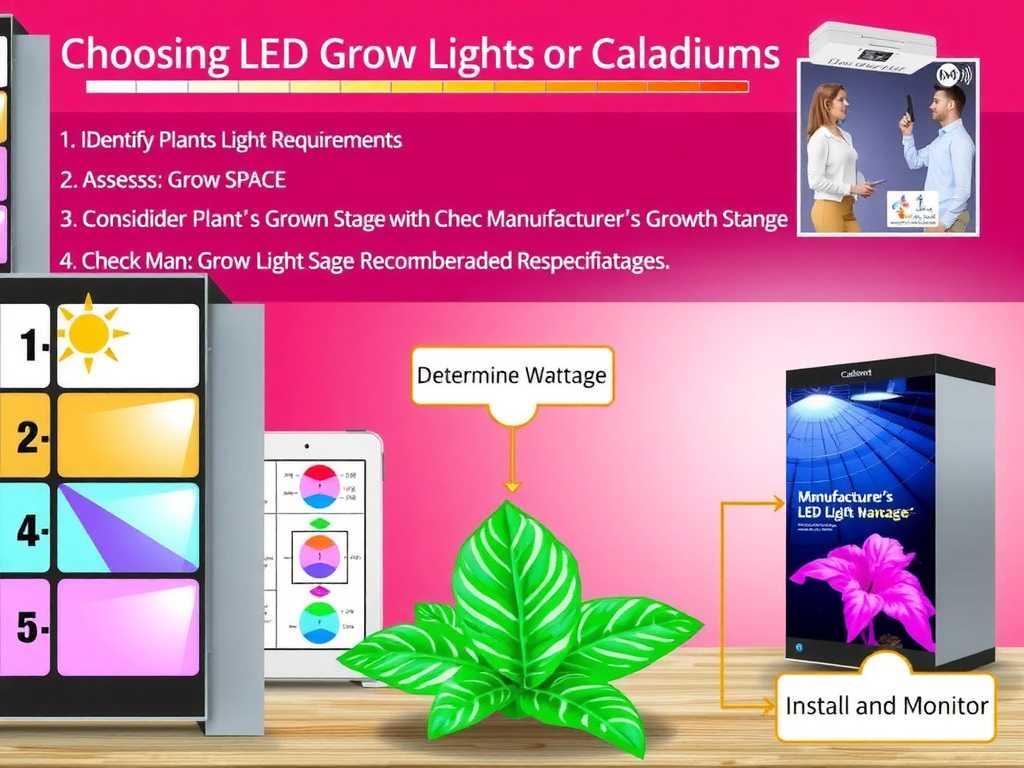
Before we dive into watts and fixtures, let's understand what we're trying to achieve. Caladiums are understory plants in their native habitat, thriving in dappled sunlight or bright, indirect light. Direct, harsh sun scorches their thin leaves, while deep shade mutes their spectacular colors and leads to leggy, weak growth.
The goal with LED grow lights for caladiums is to replicate that bright, filtered jungle canopy. We need a light spectrum that supports photosynthesis (plenty of blue and red wavelengths) without excessive heat. According to research cited by the American Horticultural Society (AHS), plants like caladiums utilize light in the 400-700 nanometer range most efficiently, a range known as Photosynthetically Active Radiation (PAR). Modern full-spectrum LEDs are excellent at providing this.
Decoding Wattage: The Heart of the Matter
Here’s where most people, including my past self, get tripped up. You’ll see two wattage numbers: Actual Power Draw (Watts) and Equivalent Wattage. The "1000W LED" on a cheap box might only draw 150 watts from your wall. For our purposes, we always focus on the Actual Power Draw (in watts) as the true measure of energy consumption and potential light output.
But wattage alone isn't the full story. For plant growth, we care about Light Intensity (how much PAR light reaches the plant) and Daily Light Integral (DLI) (the total amount of PAR delivered over a day). A higher-wattage fixture can deliver greater intensity, but you must adjust its height to avoid light stress. The Royal Horticultural Society (RHS) emphasizes that providing the correct DLI is more critical than simply leaving lights on for long hours at a weak intensity.
My 2-Week Wattage Step-Up Experiment
I decided to test a step-up approach with a group of three potted 'White Queen' caladiums, all starting from dormant tubers. I used a single, adjustable full-spectrum LED panel with a dimmer, allowing me to change intensity without swapping fixtures.
Week 1: The Sprouting Phase (Low Wattage)
- My Setup: I set the light to an actual draw of 15 watts. I positioned the fixture 24 inches above the pots, providing a gentle, encouraging glow. The goal here isn't to force rapid growth but to coax the tubers from dormancy.
- Daily Routine: Lights were on for 12 hours a day, timed with my natural sunrise.
- Observations & The "Pitfall": By day 4, tiny pink nubs emerged. However, by day 7, the stems on one plant looked slightly elongated and pale. I realized my "low and gentle" approach was a bit too low. The intensity was insufficient, causing the plants to stretch weakly toward the light—a classic sign of etiolation.
- My Solution: I didn't panic and crank the power. Instead, I reduced the distance. I lowered the light fixture to 18 inches above the soil surface. This immediately increased the light intensity on the sprouts without changing the wattage or spectrum. Within 48 hours, the stems thickened and the emerging leaves showed stronger color.
Week 2: The Leaf Development Phase (Stepping Up)
- My Adjustment: With healthy sprouts now about 2 inches tall, it was time for the first true wattage step. I increased the actual power draw to 25 watts and maintained the 18-inch height.
- Daily Routine: I extended the photoperiod to 14 hours to increase the total Daily Light Integral.
- Observations & Results: The response was dramatic and positive. The leaves unfurled faster, showing crisp, bright white centers and deep green margins with vibrant pink veins. The petioles (leaf stems) remained stout and strong, supporting the leaves without drooping. Compared to a control plant in my dim window, these were fuller, more colorful, and growing at nearly double the rate. No signs of bleaching or curling at the leaf edges indicated the intensity was just right.
Choosing Your Light: A Practical Wattage Guide
Based on my experience and cross-referenced with manufacturer guidelines, here’s a practical framework for selecting and using your lights.
For a Single Potted Caladium or a Small Cluster: A 10-20 watt (actual draw) full-spectrum LED bulb in a reflective clamp fixture is a great start. Start with the light 18-24 inches away during sprouting, and you can lower it to 12-16 inches as the plant matures.
For a Shelf or a Larger Collection: A linear LED grow light bar or a small panel in the 30-50 watt range is ideal. These provide even coverage. For a 2-foot shelf, a 30-watt bar is sufficient. For a 4-foot shelf, you might need two 30-watt bars or one 50-watt panel centered above.
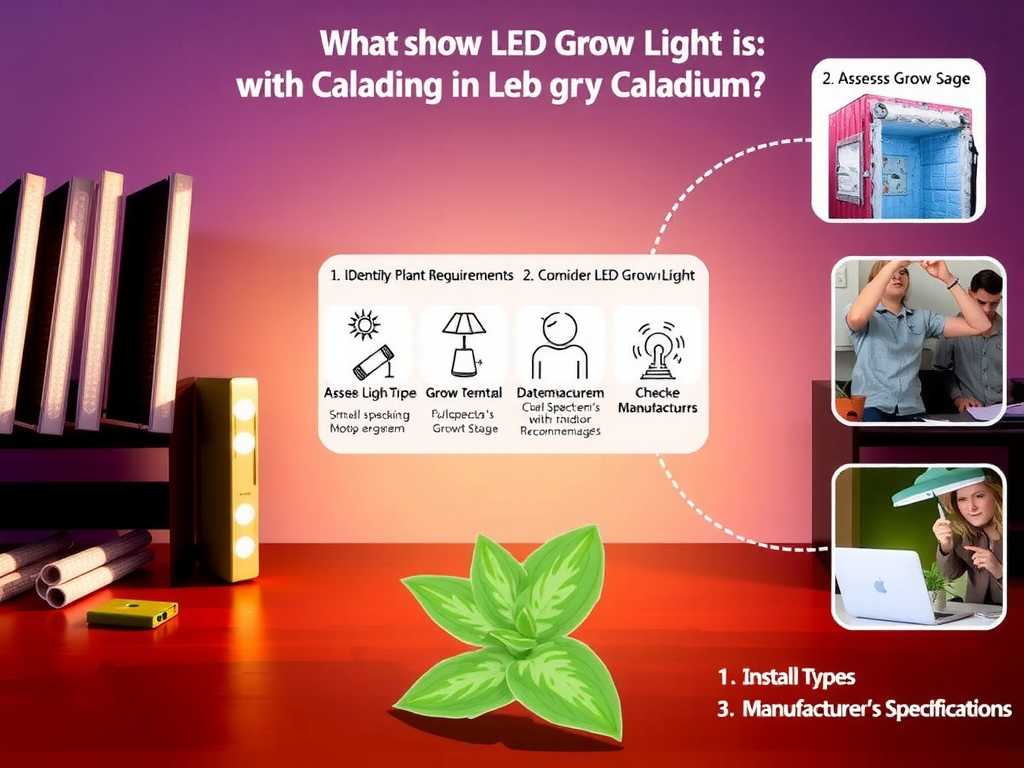
For a Dedicated Indoor Garden or Large Pots: Consider a higher-output LED panel or quantum board in the 100-200 watt range. These lights are powerful and must be hung higher (often 24-36 inches initially) and dimmed for young plants. They allow you to cover a significant area (e.g., a 2x2 foot or 3x3 foot space) with intense, uniform light, perfect for a dense display of mature caladiums.
Key Factors Beyond Wattage
- Spectrum: Always choose "full-spectrum" or "broad-spectrum" LEDs. They appear white to our eyes and provide the balanced blue (for foliage) and red (for root and leaf expansion) light caladiums need.
- Coverage Area: Match the light's recommended coverage to your plant space. A weak light spread too thin is ineffective.
- Heat & Distance: LEDs are cool, but they still emit some heat. Always keep the back of the fixture ventilated. The ability to adjust height is your most crucial tool for fine-tuning intensity without changing wattage.
- PPFD & DLI (The Technical Edge): If you want to be precise, some manufacturers provide PPFD (Photosynthetic Photon Flux Density) maps. For mature caladiums, aim for a PPFD of 150-250 µmol/m²/s for 12-14 hours to hit an ideal DLI. A simple smartphone light meter app can give you a rough comparative idea.
How long should I run my LED grow lights for caladiums each day? Aim for 12-14 hours of light per day. Use a simple timer to ensure consistency, which is key for healthy growth. Mimicking a natural day/night cycle is important, so allow for 10-12 hours of darkness.
Can I use regular LED shop lights instead of specialized grow lights? You can, especially for maintaining caladiums. Many "shop lights" with a color temperature of 5000K (daylight white) provide sufficient blue light. However, dedicated full-spectrum plant growth LEDs often include more red wavelengths, which can promote more robust growth and potentially enhance leaf coloration. For starting tubers and optimal growth, a dedicated grow light is a better investment.
My caladium leaves are looking pale or washed out. What did I do wrong? This is likely a sign of too much light intensity (like sunburn). Increase the distance between the light fixture and the top of the leaves by 6-12 inches immediately. If your light has a dimmer, you can also reduce the power. Conversely, if the stems are long and weak and the colors are dull, the plant needs more light—either decrease the distance or increase the wattage/duration.
Finding the right LED grow light for your caladiums is a rewarding process of observation and adjustment. Start with a moderate wattage based on your space, prioritize full-spectrum light, and never underestimate the power of simply raising or lowering your fixture. By stepping up the wattage carefully as your plants grow—from gentle encouragement for sprouts to stronger fuel for those magnificent leaves—you’ll be rewarded with a thriving, colorful display that rivals any outdoor shade garden. The key is to watch your plants; they will tell you exactly what they need.





