 bluename
 How to Grow Caladiums with LED Grow Lights: A Complete Setup Guide
I love caladiums. Their stunning, heart-shaped leaves painted with vibrant splashes of pink, red, and white can transform any shady corner into a tropical paradise. But for years, I struggled. My apartment has limited natural light, and the few north-facing windows I have just weren't cutting it. My caladiums became leggy, their colors faded, and their growth stunted. The heartbreak of watching these beautiful plants slowly decline was my core pain point. I knew I needed a solution that didn't rely on the sun. That's when I turned to LED grow lights. After extensive research, trial, error, and a dedicated two-week observation period, I've perfected a system. This guide is my firsthand account of exactly how to grow spectacular caladiums with LED grow lights, including the mistakes I made so you don't have to.
Why Caladiums and LEDs Are a Perfect Match
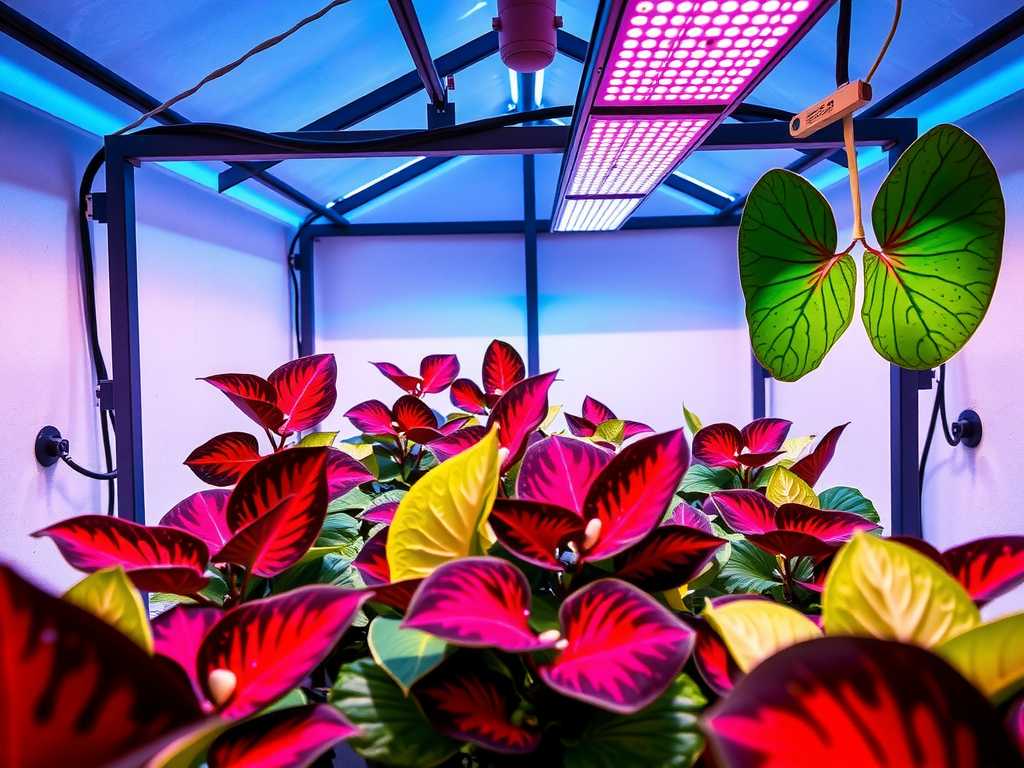
Caladiums, native to the tropical forests of South America, thrive under the dappled, filtered light of the jungle canopy. They don't want harsh, direct sun, which scorches their delicate leaves, but they absolutely need bright, consistent light to maintain their vivid variegation and compact growth. This is where full-spectrum LED grow lights shine—pun intended. They provide the precise light spectrum plants need for photosynthesis without the excessive heat of older lighting technologies. According to research highlighted by organizations like the American Horticultural Society (AHS), modern LEDs can be fine-tuned to promote specific plant responses, from robust root growth to intense leaf coloration, all while being remarkably energy-efficient.
My Complete LED Grow Light Setup for Caladiums
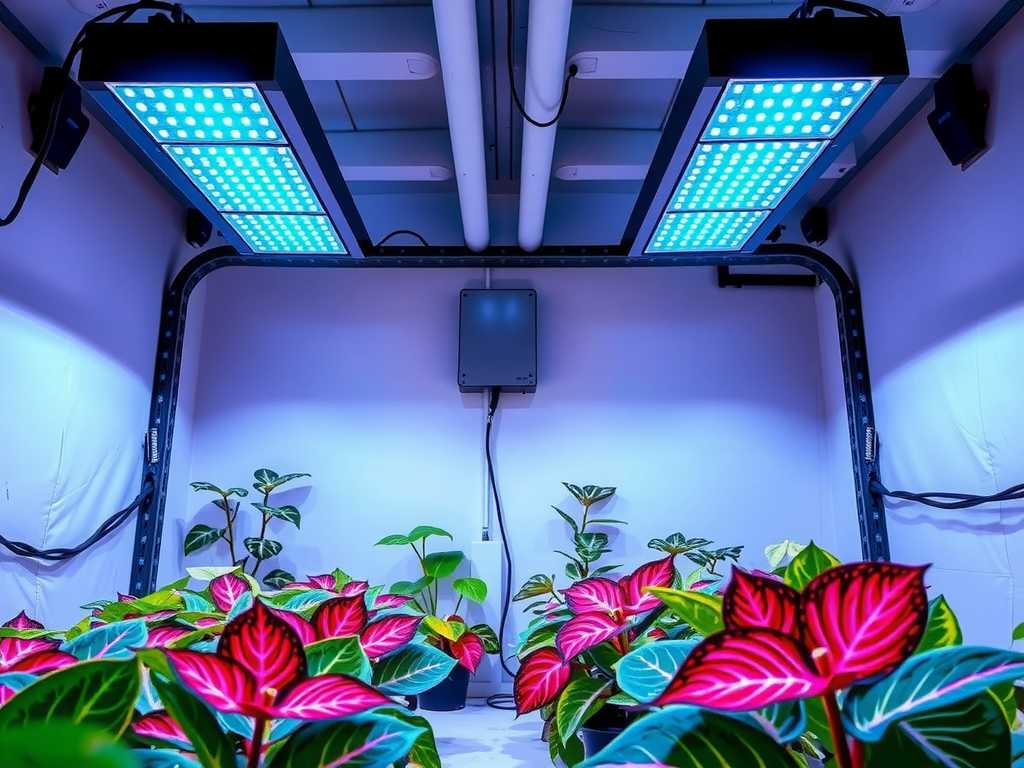
Setting up your system correctly from the start is 80% of the battle. Here’s the step-by-step process I followed.
Choosing the Right LED Grow Light
This was my first hurdle. The market is flooded with options. After comparing specs and reading studies, including insights from resources like the Royal Horticultural Society (RHS) on indoor plant cultivation, I focused on two key factors: spectrum and intensity.
I chose a full-spectrum LED panel that included both blue and red wavelengths. Blue light is crucial for promoting strong, compact leaf growth, while red light supports overall development and can enhance those gorgeous red and pink pigments. I avoided blurple (blue-red) lights for aesthetic reasons and opted for a white-light full-spectrum panel that also made my plants look natural in my living space.
For intensity, I selected a light with adjustable brightness (measured in PPFD – Photosynthetic Photon Flux Density). Caladiums need medium to bright indirect light. A light that’s too weak leads to stretching; one that’s too strong can cause bleaching. My light allowed me to dial it in perfectly.
Positioning and Hanging Your Lights
Distance is critical. Initially, I hung my light too close—about 6 inches above the foliage. Within three days, I noticed the tips of my newest leaves looked slightly bleached. I had given them a mild light burn. I immediately raised the light to 12 inches above the tallest leaf, and the problem stopped. For most medium-output LEDs, a distance of 12 to 18 inches is ideal for caladiums. Use adjustable hangers; they are a lifesaver for fine-tuning.
I also made sure the light covered the entire plant evenly. Since caladium leaves grow outward, a panel light worked better for me than a single bulb. I set the light on a timer for 12 hours on, 12 hours off. Caladiums need a period of darkness for healthy growth, and consistency is key. The timer automates everything, mimicking a natural day/night cycle.
The Ideal Growing Environment Under Lights
Light is just one piece of the puzzle. Under LEDs, the environment changes.
Potting Mix and Containers
I use an extremely well-draining, peat-based potting mix amended with plenty of perlite and a handful of orchid bark. Good drainage is non-negotiable to prevent tuber rot. I always plant my tubers in pots with drainage holes. A common mistake is using a pot that’s too large. The excess soil stays wet too long, risking rot. Choose a pot that gives the tuber about an inch of space on all sides.
Watering and Humidity
Here was my biggest "aha!" moment. Under consistent LED lights, the potting mix dries out more evenly than on a windowsill with fluctuating sun. However, it doesn't necessarily dry out faster. I fell into the trap of overwatering, thinking the plants needed more. I learned to water only when the top inch of soil feels dry to the touch. I stick my finger in to check.
Caladiums crave humidity. The air in my home, especially with the lights on, was too dry. Leaf edges began to brown. My solution was a simple pebble tray. I filled a shallow tray with pebbles and water, placed the pot on top (ensuring the pot's base wasn't sitting in water), and the evaporating moisture created a perfect microclimate. Grouping plants together also helps raise local humidity.
Feeding Your Caladiums for Optimal Color
Under optimal LED light, growth can be vigorous. To support this and fuel those brilliant colors, feeding is essential. I use a balanced, water-soluble fertilizer (like a 10-10-10 or 20-20-20) but at half strength. I apply it every 4-6 weeks during the active growing season (spring and summer). Over-fertilizing, particularly with high-nitrogen formulas, can lead to excessive green growth at the expense of the stunning variegation we love. Less is more.
My Two-Week Observation Diary: What Actually Happened
I committed to documenting my caladium's progress under the new LED setup for two full weeks. Here’s what I observed:
- Days 1-3: Setup complete. Light at 12 inches, timer set. No visible change, which was expected.
- Days 4-7: I noticed the existing leaves seemed to "perk up." They became more turgid and oriented themselves slightly toward the light source. The colors, especially a red central vein on one leaf, appeared more defined.
- Days 8-10: The first sign of new growth! A tight, pointed spike (the new leaf) emerged from the center of the plant. This was faster than it had ever happened on my dim windowsill.
- Days 11-14: The new leaf unfurled. It was noticeably more compact than previous leaves, with a shorter petiole (stem), and the pink mottling was intensely vibrant right from the start. No legginess. This was the definitive proof that the light intensity and spectrum were correct.
Troubleshooting Common Problems (The Pitfalls I Encountered)
- Leggy, Stretched Growth: This means not enough light. Solution: Increase the light intensity if your fixture allows, or lower the light panel a few inches (monitor closely for burn).
- Faded or Bleached Leaves: Too much light intensity. Solution: Raise the light higher. My early bleach scare was solved this way.
- Brown, Crispy Leaf Edges: Almost always low humidity. Solution: Implement the pebble tray method or use a room humidifier nearby.
- Yellowing Lower Leaves: Could be natural aging, but often a sign of overwatering. Solution: Check your soil moisture before watering. Ensure your pot drains freely.
Sustaining Your Caladiums Year-Round
One of the greatest advantages of using LED grow lights is overcoming seasonal dormancy. In nature, caladiums die back in fall/winter. Under lights, you can often keep them growing. I reduce the photoperiod to 10 hours of light and cut back on watering and fertilizing in the cooler months, but the consistent light keeps them alive and occasionally even producing a spare leaf. When I do let a plant go dormant, I store the tubers in a cool, dark place and restart them under the lights in late winter for a head start on spring.
How many hours of light do caladiums need under LEDs? I found 12-14 hours of light per day to be the sweet spot for active growth. This provides ample energy for photosynthesis while giving the plant a crucial rest period. Always use a timer for consistency.
Can I use regular white LED shop lights for growing caladiums? You can, but results may not be optimal. Regular shop lights often lack the full spectrum intensity needed for deep coloration. They might keep the plant alive but can lead to slower growth and less vibrant leaves. A dedicated full-spectrum grow light is a worthwhile investment.
My caladium is putting out mostly green leaves under the grow light. What's wrong? This is often related to nutrition or light quality. First, ensure you're not over-fertilizing with a nitrogen-heavy mix. Second, check if your LED light has a strong red spectrum component, as this can help enhance red and pink pigments. Some caladium varieties are also simply more stable than others.
Growing caladiums with LED grow lights has been a game-changer for me. It transformed my struggle with poor light into a controlled, year-round horticultural joy. The key takeaways are selecting a proper full-spectrum light, nailing the distance and timing, and pairing it with consistent care focused on humidity and cautious watering. It requires a small initial investment and a bit of tuning, but the reward—a thriving, colorful caladium display regardless of your window situation—is absolutely worth it. Start with one plant, follow these steps, and get ready to see your caladiums in a whole new light.





