 bluename
 How to Fix Caladium Corms Rotting: A Complete Guide to Dry Storage Steps
There’s nothing more disheartening for a caladium lover than reaching into your storage box in spring, only to pull out a handful of mushy, rotten corms. I’ve been there, staring at what was supposed to be a vibrant summer display, now reduced to a smelly, disappointing loss. If you’re reading this, you’ve likely faced the same frustration. The good news is, caladium corm rot during dormancy is almost always preventable. After years of trial and error, I’ve perfected a dry storage method that works. In this guide, I’ll walk you through my exact, step-by-step process, born from personal experience, to ensure your corms emerge from their winter sleep plump, healthy, and ready to grow.
Understanding Why Caladium Corms Rot Before we dive into the solution, it’s crucial to understand the enemy. Caladium corms, like bulbs and tubers, are storage organs packed with energy and moisture. Rot sets in when fungi or bacteria, primarily Fusarium or Pythium species, invade. These pathogens thrive in three main conditions: excess moisture, poor air circulation, and physical damage. The Royal Horticultural Society (RHS) notes that improper storage is a leading cause of bulb and corm loss among home gardeners. The goal of dry storage isn’t just to keep them dry on the surface; it’s to create a stable environment where the corm’s natural moisture is preserved internally while the exterior remains in a hostile environment for rot-causing organisms.
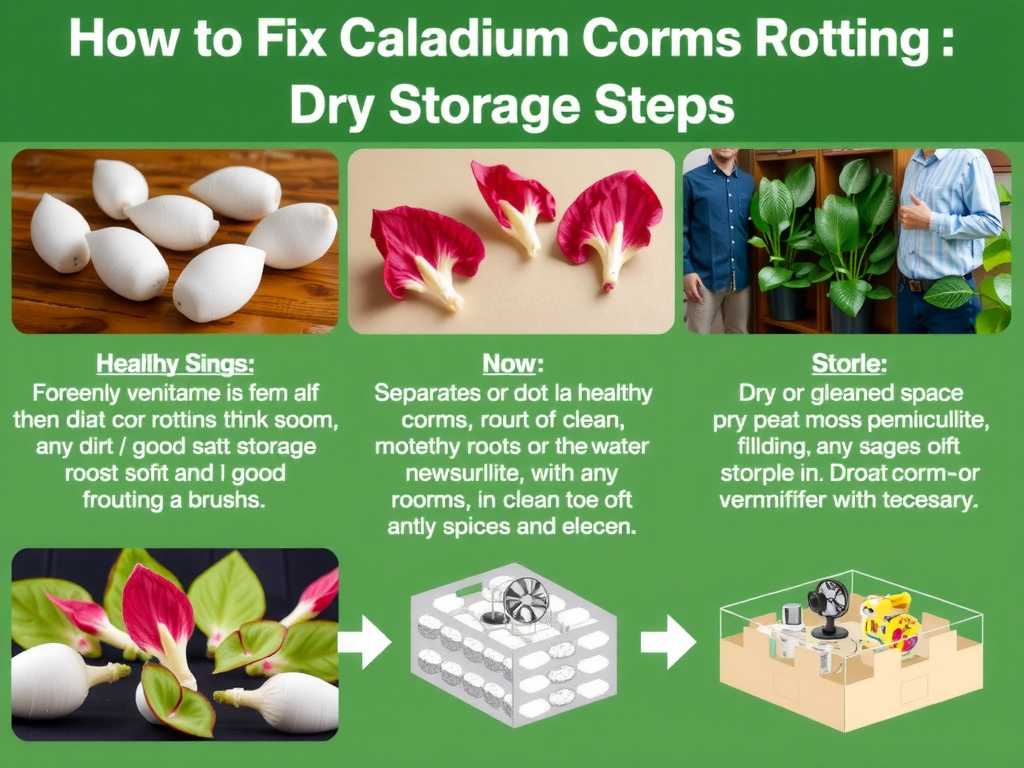
My Step-by-Step Dry Storage Process: A 2-Week Observation Log This isn’t just theory. I applied this exact process to a batch of ‘White Queen’ and ‘Red Flash’ caladiums last fall and meticulously tracked their condition. Here’s what I did and what I saw.
Step 1: The Critical Digging & Initial Drying Phase Timing is everything. I wait until the foliage has been killed back by a light frost or has naturally yellowed and died down. Cutting green leaves too early robs the corm of vital nutrients. Using a garden fork, I gently loosen the soil around the plant, careful not to pierce the corm itself—this is a common source of entry points for rot. I shake off the loose soil but do not wash them with water. Washing can force moisture into the crevices and is a surefire way to prevent caladium corm rot later. I then lay them out in a single layer in a well-ventilated, shaded garage. A wire rack or old window screen is perfect. This initial air-drying phase lasts for about 7-10 days. The outer skin should feel dry and papery to the touch.
My 1-Week Observation: After 7 days, the foliage remnants were brittle and easily twisted off. The corms felt firm, not soft. A few had minor, superficial soil clinging to them, which I left alone. I noticed one corm had a small, soft spot where I’d been less careful with the fork—a lesson learned.
Step 2: Cleaning, Trimming, and the Essential Inspection After the initial dry-down, I bring the corms to a work table. Wearing gloves, I gently remove all the dried leaf and stem matter, twisting it off cleanly at the corm’s top. Next, I carefully brush away any remaining dry soil with my hands. Now comes the most important step: the inspection. I examine each corm under a bright light. I’m looking for firmness, uniform texture, and no signs of soft, sunken, or discolored areas. According to the American Horticultural Society (AHS), any damaged tissue should be removed to prevent the spread of decay. For that one corm with the soft spot, I used a clean, sharp knife dipped in rubbing alcohol to cut away the affected area until only healthy, white tissue remained. I then dusted the cut surface with powdered sulfur (a natural fungicide) and set it aside separately. Any corm that is more than 30% soft or smells foul should be discarded immediately to protect the others.
Step 3: Choosing the Right Storage Medium and Container This is where I’ve made my biggest mistakes in the past. Sealing corms in a plastic bag is a death sentence—it creates a humid, stagnant microclimate. My successful method uses two things: a breathable medium and a breathable container. For the medium, I prefer dry peat moss or slightly moistened perlite. The keyword is dry. I fill a cardboard box or a wooden crate (never plastic) with a 2-inch layer of the medium. I then place the corms in, ensuring they are not touching each other. I cover them completely with more medium, creating layers like lasagna. The container is left open or covered loosely with a breathable burlap sack.
My 2-Week Check-In: At the 14-day mark, I carefully sifted through the box. The corms were still firm. The dry peat moss felt cool and showed no signs of dampness. The corm I had treated with sulfur had calloused over nicely, with no further spread of softness. The ambient humidity in my storage space (a cool basement corner) was stable.
Step 4: Ideal Storage Conditions and Winter Monitoring The perfect environment for storing caladium bulbs in winter is cool, dark, and dry. I aim for a consistent temperature between 50-60°F (10-15°C). A basement, unheated garage (if it doesn’t freeze), or a cool closet works well. Avoid areas near furnaces or water heaters. I mark my calendar to check on the corms once a month. This isn’t to disturb them, but to ensure the storage medium hasn’t become damp and that no rot has spontaneously appeared. During one check in mid-winter, I found the peat moss felt slightly cooler than the air, a sign it was absorbing any minimal residual moisture from the corms—exactly what we want.
Common Pitfalls I’ve Encountered (And How to Fix Them)
- The Pitfall of “Slightly Damp” Medium: One year, I used peat moss that felt dry but was actually slightly damp at the bottom of the bag. Within a month, several corms developed mold. The Fix: Always test your medium. Squeeze a handful tightly; if it holds any shape or feels cool, it’s too damp. Spread it out to air-dry for a day before using it.
- Ignoring Small Blemishes: A tiny bruise or cut might seem insignificant. I learned the hard way that it’s an open door. The Fix: Be ruthless during inspection. Treat every wound with sulfur or let it air-callous for an extra day before storage.
- Storing in an Unstable Environment: Fluctuating temperatures cause condensation, which leads to moisture. The Fix: Use a digital hygrometer/thermometer in your storage area. If you see spikes in humidity, improve ventilation or consider a different location.
When is the best time to dig up caladium corms for storage? The ideal time is after the leaves have naturally yellowed and died back, usually after the first light frost in fall. This signals the plant has entered dormancy and the corm has reabsorbed all possible nutrients from the foliage. Digging while leaves are still green weakens the corm for the next season.
Can I use sawdust or newspaper for storing caladium bulbs? Sawdust can be used if it is completely dry and from untreated wood, but it can compact over time. Shredded newspaper is a last-resort option; it’s breathable but offers no moisture regulation. My consistent success comes from peat moss or perlite, which are industry-recommended for their moisture-wicking and insulating properties.
I found a soft spot on a stored corm. Can I save it? Yes, if caught early. Immediately remove the corm from the storage box. Cut away all soft, discolored tissue with a sterile tool until only firm, healthy flesh remains. Dust the cut area liberally with powdered sulfur or cinnamon (a mild natural antifungal). Let it air-dry for 24-48 hours to form a callous before placing it in a separate, clearly marked container. Monitor it closely.
Saving your caladium corms from rot boils down to a simple mantra: clean, dry, cool, and inspect. By mimicking the dry season of their native habitat, we give them the rest they need. The process requires a bit of patience and attention to detail, but the reward is immense. Come spring, you’ll be planting your own healthy, preserved corms—not buying new ones—and watching them unfurl into that spectacular, colorful foliage that makes all the effort worthwhile. Trust the process, learn from the missteps, and you’ll turn the dreaded discovery of rot into a thing of the past.





