bluename
 How to Fix Caladium Corms Not Germinating: Warmth Fixes That Actually Work
I’ve been there. You carefully plant those promising, knobby caladium corms, water them with hope, and then… nothing. Weeks go by, and the pot remains a barren patch of soil, while online forums fill with posts asking the same desperate question: “Why won’t my caladium bulbs sprout?” If this is you, take heart. After a season of frustrating failures and meticulous experimentation, I discovered that the single most common culprit isn’t water, light, or even soil—it’s a simple lack of consistent warmth.
This guide is born from my own two-week journey from disappointment to success. I’ll walk you through the exact, hands-on warmth-fixing methods I used, the mistakes I made along the way, and the undeniable results I observed. Let’s turn those dormant corms into a jungle of vibrant, heart-shaped leaves.
Understanding the Caladium’s Tropical Clock
Before we dive into the fixes, it’s crucial to understand why warmth is non-negotiable. Caladiums are tropical plants native to the warm, humid understories of South American forests. Their corms are essentially energy storage units, programmed to wake up only when the soil temperature reliably signals the arrival of their native growing season.
As experts from the American Horticultural Society (AHS) note, tropical bulbs and corms have a distinct thermal trigger. Planting them in soil that is merely “room temperature” or, worse, cool from a chilly windowsill, is like trying to wake someone up with a whisper—it’s ineffective. The corm simply stays dormant, and eventually, it may rot in the damp, cool soil. My initial failure was due to this exact oversight; I placed my pots in a bright but cool sunroom where nighttime temperatures dipped too low.
My Two-Week Warmth Revival Protocol
After my first batch failed, I started over with new corms. Here was my step-by-step, two-week plan focused solely on mastering the warmth factor.
Pre-Sprouting: The Game-Changer
I decided to bypass unpredictable soil temperatures entirely by pre-sprouting my corms. This method gives you direct control over the germination environment.
- The Setup: I took a shallow tray and filled it with a mix of barely moistened sphagnum moss and perlite. The medium was damp, not wet—a critical distinction to prevent rot.
- Positioning: I placed the corms with their bumpy “eyes” or growth points facing upward, nestled them into the medium, and left the tops slightly exposed.
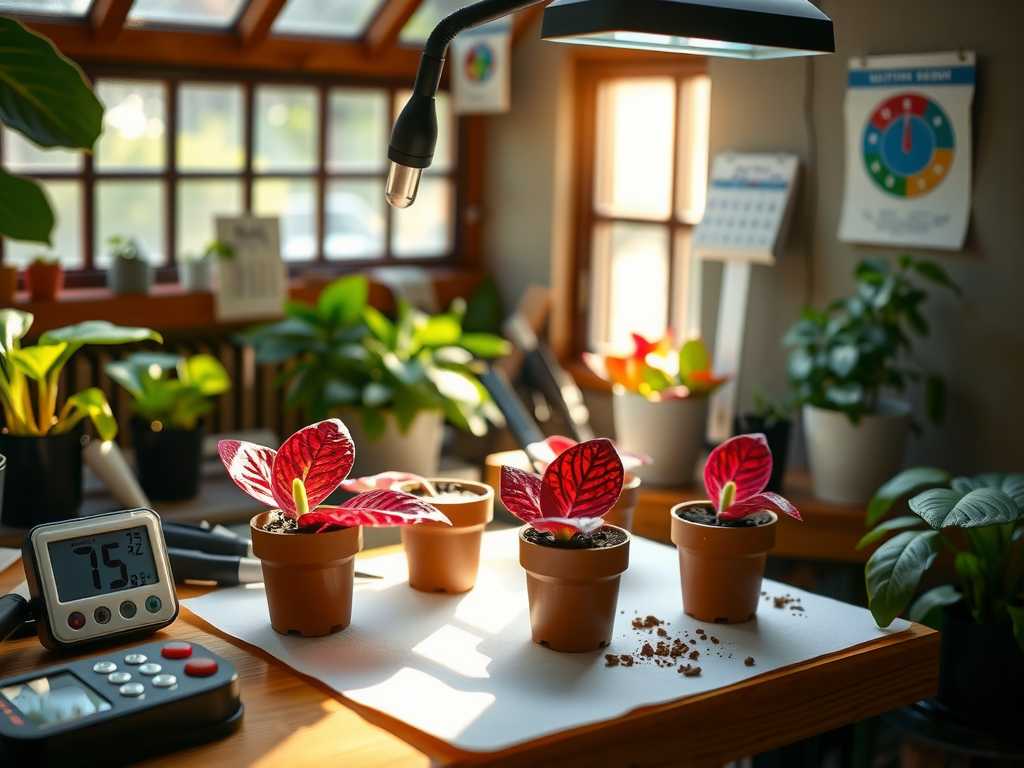
- The Warmth Hub: This was the key. I placed the tray on top of a seedling heat mat. I set the mat’s thermostat to a constant 75°F (24°C), a temperature consistently recommended by horticultural resources for triggering tropical bulb growth. I covered the tray loosely with a clear plastic dome to retain humidity but vented it slightly for air flow.
- Location: I kept the entire setup in a room with ambient light, but no direct sun on the tray (to avoid cooking the corms). The heat mat provided the sole, consistent warmth source.
Observing the First Week: Signs of Life
For the first 4-5 days, nothing visible happened. This is the patience-testing phase. I resisted the urge to poke, prod, or over-moisten. I simply checked that the heat mat was running and the medium was still lightly damp.
Around Day 6, I noticed the first change. The smooth, tan surface of the corms began to look slightly swollen. By Day 8, tiny, knobby pink and green points became clearly visible at the eyes—the first emerging shoots! This was the breakthrough moment. The consistent bottom heat was directly stimulating growth activity that my previous cool-soil planting had failed to achieve.
Transitioning to Pots: Maintaining the Warmth Momentum
Once the sprouts were about 1/4-inch tall (around Day 10), it was time to pot them. But the job wasn’t done—the young roots and shoots still needed warm soil to thrive.
- Potting Mix: I used a light, airy potting mix amended with extra perlite for drainage. I pre-moistened the mix with warm water.
- Planting: I planted each pre-sprouted corm about 1.5 inches deep, with the shoot pointing up.
- Sustaining the Heat: Here’s where I made my second mistake initially. I moved the pots to a warm spot but didn’t monitor soil temperature. For this successful batch, I placed the pots back on the seedling heat mat. If you don’t have a mat, the top of a refrigerator, a warm appliance like a water heater, or a consistently heated propagation box are excellent alternatives. The goal is to keep the root zone warm.
- Light: I provided bright, indirect light. Direct sun at this stage can overheat the leaves when combined with the bottom heat.
The Two-Week Mark: Vigorous Growth
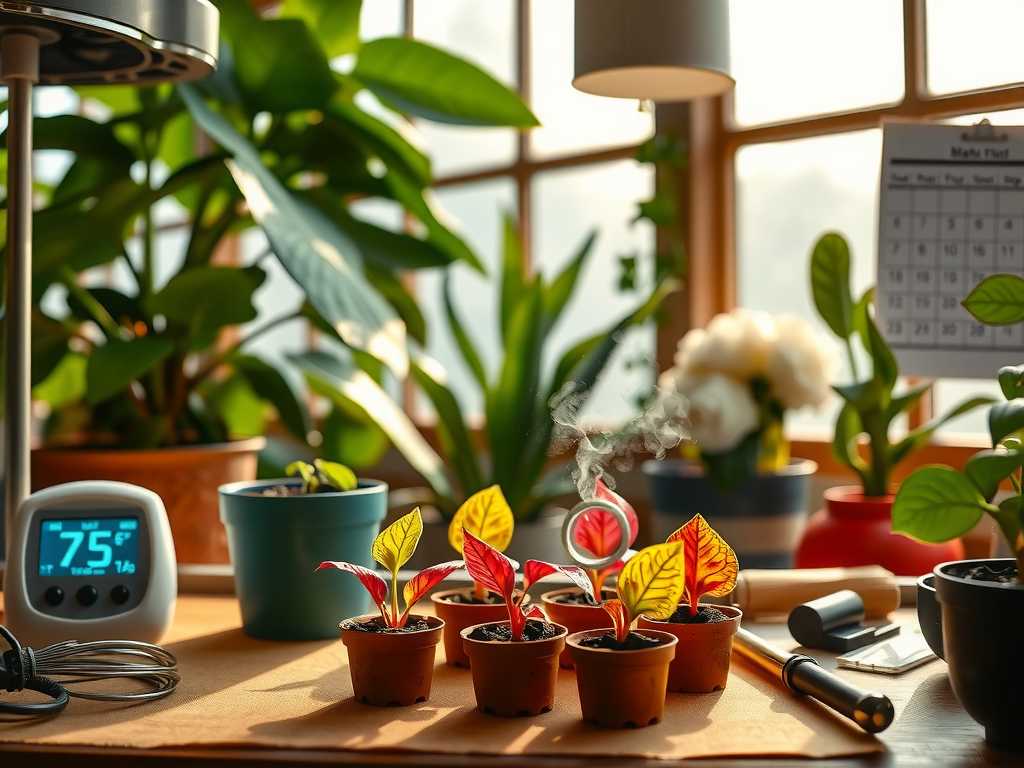
By Day 14, the results were undeniable. The shoots had developed into proper stems, unfurling their first delicate, translucent leaves. The growth was noticeably sturdier and faster than any previous attempt. The root systems, which I gently checked at the edge of one pot, were already actively exploring the warm, welcoming soil. The caladium corms not germinating problem was officially solved.
Crucial Pitfalls and How I Avoided Them
- Pitfall 1: Inconsistent Nighttime Temperatures. My sunroom got too cold at night. Fix: Use a heat mat with a thermostat. It’s a modest investment that guarantees consistency, day and night.
- Pitfall 2: Warm Air vs. Warm Soil. A warm room doesn’t mean warm soil. Soil can be significantly cooler, especially in clay or ceramic pots. Fix: Always use a soil thermometer. Your target is 70-75°F (21-24°C) at the depth of the corm. The Royal Horticultural Society (RHS) advises that for many tropical plants, root-zone heating is more critical than air temperature in early growth stages.
- Pitfall 3: Overwatering in the Cold. This is a deadly combo. A cold, wet corm is a rotting corm. Fix: Before sprouts appear, water extremely sparingly. Only after active growth begins in warm soil do you increase moisture.
Advanced Warmth Techniques for Stubborn Corms
For corms that still seem sluggish after pre-sprouting, you can employ a more direct approach. I tested this on a few older corms from my previous failed batch.
Create a “warming sandwich.” Wrap the corm loosely in a barely damp paper towel. Place it inside a loosely sealed plastic bag. Put this bag on the heat mat or in the consistently warm spot mentioned earlier. Check every 2-3 days for sprouts and to ensure no mold forms. This intense, humid warmth often shocks stubborn corms into action. Once sprouted, pot them immediately.
Your Questions on Caladium Germination, Answered
Can I just use a heating pad meant for people? I strongly advise against it. Standard human heating pads are not designed for constant, moisture-prone use and can overheat or pose a fire risk. Invest in a purpose-built, waterproof seedling heat mat with a thermostat for safety and precision.
How long is too long for a caladium corm to not sprout? If you’ve provided optimal warmth (75°F+ soil) and light moisture for 4-6 weeks with no signs of swelling or sprouting, the corm may be non-viable. Gently squeeze it; if it’s mushy or rock-hard and desiccated, it’s likely a loss.
Is sunlight enough to warm the soil? Direct sunlight can warm the top layer of soil, but it’s often uneven and doesn’t reliably heat the root zone where the corm sits. It can also dry out the soil too quickly. Consistent bottom heat is a far more reliable and controlled method for fixing caladium germination issues.
Watching those first colorful leaves push through the soil after focusing on warmth was a revelation. The difference wasn’t subtle; it was the difference between failure and lush success. The journey taught me that providing adequate warmth for caladium bulbs isn’t just a tip—it’s the foundational step. By mimicking their native tropical ground temperature, you’re speaking directly to the corm’s innate programming, telling it clearly and consistently that it’s time to grow. Grab a heat mat, monitor your soil temperature, and give your caladiums the tropical wake-up call they’ve been waiting for. Your reward will be a summer filled with their spectacular foliage.