 bluename
 How to Grow Caladiums Seasonally: Your Complete Outdoor Cycle Guide
I love the vibrant, heart-shaped leaves of caladiums. They’re like living stained glass for the shade garden. But for years, I struggled with them. I’d buy a lush pot in spring, only to watch it falter by midsummer or vanish entirely by the next year. The frustration was real—was I just not meant to grow these stunning plants? If you’ve ever felt that disappointment, wondering how to successfully grow caladiums seasonally outdoors without wasting money and effort, you’re in the right place. This guide is born from my own trial, error, and ultimate success over multiple seasons. I’ll walk you through the complete outdoor life cycle, sharing exactly what worked, what didn’t, and how you can enjoy their tropical flair year after year.
Understanding the Caladium’s Natural Rhythm
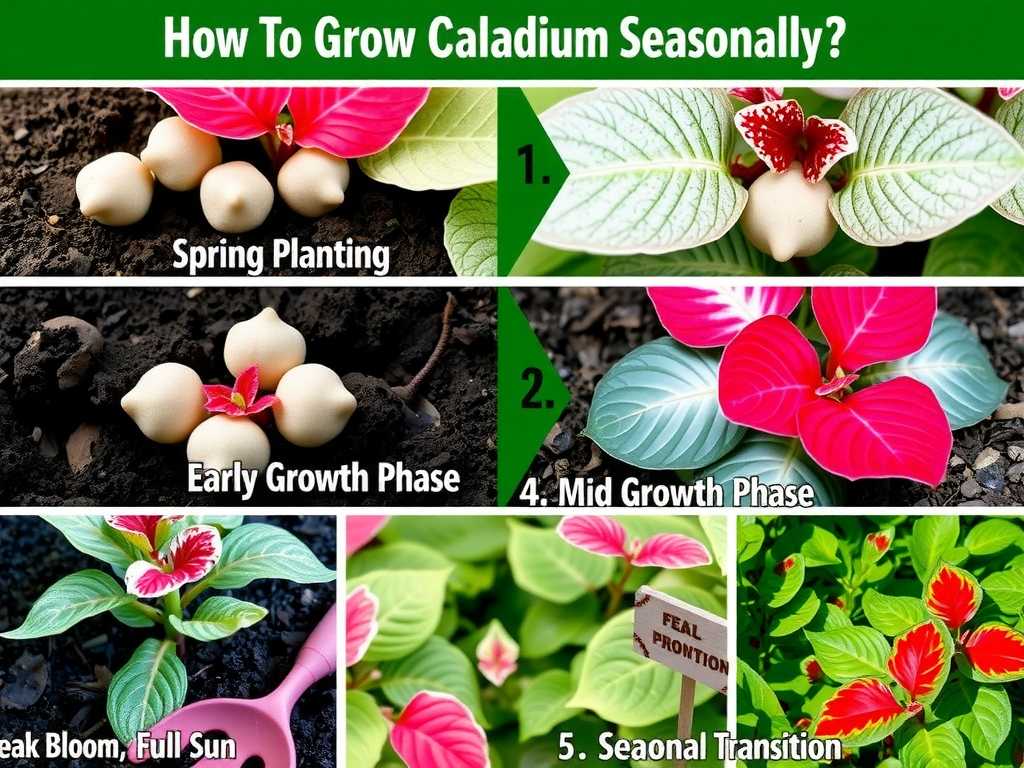
First, it’s crucial to remember: caladiums are tropical perennials. They thrive on warmth and enter a dormant period when temperatures drop. Treating them as disposable annuals is a common pitfall. The key to seasonal caladium growth is working with this cycle, not against it. My entire approach shifted when I started thinking of the year in three phases: the Awakening (spring planting), the Performance (summer care), and the Rest (fall/winter dormancy).
Phase One: The Spring Awakening – Planting for Success
This phase sets the stage for everything that follows. Rushing it was my first major mistake.
Choosing Your Starting Point: Bulbs vs. Plants
You can start with dormant tubers (often called bulbs) or pre-started plants. I’ve done both extensively. Starting with bulbs is far more economical and rewarding, but it requires patience. Pre-started plants give you instant gratification but are costlier for large displays.
For my most successful bed, I used ‘White Queen’ and ‘Red Flash’ tubers. According to the American Horticultural Society (AHS), selecting firm, plump tubers with several “eyes” (bud points) is non-negotiable for healthy growth. I learned this the hard way after planting some shriveled leftovers—half never sprouted.
The “Pre-Sprouting” Game-Changer
Here’s my biggest tip for growing caladiums outdoors: don’t plant dormant tubers directly into cool spring soil. They will rot or sit for weeks. Instead, pre-sprout them indoors. About 4-6 weeks before your last expected frost date, I place my tubers in a shallow tray filled with barely moist peat moss or potting mix, eyes up. I keep them in a warm spot (70-75°F is ideal) with bright, indirect light.
My 2-Week Observation Log:
- Days 1-7: No visible change. The temptation to water heavily is strong—resist! Moisture should be present but not soggy.
- Days 8-14: Small, knobby pink or green growth points emerge from the eyes. This is the signal they’re alive and ready. Roots also begin to form. At this stage, I had one tuber show signs of mold. I quickly removed it, dusted the area with sulfur powder (a natural fungicide), and reduced moisture. The tuber recovered and grew normally—a saved plant!
Outdoor Planting and Early Care
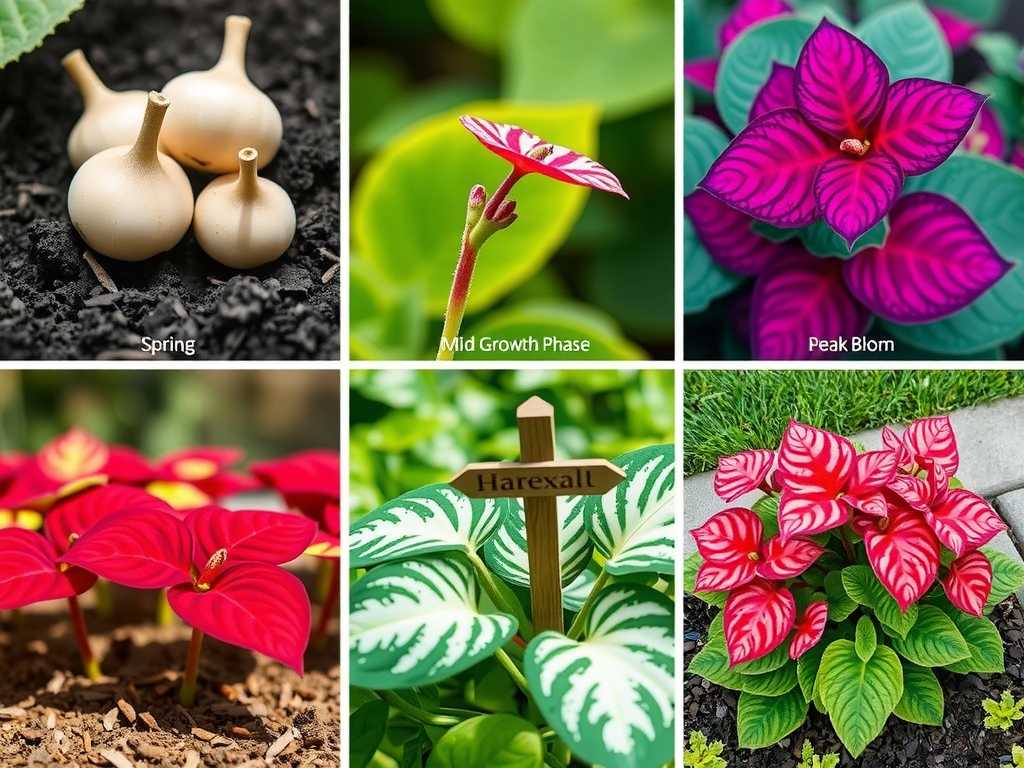
Once nighttime temperatures are consistently above 60°F and the pre-sprouted tubers have shoots, it’s go-time. I plant them about 2 inches deep in rich, well-draining soil amended with plenty of compost. A spot with morning sun and afternoon shade or dappled light all day is perfect. Hot, direct afternoon sun will scorch most varieties.
I water them in thoroughly and then wait. The soil should be kept lightly moist but never waterlogged. The first leaves will be smaller and sometimes a different shape—don’t panic. This is normal.
Phase Two: The Summer Performance – Keeping the Show Going
Your caladiums are up and leafy. Now, the goal is to maintain that vibrant display through the heat.
The Watering Balancing Act
Consistent moisture is the secret. Caladiums have shallow root systems and wilt quickly if dry. I water deeply when the top inch of soil feels dry. Mulching with 2-3 inches of shredded bark is a lifesaver; it keeps roots cool and conserves moisture. During a particularly brutal two-week heatwave, I observed my unmulched plants wilting daily and developing crispy leaf edges, while the mulched ones stood proud. I immediately mulched the struggling group, and they bounced back within a week.
To Feed or Not to Feed?
I used to think more fertilizer meant bigger leaves. Wrong. Heavy nitrogen can lead to weak, floppy growth and less vibrant color. Now, I follow a less-is-more approach. I mix a slow-release, balanced fertilizer into the soil at planting. Then, mid-summer, I give them a light feeding with a liquid fertilizer diluted to half-strength. The Royal Horticultural Society (RHS) advises that a modest nutrient supply supports foliage without forcing excessive, tender growth.
The Pinching Experiment
I read that pinching off the central, flower-like bud (spathe) could direct more energy into leaf production. I decided to test this on one half of my ‘White Queen’ patch for two weeks. The pinched plants did seem to produce 1-2 additional leaves in that period compared to the unpinched ones. It’s a subtle difference, but for show plants, it’s a technique I now use routinely.
Phase Three: The Fall and Winter Rest – Securing Next Year’s Show
This is where most beginners lose their caladiums. As autumn approaches and nights cool, the plants will naturally begin to fade. Don’t fight it.
Timing the Dig
Wait until the leaves have mostly yellowed and died back, but before your first frost. Frost will damage the tubers in the ground. Using a garden fork, I gently lift the clumps, shaking off excess soil. I leave the foliage attached for now.
The Curing and Storage Process
This step is critical for maintaining caladiums through seasons. I place the clumps in a dry, warm, airy spot (like a garage) for about 7-10 days. This allows the tubers to cure and the remaining foliage to dry completely. Then, I carefully remove the dry leaves and stems, brush off any remaining soil, and pack the tubers in a box filled with dry peat moss, vermiculite, or shredded paper. I store them in a dark place where temperatures stay between 50-60°F. I check once mid-winter for any signs of shriveling (mist if bone dry) or rot (remove immediately).
Common Questions I Get Asked
Can I leave my caladium bulbs in the ground over winter? Only if you live in USDA hardiness zone 9 or warmer, where the soil never freezes. In my zone 7 garden, leaving them in the ground was a guaranteed loss. Lifting and storing is the surest method for overwintering caladium bulbs successfully.
Why are my caladium leaves small or not as colorful? The three main culprits are insufficient warmth (they love heat), too much direct sun (which bleaches leaves), and lack of consistent moisture. Moving my ‘Pink Beauty’ from a too-sunny spot to a shadier one resulted in dramatically larger and brighter leaves within a few weeks.
Is it better to grow caladiums in pots or in the ground? Both work well! I grow them both ways. In-ground plantings often produce larger clumps with less frequent watering. Pots offer flexibility—you can move them to perfect light conditions and easily bring them indoors to extend the season. For container growth, ensure the pot has excellent drainage.
Growing caladiums is a seasonal dance that rewards a little knowledge and planning. By understanding their need for a warm start, consistent summer care, and a protected winter rest, you can turn a single purchase into a yearly spectacle. The process of pre-sprouting, observing their needs through the heat, and carefully storing the tubers has transformed my summer garden. Start with healthy tubers, respect their dormant period, and you’ll be rewarded with a reliable cascade of color that makes every bit of the effort worthwhile.





