 bluename
 How to Grow Caladiums Year-Round: A Complete Indoor Cycle Guide
I love the vibrant, heart-shaped leaves of caladiums. They bring a tropical flair to any space. But for years, I felt a familiar pang of disappointment every autumn. As temperatures dropped, my lush, colorful plants would begin to fade, entering a dormancy I couldn’t seem to master. I’d either lose the tubers to rot or wake them up too early, resulting in weak, spindly growth. The dream of enjoying these stunning foliage plants year-round felt just out of reach. If you’ve ever watched your beautiful caladiums wither and wondered how to keep the show going indoors, you’re in the right place. This guide is born from my own two-year journey of trial, error, and eventual success in creating a sustainable indoor cycle for these plants.
My goal was simple yet challenging: to maintain healthy, leafy caladiums through every season, transitioning them smoothly from their outdoor summer glory to a cozy winter indoors and back again. What follows is my personal, step-by-step method, including the mistakes I made and the solutions I found, backed by expert horticultural advice to give you the best chance of success.
Understanding the Caladium's Natural Rhythm
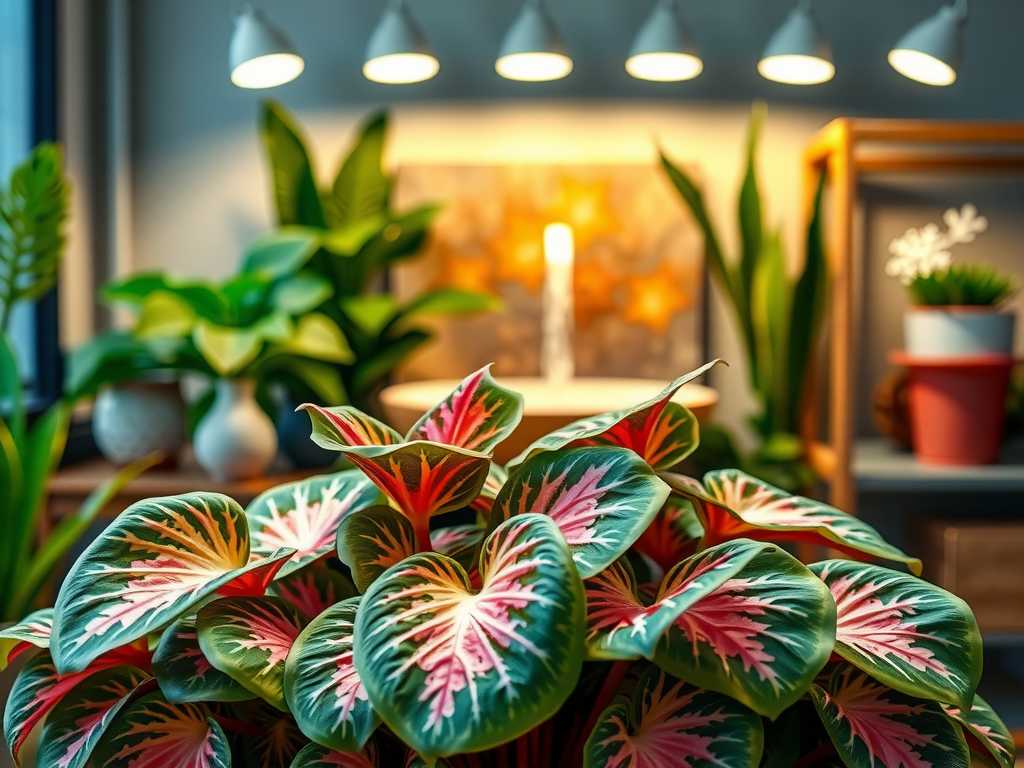
Before we dive into the how, it's crucial to understand the why. Caladiums are tropical perennials native to South and Central America. In their natural habitat, they experience a distinct cycle of growth during warm, wet seasons and dormancy during cooler, drier periods. Trying to force them to grow non-stop is a recipe for stress and failure. The key to growing caladiums indoors successfully is to work with this rhythm, not against it.
As the Royal Horticultural Society (RHS) notes, plants with a tuberous storage structure, like caladiums, rely on dormancy to conserve energy. Respecting this cycle is the first step toward long-term health. My own failures began when I ignored this fundamental need, treating them like a standard houseplant that should simply keep growing.
The Essential Four-Phase Indoor Cycle
I’ve broken down the year-round process into four manageable phases. Think of it as a calendar for your caladiums.
Phase 1: The Summer Glory (Outdoor/High Light Indoors)
From late spring to early autumn, your caladiums are in their prime growth period.
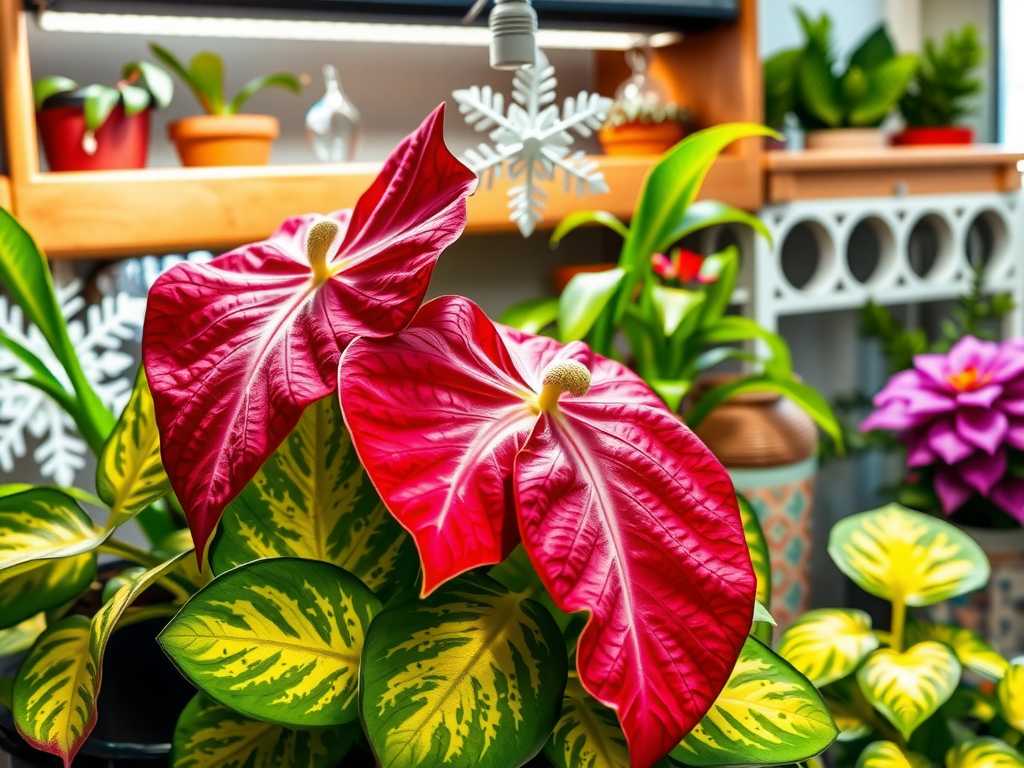
- Light: They thrive in bright, indirect light. I learned the hard way that direct afternoon sun will scorch their delicate leaves. A spot with morning sun or dappled shade is perfect. If you’re keeping them indoors year-round, a south or east-facing window with a sheer curtain is ideal.
- Water & Humidity: Keep the soil consistently moist but never soggy. I stick my finger an inch into the soil; if it’s dry, it’s time to water. Humidity is their best friend. I place my pots on pebble trays filled with water, which I found increased leaf size and reduced brown tips dramatically compared to my earlier attempts without extra humidity.
- Food: I feed mine with a balanced, water-soluble fertilizer diluted to half strength every 4-6 weeks during active growth. Over-fertilizing leads to salt buildup and leaf burn—another pitfall I experienced in my first season.
Phase 2: Preparing for Dormancy (The Wind-Down)
As days shorten and nighttime temperatures consistently dip below 60°F (15°C), it’s time to signal the plant to rest. This was the phase I most often botched.
- The Process: Gradually reduce watering over 2-3 weeks. Stop fertilizing entirely. You’ll notice the leaves starting to yellow and wilt—this is normal! Don’t panic and resume heavy watering. The plant is drawing energy back into the tuber.
- My Mistake & Solution: I used to see the yellowing and think I was killing the plant, so I’d drown it in water. This led to tuber rot. The American Horticultural Society (AHA) emphasizes that this senescence is a natural, necessary process. Let it happen.
Phase 3: The Dormant Period (Storage)
Once the foliage has mostly died back, you have two choices: store the tuber bare or keep it in its pot.
- Pot Storage Method (My Preferred): I simply stop watering, cut away the dead foliage, and move the entire pot to a cool, dark, and dry place like a basement or closet where temperatures stay between 50-60°F (10-15°C). I do not water it at all. I check once a month for any signs of premature sprouting or desiccation.
- Bare Tuber Method: Gently dig up the tuber, brush off excess soil, and let it cure in a warm, airy place for about a week. Then, dust it with a fungicide (like sulfur powder) and place it in a box or paper bag filled with slightly moist peat moss or vermiculite. Store it in the same cool, dark conditions.
- The Two-Week Observation: In my first successful dormancy, I marked a calendar and checked my pot-stored tubers every two weeks. Week 1: No change, soil bone-dry. Week 2: One tuber showed a tiny, pale nub of a sprout. This was too early (it was only January). I moved that pot to a slightly cooler spot to slow it down. This close observation prevented a weak, etiolated plant later on.
Phase 4: Waking Up & Restarting the Cycle (The Rebirth)
This is the most exciting phase. In early to mid-spring, it’s time to wake the sleeping beauties.
- The Wake-Up Call: Bring the pots out of storage. If you stored bare tubers, plant them in fresh, well-draining potting mix with the knobby side (the eyes) facing up, about 1-2 inches deep.
- The First Water: Give the soil a thorough, warm water soak. This is the signal to start growing. Place the pot in a warm spot (70-75°F or 21-24°C is ideal) with bright, indirect light.
- Patience is Key: Here was another critical lesson. Sprouting can take 4-8 weeks. I used to dig up the tuber every few days out of impatience, damaging early shoots. Now, I water sparingly until I see the first firm tip break the soil surface, then I resume regular care as in Phase 1.
- The First Two Weeks of Growth: Once sprouted, I documented progress. Days 1-7: The first leaf unfurled, pale and small. Days 8-14: A second and third leaf appeared, showing stronger color as they received consistent light and moisture. This initial fortnight sets the tone for the entire growing season.
Creating the Perfect Indoor Environment
Growing caladiums year-round means replicating their preferred tropics. Beyond the cycle, these factors are non-negotiable:
- Soil: A loose, peat-based potting mix with excellent drainage is vital. I add extra perlite to prevent waterlogging.
- Temperature: They dislike the cold. Keep them above 65°F (18°C) during active growth. Drafts from windows or doors can cause leaf drop.
- Pests: Indoors, spider mites can be an issue. I mist leaves regularly and wipe them down every few weeks. At the first sign of mites (fine webbing), I use a gentle insecticidal soap spray.
Common Questions from Fellow Growers
Can I really skip the dormancy period? While you can try to keep them growing with constant warmth and light, the plants will eventually become exhausted, producing smaller leaves and declining in vigor. I attempted this for one 18-month stretch. The plant survived but looked increasingly tired and sparse. A enforced 3-4 month rest, as the RHS recommends, results in a much more vigorous and beautiful plant each spring.
Why are my indoor caladium’s leaves smaller than last summer’s? This is usually a light issue. Indoor light, even in a bright window, is often less intense than filtered outdoor light. Ensure they get the brightest indirect light possible. Supplementing with a grow light during winter months made a significant difference in leaf size and color intensity for my collection.
The stems are long, leggy, and the leaves are falling over. What’s wrong? This is called etiolation—a desperate reach for more light. Your plant is not getting enough. Move it to a brighter location immediately. I had a ‘White Queen’ caladium do this on a north-facing windowsill. Relocating it to an east-facing window stopped the leggy growth, though the existing long stems needed support.
Mastering the indoor cycle for caladiums is a rewarding practice that deepens your connection to the plant’s natural life. It requires observation, patience, and a willingness to learn from the quiet period of dormancy as much as the explosive growth of summer. By following this rhythmic approach—nurturing their growth, honoring their rest, and carefully guiding their rebirth—you can enjoy the breathtaking, painterly leaves of caladiums in your home every single day of the year. The cycle itself becomes a satisfying ritual, marking the seasons with the quiet drama of growth, rest, and renewal.





