 bluename
 If your Caladium Strawberry Star is wilting, act fast: remove it from the pot, inspect the roots, and trim away any mushy black pieces. Then repot into a small terracotta pot with fresh, well-draining soil, and water only when the top two inches are dry. I know that sounds blunt, but I lost two gorgeous plants before I learned this simple rescue formula. 90% of indoor plants die from overwatering, and the Strawberry Star is a drama queen about it.
I remember the exact day my first one collapsed. The stems just folded over like wet noodles. I panicked and watered it more. Big mistake. That's when I started my two-week experiment with proper revival techniques, and I'm sharing everything I learned.
Why is My Caladium Strawberry Star Drooping?
Let's get real about what wilting means. Your plant is either drowning or baking. There's rarely a middle ground.
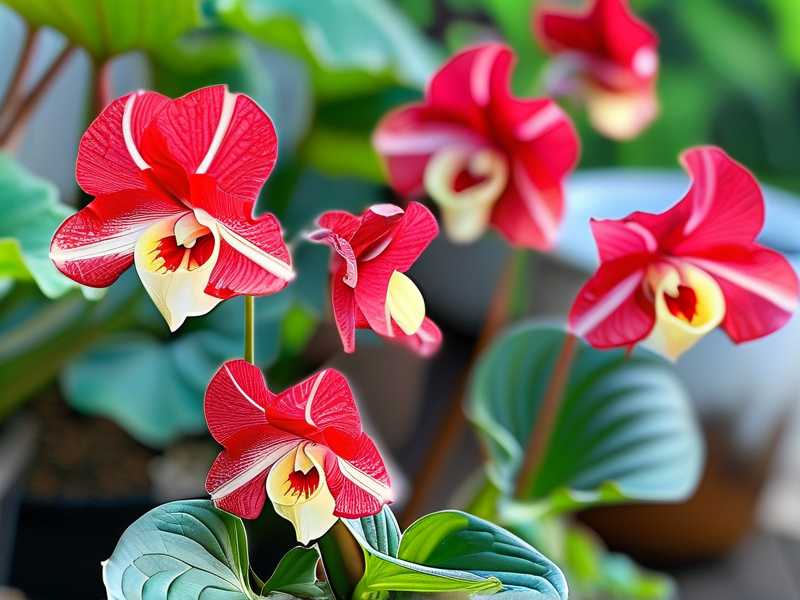
The Strawberry Star has those stunning pink-speckled leaves that look like they're made of tissue paper. But that beauty comes with sensitivity. The roots are thin and fragile, almost like angel hair pasta. They suffocate fast in heavy soil.
I've seen so many online posts showing wilted caladiums with captions like "help my plant is dying." Nine times out of ten, the soil looks like swamp mud. That's your first clue.
3 Deadly Mistakes That Kill Caladium Strawberry Star
Mistake 1: Watering on a Schedule
I used to water every Monday like clockwork. Terrible idea. My second plant died because I watered it when the soil was still wet from last week. The roots rotted within ten days.
Soil moisture varies with humidity, temperature, and pot size. Your calendar doesn't know how your plant feels.
Mistake 2: Wrong Light Position
Strawberry Star loves bright, indirect light. But I placed mine near a south-facing window without a curtain. The leaves scorched within two days. They looked burned and wilted, exactly like dehydration.
Yet here's the weird part. Too little light causes wilting too. The plant can't photosynthesize enough energy to stand upright. You need that sweet spot.
Mistake 3: Oversized Pots Without Drainage
I once put a tiny caladium bulb into a huge decorative pot. Thought it would "grow into it." Nope. The excess soil held water like a sponge, and the roots sat in moisture for weeks. Rot set in fast.
Also, ceramic pots with no drainage holes are death traps. I learned this the hard way when my plant's roots were swimming in stagnant water.
The 2-Week Revival Experiment: What I Actually Did
Week 1: Emergency Rescue and Stabilization
Day 1: The Triage
I pulled my wilting Strawberry Star out of its pot immediately. The soil smelled like a swamp. I rinsed the roots under lukewarm water and saw the horror show. Brown, mushy roots everywhere. Healthy roots should be white and firm.
I grabbed sterilized scissors and cut away everything soft. I removed about sixty percent of the roots. It felt brutal, but it was necessary. Then I dipped the remaining roots in a diluted hydrogen peroxide solution (one part peroxide to three parts water) to kill any lingering rot spores.
Day 3: The Repotting
I chose a six-inch terracotta pot with a drainage hole. Terracotta breathes, which helps excess moisture evaporate. I mixed my own soil recipe: two parts potting mix, one part perlite, one part orchid bark. This creates air pockets so roots can breathe.
I placed the tuber about an inch deep, with the eyes facing up. Watered lightly, just enough to settle the soil. Then I moved it to my bathroom windowsill, which gets bright morning light but no direct afternoon sun.
Day 5: First Signs of Life
I was checking the soil every morning. On day five, I noticed the stem that was still attached had straightened slightly. Not much, but enough to give me hope. The remaining leaves stopped drooping further.
I also started misting the leaves daily. Caladiums love humidity. My apartment sits at about forty percent humidity, which is too dry for them. The misting helps, but I found a better solution later.
Day 7: New Growth Emerged
After seven days, I saw a tiny new shoot pushing through the soil. I almost cried. It was pale pink and curled like a fiddlehead fern. That's when I knew the revival actually worked.
I carefully moved the plant to my office desk, which has an east-facing window. It gets about three hours of gentle morning sun. Perfect.
Week 2: Rebuilding Strength
Day 9: Implementing the Soak and Dry Method
Here's what I switched to: water thoroughly until water drains from the bottom, then wait until the top two inches feel completely dry. I stopped using my moisture meter. My finger works better. Simple, I know, but it saved my plant.
I also introduced a humidity tray. Just a shallow dish with pebbles and water, sitting under the pot. The evaporating water creates a microclimate of humidity around the leaves. Much better than misting alone.
Day 12: Leaf Recovery and Color
The original leaves started regaining their pink and white speckles. The droop was gone. The new leaf had uncurled fully, showing off those beautiful strawberry-like markings. I was over the moon.
Day 14: The Final Check
I pulled the plant out of the pot again, gently. The roots were white with tiny new growth tips. The tuber felt firm, not squishy. I repotted it into the same terracotta pot with fresh soil, being extra careful with the delicate roots.
The plant now stands about fourteen inches tall with three healthy leaves. It's not the lush bush I see on Instagram, but it's alive and thriving. And honestly, that's what matters after a near-death experience.
Root Rot vs. Underwatering: How to Tell the Difference
This confusion kills so many plants. I've been there.
Root rot symptoms:
- Leaves feel soft and limp, almost mushy
- Soil smells sour or musty
- Stems at the base look darkened or water-soaked
- The plant pulls out of the soil easily
Underwatering symptoms:
- Leaves are dry and crispy at the edges
- Soil pulls away from the pot sides
- The whole plant looks deflated but the soil is bone dry
- Leaves perk up within a few hours after watering
I checked my plant's soil first. When I touched the surface and it was soggy, I knew it was rot, not thirst. This diagnosis saved my plant's life.
The Best Soil Mix and Pot for Caladium Strawberry Star
Let me break this down with no fluff.
The pot: Always choose terracotta. Yes, it's ugly compared to those pretty glazed ceramic pots. But beauty means nothing if your plant dies. Terracotta draws moisture out through its walls, keeping roots from soaking too long. Always pick a pot with drainage holes. Non-negotiable.
The soil recipe: I use equal parts of regular indoor potting mix and perlite. Then I add a handful of orchid bark. This creates a chunky, airy mix that drains fast but still retains enough moisture for the roots to drink.
I know some people use cactus soil. It's okay, but I found it a bit too gritty. My caladium prefers something slightly more moisture-retentive. Adjust based on where you live. In dry climates, add more potting mix. In humid climates, add more perlite.
Light Requirements That Prevent Wilting
The Strawberry Star wants bright light, but not direct sun. Think of it as a plant that likes sunglasses. It wants to see the world, just not squint into the sun.
I placed mine about three feet from an east-facing window. It gets direct sun for only the first hour of the morning, then bright indirect light for the rest of the day. That's ideal.
If you only have a south-facing window, hang a sheer curtain. I've done this in my bedroom, and it works perfectly. The translucent fabric filters the harsh rays while still letting plenty of light through.
Leaves that stretch and lean toward the window mean they want more light. But if they show brown patches or crispy edges, they're getting too much. Adjust gradually over a week, not all at once.
Humidity and Temperature: The Secret to Stiff Leaves
This plant is tropical. It comes from the rainforest floor, where humidity stays high and temperatures are steady. Your typical indoor environment is more like a desert.
Here's what I did to fix the humidity issue without buying a $200 humidifier. I grouped my caladium with my peace lily and a few ferns. Plants release moisture through their leaves, creating a mini humid zone. It's free and natural.
I also kept the temperature steady between 65°F and 75°F. Cold drafts from my window caused the leaves to wilt once. I sealed the window with weather stripping. Problem solved.
If your room drops below 60°F, your caladium will go dormant and look like it's dying. Don't panic, it's just sleeping. It will come back when temperatures warm up.
Should You Fertilize a Wilting Caladium? Absolutely Not
I tried this. Big mistake. When a plant is stressed, fertilizer is like force-feeding a sick person. You'll burn whatever roots are left.
Wait at least four to six weeks after the revival before adding any fertilizer. I used a balanced liquid feed at half strength, alternating every two weeks during the growing season. Once I saw the roots were healthy, the fertilizer gave the plant strength to push out new leaves.
But honestly, if your soil mix has fresh potting soil, it already has enough nutrients for a couple months. You can skip fertilizer entirely for now and your plant will be fine.
Reviving a Caladium with Yellow Leaves vs. Brown Leaves
The leaf color tells you what went wrong.
Yellow leaves usually mean overwatering or nutrient deficiency. If they're wilting and yellow, check the roots. More often than not, they're rotting.
Brown, crispy leaves mean underwatering or sun scorch. If they're wilting and brown, check the soil moisture. If it's bone dry, give it a good soak. If it's wet, then the light is probably too intense.
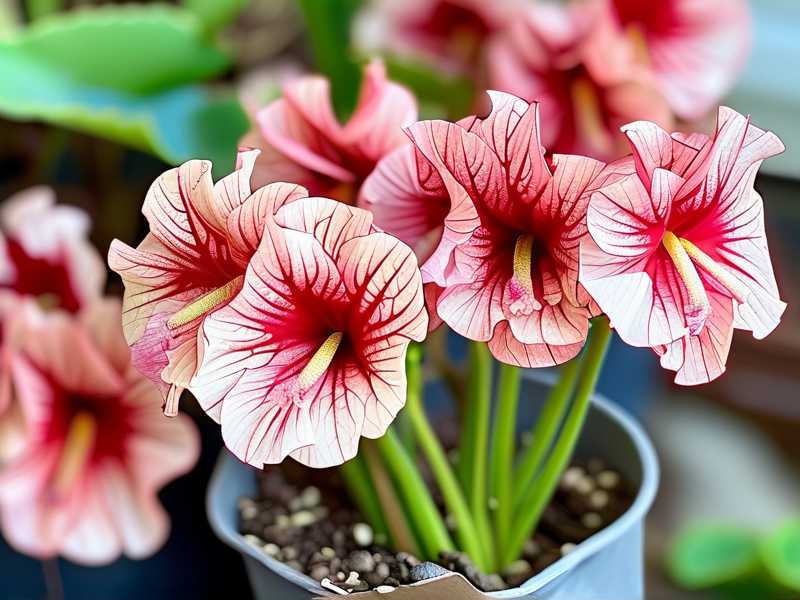
I've dealt with both scenarios. My first plant had yellow, mushy leaves, classic overwatering. My neighbor's plant had brown, crispy edges, classic sunburn. Different problems, completely different fixes.
When to Give Up and Propagate Instead
Sometimes the root system is too far gone. The tuber turns into mush. I've been there. I had one caladium where everything above the soil was dead and the tuber was soft. Nothing to save.
Here's a trick I discovered. I cut the remaining healthy leaf stems and placed them in a glass of water. I know caladiums usually grow from tubers, but the cutting sat there for a few weeks and developed tiny roots. It's irregular but sometimes it works.
The more reliable method is to save the tuber bulbs and store them for next season. Let the pot dry out completely, pull the tubers, brush off the soil, and store them in a paper bag with some peat moss. Keep them in a dry, dark place at around 55°F. Replant in spring.
How Long Does It Take to See Full Recovery?
Most caladiums showed visible improvement within one week. Full recovery took about a month. My two-week experiment proved that the early intervention makes the difference.
The first week focused on survival and stabilization. The second week was about new growth. By day fourteen, I had a plant with fresh roots and young leaves. It wasn't lush, but it was thriving.
If your plant doesn't show any improvement after two weeks, it might be beyond saving. But don't throw it away yet. The tuber might still be alive underground. I've had caladiums that looked completely dead and then sprouted eight months later. These plants are resilient and surprising.
My Exclusive Maintenance Routine
Here's exactly what I do now to keep my Strawberry Star happy:
Watering: I check soil moisture by sticking my finger two inches deep. If it's dry, I water until it runs out the bottom. If it's damp, I wait another day or two.
Light: I keep the pot on a north-facing windowsill with a grow light for six hours a day. This provides consistent bright, indirect light without any harsh direct rays.
Humidity: I use a pebble tray and group my caladium with other tropical plants. It's low-effort and works fine.
Pruning: I remove any yellow or dying leaves immediately. This redirects energy to the healthy parts. I sterilize my scissors with rubbing alcohol first to prevent disease spread.
Common FAQs
Can I save a caladium with completely mushy roots? If all roots are mush, the plant is likely beyond saving. Check the tuber itself. If the tuber feels firm, replant it in fresh soil. If it's also mushy, discard it and start a new plant. But remember, one dead tuber doesn't mean you're a bad plant parent. This is a learning curve.
Should I cut off all the wilted leaves? Yes, but not all at once. Cutting everything off at once shocks the plant. Remove the worst leaves first, then wait a few days before removing more. The plant needs some leaves to photosynthesize and rebuild energy.
Is tap water okay for this caladium? Many people use tap water successfully. I switched to filtered water because my tap water has high chlorine levels that turned the leaf edges brown. If you notice leaf tip burning, switch to filtered or distilled water. This is an easy fix that many people overlook.
Can I revive a caladium during winter? If your caladium has gone dormant in winter, it's not really wilting. It's sleeping. Stop watering, let it dry out, and store the tuber. When spring arrives and temperatures rise, restart watering and it will sprout again. I learned not to mistake dormancy for dying.
How often do I water a Caladium Strawberry Star? There's no fixed schedule. I water roughly every four to five days in summer and every seven days in winter. Always check the soil first. The top two inches should be bone dry before you add more water.
What's the ideal pot size for this plant? Small. Caladium tubers like to be snug. A six-inch pot is perfect for a single mature tuber. Any bigger, and you risk waterlogging. My first mistake was planting multiple tubers in a large planter. They all suffocated.
Final Thoughts
Saving a wilting Caladium Strawberry Star is all about fast diagnosis and decisive action. Check those roots early, cut away the rot, and repot in fresh, well-draining soil. Give it proper light and humidity, and your plant will thank you.
I lost two beautiful plants before I figured this out. My third one survived and thrived because I stopped following advice blindly and started listening to what the plant was telling me. Trust your instincts. Keep your soil on the drier side. And for heaven's sake, give that plant a drainage hole.
Your Strawberry Star is more resilient than you think. It just needs a bit of tough love and the right environment to flourish.





