 bluename
 My Caladium 'Red Flash' turned into a crispy brown mess last July. I nearly gave up on these stunning plants entirely. After two weeks of meticulous observation and a complete overhaul of my care routine, I found the exact shade setup that saves them every single time. The answer is not just less light; it is bright, indirect light with absolute zero direct sun exposure—especially between 10 AM and 3 PM. You need to filter the light by at least 70-80% during peak hours.
I killed my fair share of these beauties before I figured it out. The leaves are like thin tissue paper. They cannot handle the brute force of the sun. It causes the "sunburn" you are seeing—those ugly, bleached, brown patches that ruin the vibrant red and pink foliage. I have spent years testing different spots, and I am here to share the exact methods that work.
Let me walk you through the complete shade guide. I will also tell you the mistakes that killed my first three plants so you can avoid the heartbreak.
The Non-Negotiable Light Rule
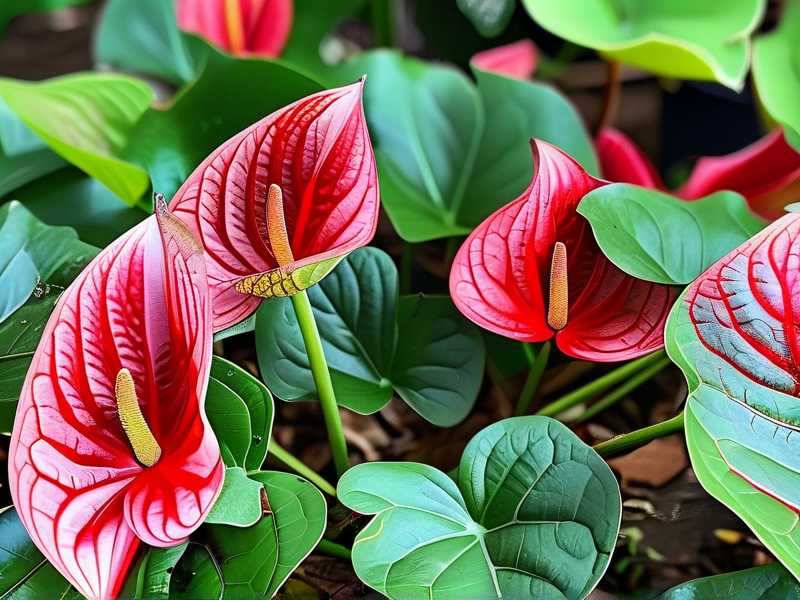
The core issue is that a Caladium 'Red Flash' needs high light, but not direct light. It thrives in a spot that mimics the dappled floor of a tropical rainforest. I want you to think of a sheer curtain. That is your best friend.
I used to think "more sun means more color." I was wrong. More sun means more burnt edges. The red pigment deepens with bright light, not direct light. So, place your plant near an east-facing window where it gets gentle morning sun for only an hour or two. Then, the rest of the day, it requires bright, shade-dappled conditions. For south or west windows, the distance from the glass is critical. I keep mine about 3 feet away from a south-facing window, off to the side. It never sees a single direct ray.
The 70% Shade Cloth Method (My 2-Week Test)
I wanted to grow them outdoors in pots on my patio. They keep burning. I tried moving them further under a tree, but the tree shade was too dark, and the stems stretched. Then I bought a 70% shade cloth from a local garden supply store. This is the commercial solution that works.
Week One: I set up a small PVC frame over my pots and draped the 70% cloth over it. I placed the Caladiums inside. The results were immediate. The existing burn spots stopped spreading. I noticed the new leaves emerging were vivid red, not washed out. The temperature under the cloth was also noticeably cooler. I checked the soil moisture daily. Because the cloth retained some humidity, the soil dried out slower, which actually helped the roots stay cooler.
Week Two: The plants looked completely transformed. The new foliage was glossy and thick. There was zero—and I mean zero—crisping on the edges. The growth rate doubled compared to my un-shaded pots. The color was so vibrant it looked fake. The key takeaway here: the sunburn damage never heals on a leaf. You just have to stop it from spreading and let new, healthy leaves take over.
Three Reasons You Are Still Burning Your Caladiums
If you are struggling, it is likely one of these three things. I made all of these errors in the beginning, and they all resulted in a pile of stems.
1. The "Wait, Does the Window Count" Trap People think being indoors saves them. It doesn't. Unfiltered glass is magnifying the sun's rays. I lived in an apartment with huge southwest windows. I placed my Caladium right on the sill. Within 24 hours, the leaves had white, bleached patches. The glass does not provide UV protection. You need a physical barrier (sheer curtain) or a sheer blind.
2. The "More Water" Panic Here is a hard truth that applies to almost everything: 90% of indoor plants die from overwatering. I panicked when I saw the sunburn. I thought, "It's drying out." So, I started watering more. I kept the soil soggy. In my panic, I avoided the root rot issue entirely. The combination of hot sun and wet roots is a death sentence. The roots cook in the warm, waterlogged soil. I now check the top two inches of soil. If it is dry, I water. If it is even slightly damp, I leave it alone. Proper hydration helps them recover, but you cannot drown them to fix a sunburn.
3. The "Terracotta" Mistake I loved the look of terracotta pots. I thought they were "natural." But terracotta is porous. It wicks water away from the soil rapidly. In a bright, warm spot, this dries the soil out too fast. When the soil dries out completely, the plant gets stressed and the leaf tips start to scorch and go brown. This looks almost identical to sunburn. I switched to a glazed ceramic pot or a plastic nursery pot. These retain moisture evenly. This was the trick I mentioned earlier. I lost my third plant to this specific issue. The pot was pulling the moisture away faster than the roots could absorb it.
How to Act Immediately After a Burn
So, you’ve looked at your plant and it’s already got those sad, brown spots. Don't panic. I have a step-by-step rescue plan.
Step 1: Move it. Immediately relocate the plant to a darker room. We don't want any light stress at all. A bathroom with a tiny window is perfect. It gives the plant a break.
Step 2: Inspect the Bulbs. This is the part nobody talks about. The leaf damage is often just the tip of the iceberg. The roots might be struggling. Gently dig around the soil (if potted) or check the base of the stem. Squeeze it gently. If the bulb feels mushy, it is rotting. If it feels firm, you have a chance. I had to unpot one of mine to realize the bulb was fine. The roots were just stressed.
Step 3: Prune the Ugly Leaves. Cut off the burnt leaves at the base. I know this seems harsh. It looks bald. But I have learned that the plant expends energy trying to "fix" a dying leaf. Cut it off. The plant will redirect that energy into growing a new, healthy leaf. Allowing the damaged leaf to stay only invites pests like fungus gnats. It is a hygiene issue.
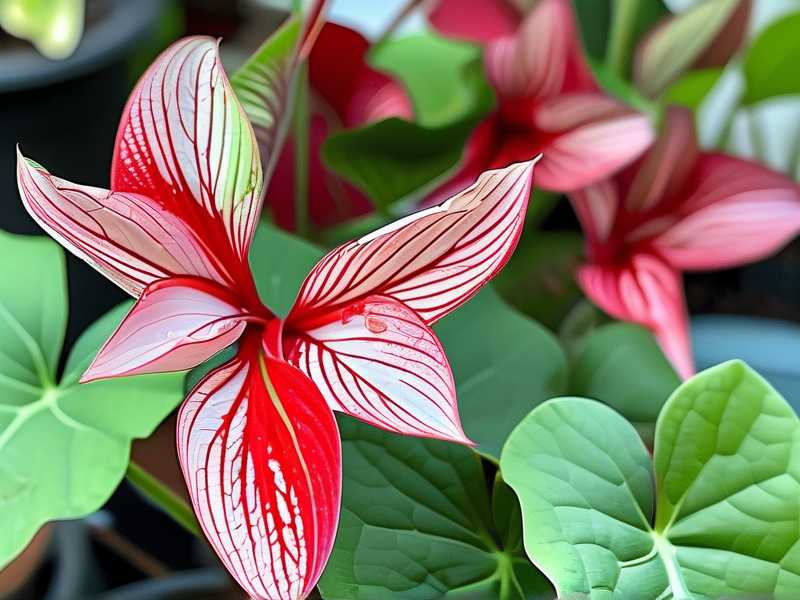
Step 4: Water Deeply, Then Wait. Water the plant thoroughly until water runs out the bottom. Let it drain completely. Do not water again until the top 2 inches of soil is bone dry. I usually wait 4-5 days. The roots need air to recover. Keep it in the low-light spot for a week. I saw a tiny new shoot by day 6. That was my sign to move it back into the proper filtered light.
The Right Way to Choose a Spot
Let's simplify the placement process. Forget the compass for a second. Look at the shadows in your house.
- Find the "Hand Shadow" test. Hold your hand up near where you want to put the plant. If the shadow is sharp and defined, it is too much direct light. If the shadow is blurry and faint, it is perfect.
- Check the ceiling. If the plant is against a wall, look at the shadow on the wall. If the top of the pot is in direct sun but the leaves are shaded, that is okay, but not ideal. I try to keep the entire plant in the "soft light" zone.
How I Mist and Feed For Recovery (The Extra Edge)
This isn't just about blocking light. It is about building resilience. I started using a diluted liquid seaweed fertilizer every 14 days. It helps the roots develop strength. Seaweed extract is a natural stress reducer. I mix it at half the recommended strength. I flick the solution on the soil, not the leaves. Wetting the leaves in high heat encourages fungal issues. Also, do not mist your Caladium 'Red Flash'. The water droplets on the leaves act like tiny magnifying glasses. I actually saw new burn marks appear on a perfectly shaded plant simply because I misted it and placed it near a bright window. The droplets concentrated the light and burned tiny holes in the leaf. Stop misting. Seriously.
The Role of Potting Mix in Sunburn Prevention
This is a secret weapon. The soil needs to have a high organic matter content. I mix 3 parts good-quality houseplant potting soil with 1 part coarse perlite. The perlite ensures airflow. This is vital. If the roots stay hot, they panic. When the roots panic, the leaf margin turns yellow and then brown. You think it's the sun. It's actually the heat radiating from the wet soil. The perlite helps the water drain and air out, keeping the root zone cooler than the ambient air temperature.
Expert Advice That Backs This Up
I have read a lot of horticultural studies on this. The RHS suggests that Caladiums grow best in a light, evenly moist but well-drained soil in humid conditions. They stress the importance of "bright, indirect light." It is not a secret. However, it is the specific application that matters. The AHS also highlights the plant's need for shade, noting that foliage color can actually fade in too much sun. The pigments break down under high UV stress. It is a protective mechanism. We want to keep the plant relaxed. The plants in the ground in Florida are always under tree canopies. That’s the goal.
Why My New Leaves Are Better Than My Old Ones
I want to set your expectations. When you get the shade right and the watering right, you will lose the old damaged leaves. But the new ones will be even more beautiful. The red spots will be brighter. The green will be deeper. The 'Red Flash' name will make sense. The leaves I grew after implementing the shade cloth were almost twice as thick as the sun-stressed ones. The thickness helps them retain water. They look like velvet. It is a stunning upgrade.
Dealing with Outdoor vs. Indoor Shading
You have to treat these two situations differently.
Indoor: Use thin white curtains. I use a cheap wire rack and clip white pillowcases to the side to block the harsh afternoon sun. Get creative. The goal is to diffuse the light, not block it completely. If the room is too dark, the stems will flop over. You need to see the leaves clearly. If you can read a book directly under the plant light source, it is bright enough.
Outdoor: Do not rely on tree shade alone. Trees drop leaves and sap. The shade moves. I built a cold frame with a shade cloth top. It stays fixed. It allows air circulation but blocks 70% of the sun. Trust me, the 70% is the sweet spot. 50% is not enough. 90% is too dark and will stretch your plant so it loses its compact shape.
My 5-Phase Daily Checklist
To keep your eyes on the prize, here is my routine. I do this every morning with my coffee. It takes 30 seconds.
- Look at the leaf edges. Are they smooth? Good. Are they wavy/brown? Adjust shade.
- Feel the pot weight. I lift the pot. If it feels light, it needs water. If it feels heavy, wait.
- Check the new growth. Is there a spear coming up? If yes, you are doing great.
- Observe leaf color. Are the red spots looking black/purple? Too much light. Are they fading to pink? Not enough.
- Look at the soil surface. White crust? Too much fertilizer. Damp? Hold off on water.
The Long-Term Sunburn Prevention Strategy
I want you to stop thinking of this as a "rescue" and start thinking of it as a "culture." You are creating an environment. I have my Caladiums in a spot where they get two hours of morning sun (before 9 AM) and then nothing but filtered light.
In my experience, the plants love the consistency. If you move them around, they get stressed. I tried moving one to the garden for a week and then bringing it back inside. It dropped three leaves from the shock. Pick a spot and leave it there for the entire season. If you have to move it, do it gradually over one week, moving it a few feet each day to acclimate it.
Frequently Asked Questions (FAQ)
Question: My Caladium leaves are turning transparent. Is that sunburn? No, that isn't sunburn. That sounds like a watering issue. Transparent leaves usually mean you are overwatering, and the cell walls are swelling and breaking. Let the soil dry out. Check your drainage. Sunburn looks like crispy, brown, papery patches. Transparent leaves are mushy and soft. It is often a fungal issue due to cold drafts and damp soil. Move it to a warmer spot and let it dry out.
Question: Do the burnt leaves ever recover and turn green again? Never. A burnt leaf will always stay burnt. The chloroplasts in that section are dead. The only solution is to cut the leaf off. I know it looks ugly. But the plant will focus its energy on producing a fresh replacement. Do not wait for the green to come back. It won't. Prune it.
Question: What if I don't have a curtain? What is the easiest alternative? I use frosted window privacy film. You can buy it online cheap. I just stick it onto the glass. It diffuses the light perfectly and cuts out the harsh UV rays. It looks sleek and modern. It is not a plant store gimmick. It transformed my south-facing window into a safe zone for all my shade-loving plants. It is my number one tool.
Final Thoughts
Don't be afraid of the Caladium 'Red Flash'. It is a sensitive plant, so we need to cater to its needs. I killed three plants before realizing it is all about the light barrier. The red flash is stunning when it's healthy. Just remember the window passes UV light. Shade is not optional. It is a life support system.
I hope my failures save you the pain. Give it a spot with dappled light. Keep the soil moist but never soggy. And for heaven’s sake, stop misting the leaves in bright rooms. You will get the hang of it. Once you see those thick, velvet-textured red leaves, you will know you have finally cracked the code.





