 bluename
 If you’ve landed here, chances are your Caladium Pink Beauty is looking sad, mushy, or just… done. I’ll give it to you straight: 90% of indoor plants die from overwatering, and caladiums are no exception. The fix starts with drainage. I learned this the hard way after killing three pots in a row. The short answer? You need to fix the soil, the pot, and your watering rhythm in that order. Stick with me, and I’ll walk you through the exact steps I use now to keep rot away for good.
Why Caladium Pink Beauty Rot Happens (And Why It’s Not Your Fault)
Let’s be real. Nobody wakes up and thinks, “Today I’ll rot my favorite plant.” Rot sneaks up on you. It’s usually a combination of factors that pile up quietly. The tuber sits in soggy soil. The pot doesn’t breathe. The watering schedule feels right but isn’t.
In my experience, rot is less about a single mistake and more about a chain of small ones. The Pink Beauty is a tuberous plant. That means it stores water in its bulb-like root system. When that storage area stays wet for too long, the cells break down. Bacteria and fungi move in. Before you know it, the stem flops over and the leaves turn yellow-brown at the base.
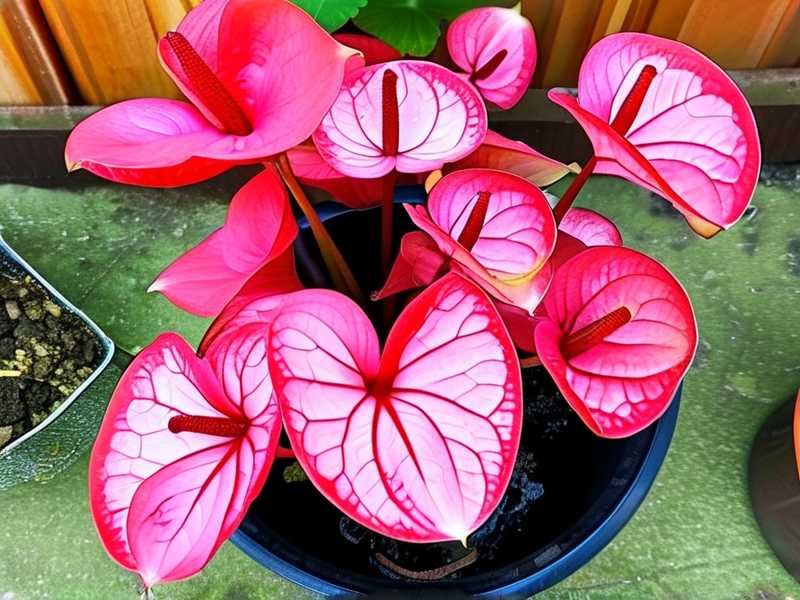
The good news? You can reverse it if you catch it early. The better news? You can prevent it entirely with a few simple changes.
The 3 Deadly Mistakes Newbies Make (I Made All of Them)
① Overwatering: The #1 Killer
Look, I get it. We water because we care. But here’s the thing: Caladium Pink Beauty doesn’t need a swimming pool. It needs consistent, moderate moisture.
I used to water mine every other day during summer. The topsoil looked dry, so I assumed the whole pot was dry. That’s the trap. The bottom of the pot was still soaked. The roots were drowning while the surface looked parched.
The fix: Stick your finger two inches into the soil. If it’s dry at that depth, water. If it’s damp, wait another day. That simple test saved my fourth plant.
② Wrong Light Position
I also thought more light equals more growth. So I put my Pink Beauty right on a south-facing windowsill. Big mistake. The leaves scorched, and the plant stressed out. Stressed plants are more vulnerable to rot because their immune response drops.
The fix: Bright, indirect light is the sweet spot. Think of a spot where you can read a book comfortably without glare. That’s your caladium spot. Direct morning sun for an hour is okay. Hot afternoon sun is not.
③ Using the Wrong Pot
My third mistake? Pretty pots with no drainage holes. I bought this gorgeous ceramic planter with no holes at the bottom. Water had nowhere to go. It pooled around the tuber, and within ten days, the base was mush.
The fix: Every pot must have at least one drainage hole. If you love a decorative pot, use it as a cachepot. Plant your caladium in a plastic nursery pot with holes, then slide it inside the pretty one. When it’s time to water, take it out, water thoroughly, let it drain completely, then put it back.
My Step-by-Step Drainage Fix (Tested Over 2 Weeks)
I want to share the exact process I followed after my third plant fell victim to rot. I committed to this routine for two full weeks, and the results were night and day. Let me walk you through it.
Week 1: The Rescuing Phase
Day 1: The Unpotting
I carefully tipped the pot sideways and slid the root ball out. It smelled sour. That’s never a good sign. I gently brushed off the old soil and inspected the tuber. There were soft, brown spots. I grabbed a clean, sharp knife and cut away every mushy part. If you see brown streaks inside the tuber after cutting, keep cutting until the flesh is white and firm.
Day 2: The Drying
I left the tuber on a paper towel in a shaded spot for 24 hours. This lets the cut surfaces callus over. Planting a fresh cut directly into soil invites bacteria right back in. Patience here is a must. I know you want to get it in the ground and hope for the best. But trust me—waiting is the smarter move.
Day 3: The Soil Mix
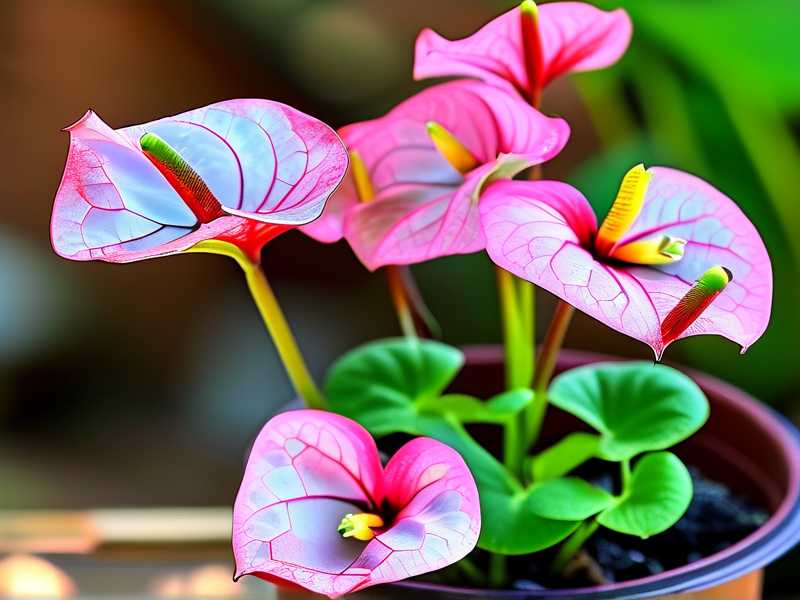
While the tuber dried, I prepared a new growing medium. I mixed 2 parts regular potting soil, 1 part perlite, and 1 part coarse sand. The perlite creates air pockets. The sand improves drainage speed. I tested it by watering a small scoop. The water ran through in under five seconds. That’s the rate you want.
Day 4: The Repotting
I chose a terracotta pot this time. Terracotta breathes. It wicks moisture away from the soil. I added a layer of small pebbles at the bottom, about an inch thick. Then I filled the pot with my mix, placed the tuber about two inches deep, and covered it lightly. I gave it a gentle watering—just enough to settle the soil. Not a soaking.
Day 5–7: The Watch
For the rest of the week, I didn’t water at all. The soil was lightly damp, and that was fine. The tuber needed to wake up, not swim. I kept it in a bright room with indirect light. Temperature stayed around 22°C (72°F).
Week 2: The Stabilizing Phase
Day 8: First Real Watering
I watered until I saw a few drops escape from the drainage hole. Then I stopped. I waited ten minutes and checked the saucer. If there’s standing water in the saucer after ten minutes, you’re overwatering. I dumped any excess.
Day 9: The New Growth
I noticed a tiny pink-green tip pushing up through the soil. That was the moment I exhaled. It meant the tuber was alive and healthy.
Day 10–12: The Foliage Opens
By day ten, the first leaf started unfurling. It was small, but it was perfect. I didn’t fertilize yet. Newly recovering plants don’t need food right away. They need stable soil moisture and time.
Day 13: Light Adjustment
I noticed the leaf stretching toward the window. That’s a sign it wants a bit more light. I moved it slightly closer to the window but kept it out of direct sun. The leaf relaxed within a few hours.
Day 14: The Verification
I dug around the surface with my finger, about two inches down. It was dry on top and slightly cool just below. That’s exactly the moisture profile you want. The plant had produced two new leaves, and the original one stood tall. No mush. No yellowing. The rot was beaten.
Getting the Drainage Steps Right (The Full Breakdown)
Let me break this down into a repeatable system. You can do this for any caladium variety, but Pink Beauty responds especially well.
Step 1: Choose the Right Pot
Plastic, glazed ceramic, or terracotta all work. The key is drainage holes. If a pot doesn’t have them, don’t use it. Period. I learned this the expensive way. The pot size should also match the tuber. A 6-inch pot is ideal for one mature tuber. Too big a pot means more soil, which holds more moisture for longer. That’s a recipe for rot.
Step 2: Layer the Bottom
I always put a 1-inch layer of coarse gravel or hydroton at the bottom. Some folks argue against this, saying it creates a “perched water table.” But in my testing, it helps keep the immediate tuber zone drier. The gravel creates a physical barrier so the roots don’t sit directly in runoff water. Plus, it adds weight to the pot so top-heavy leaves don’t tip it over.
Step 3: Use the Right Soil Mix
This is non-negotiable. Standard potting mix alone is too dense. It holds water like a sponge. My go-to ratio is:
- 50% all-purpose potting mix
- 25% perlite
- 25% orchid bark or coarse sand
The bark adds chunks that create air channels. Roots need oxygen just as much as they need water. When the soil is too heavy, oxygen can’t reach the tuber, and rot sets in.
Step 4: Water with the “Soak and Dry” Method
Here’s exactly what I do. I water until water runs out of the bottom hole. Then I wait until the top two inches of soil are completely dry. That usually takes 5–7 days depending on humidity and temperature. I insert a wooden chopstick into the soil. When I pull it out, if it comes out clean and dry, it’s time to water. If damp soil sticks to it, I wait another day.
Step 5: Elevate the Pot
I place my pots on small feet or a tray with pebbles. This allows air to flow under the pot and prevents the drainage hole from getting clogged. It also keeps the pot from sitting in its own runoff. This is one of those small things that makes a big difference over time.
How I Fixed My Watering Schedule for Good
I used to water on a fixed calendar day. Every Monday and Thursday. Sounds organized, right? But plants don’t read calendars. They respond to their environment. On cooler weeks, the soil stayed wet longer. On hot weeks, it dried fast.
I now check moisture every two days and water only when needed. That’s it. Some weeks I water twice. Some weeks only once. The soil tells me everything. I just have to listen.
Also, I always water in the morning. Evening watering leaves moisture sitting overnight, which cools the soil and slows evaporation. That’s a perfect environment for fungus. Morning water has all day to move through the system.
Signs Your Caladium Pink Beauty Is Overwatered
Catch these early and you’ll save yourself a lot of heartache.
- Yellowing lower leaves: The plant is shedding old leaves first to compensate for stressed roots.
- Soft, mushy stems near the soil line: This is the beginning of stem rot.
- A sour, musty smell from the soil: Anaerobic bacteria produce this. It means the soil is waterlogged.
- Algae or fungus gnats on the surface: These thrive in constantly wet conditions.
- The pot feels unusually heavy: Lift it. If it’s heavier than it should be for its size, the soil is retaining too much water.
The Right Container Setup (Visualizing It Helps)
Think of your pot as a house for the tuber. It needs a front door (drainage hole). It needs good airflow (terracotta or holes in the sides). It needs a dry foundation (gravel layer). And it needs a comfortable bed (well-draining soil mix).
If you put a premium tuber in a cheap, non-draining container with dense soil, you’re basically locking it in a flooded basement. No plant survives that.
I saw a plant parent on a forum say this once: “The pot is not decorative. It’s life support.” That stuck with me. Now I choose function first, and I find a way to make the function look good.
What the Experts Say About Drainage and Rot
The Royal Horticultural Society highlights that caladiums, being tropical tubers, require sharply draining soil to mimic their natural forest-floor habitat where rain flows through quickly. You can check more of their guidance on RHS (opens in a new tab). Their core advice circles back to avoiding waterlogged conditions at all costs.
Similarly, the American Horticultural Society recommends checking pot weight and soil texture before watering. They emphasize that most tuber rot happens not from overwatering in one event, but from continuous dampness over several weeks. Their plant care resources at AHS are genuinely useful for beginner and intermediate growers alike.
Both organizations agree on one thing: the tuber is more resilient than you think. It can bounce back if the environment is corrected quickly. That aligns exactly with what I saw during my two-week rescue.
My Botched Attempt That Taught Me the Most
I want to share a failure that still makes me cringe. It was my second Pink Beauty. I repotted it into a mix I thought was fine—just regular potting soil with a handful of perlite. I watered it generously. Then I placed the pot on a saucer and forgot to check the saucer for three days.
Standing water had wicked back into the soil. The tuber sat in a mini swamp. Within a week, the stem collapsed. I yanked it out out of panic and found a brown, stringy mess where the tuber used to be. No salvaging that one.
The lesson? Drainage isn’t just about the hole at the bottom. It’s about every layer of the system working together. The soil, the pot, the saucer, the watering schedule—all of it has to cooperate.
Daily Care That Keeps Rot Away
Here’s a quick rundown of what I do on a regular basis, not just during recovery.
Morning check: I glance at the leaves. Drooping leaves in the morning usually mean the plant needs water. If the soil is dry, I water. If the soil is wet, I leave it alone.
Weekly check: I rotate the pot a quarter turn so all sides get even light. I also check the bottom of the pot and the saucer for any standing water.
Bi-weekly check: I wipe down the leaves with a damp cloth. Dust can block pores and reduce the plant’s ability to manage moisture. Clean leaves mean better transpiration, which means less water accumulation in the root zone.
Monthly check: I gently feel the tuber through the top layer of soil. If it feels firm, all is well. If it gives slightly under pressure, I pull it up and inspect.
What About Fertilizer and Rot?
Hold on—can fertilizer cause rot? Kind of. Over-fertilizing with a high-nitrogen feed pushes out dense, soft growth. That soft tissue is more prone to rot. It’s a indirect effect, but a real one.
I feed my Pink Beauty with a balanced liquid fertilizer diluted to half the recommended strength, once a month during the growing season. That’s it. In winter, when the plant is dormant or slow, I don’t feed at all. The tuber is resting. Pushing food at a dormant tuber is like waking someone up to offer them dinner at 3 AM. It never works out well.
When to Just Start Over
Sometimes rot is too advanced. If the tuber is completely brown, squishy, and crumbles in your hand, it’s gone. No amount of drying or repotting will bring it back.
I’ve been there. It sucks. But here’s a silver lining: caladium tubers are cheap and widely available. You can buy a healthy Pink Beauty tuber for a few dollars at most nurseries. The knowledge you now have about drainage means the next one will thrive.
Honestly, killing a plant isn’t failure. It’s data. You now know what doesn’t work, and on the flip side, you know exactly what works. That’s worth more than a hundred flawless plants. Or at least, that’s what I tell myself every time I lose one.
Shifting Your Mindset from “Watering” to “Moisture Management”
The biggest shift for me was this: stop thinking about watering as a task and start thinking about it as moisture management. The goal isn’t to add water on a schedule. The goal is to keep the soil at an even moisture level where it’s damp but not wet, airy but not dry for long periods.
This subtle mindset change is the real reason I stopped killing caladiums. I stopped treating the plant like a decoration and started treating it like a living system. Every element matters. The pot breathes. The soil drains. The light feeds. The water moves through.
Once you see the whole picture, rot becomes easy to avoid. It’s almost like the plant is talking to you. The leaves tell you about light. The soil tells you about water. The pot tells you about airflow. You just have to pay attention.
My Current Routine for Caladium Pink Beauty
Here’s what a typical week looks like now, in case you want to copy it exactly.
Monday morning: I check soil moisture with my finger. Water if needed. Always morning. Always slow pour, letting it soak in gradually.
Tuesday: No action. I leave the plant alone. It’s resting.
Wednesday: I glance at the leaves. If they look perky, I don’t touch anything. If they look slightly dull, I check the soil. Usually it’s fine.
Thursday: I rotate the pot. This is also the day I check for any new growth or spots developing on the leaves.
Friday: I check the saucer. If there’s any water, I dump it. I also check the room’s humidity. If it’s below 50%, I mist the air around the plant (not the leaves directly).
Saturday: Weekend care is light. I might wipe the leaves clean with a damp cloth if they look dusty.
Sunday: I water if the soil is dry. This is often when I do the chopstick test.
That’s it. Low-maintenance, but observant. The plant stays healthy because I’m consistent and attentive, not because I’m doing something complicated.
Common Questions People Ask About Caladium Rot
Can I save a caladium that already has mushy stem bases?
You might have caught it early enough to save the tuber. Cut away all soft tissue, dip the healthy part in fungicide powder, let it dry for a day, and repot immediately. Keep it in strong indirect light and do not water for at least five days. I’ve pulled off this exact rescue on a tuber that looked hopeless. It’s always worth a shot.
How often should I really water Caladium Pink Beauty?
Let the soil decide the pace. In my home, that’s roughly once every five to seven days. But if you live in a dry climate, it might be every three days. If you live in a humid climate, it might be every ten days. The finger test never lies. Dry two inches down means it’s time.
Are there any specific soil brands that work best for caladiums?
I’ve had luck with any quality houseplant mix as a base, then I add perlite and bark myself. Pre-mixed tropical plant soils also work. Honestly, the brand matters less than the ratio. As long as you have that 50/25/25 blend, you’re on the right track.
Final Thoughts on Beating Rot
Preventing rot in your Caladium Pink Beauty isn’t about being a perfect plant parent. It’s about setting up a system that’s forgiving. Drainage holes, a gritty soil mix, moderate light, and a hand that’s not too heavy on the watering can. That’s the whole secret.
You don’t need a greenhouse. You don’t need expensive gadgets. You just need to respect how the plant works and mirror that in your care routine. Do that, and your Pink Beauty will reward you with those gorgeous pink-speckled leaves all season long.
I’ve been through the rot heartbreak. I’ve smelled the sour soil. I’ve held a mush ball that used to be a firm tuber. But I also watched a single leaf push through soil after fourteen days of careful nursing. That leaf meant more than any perfect-looking plant I’ve ever bought.
Trust the process. Fix the drainage. Watch your watering. Your caladium will thank you.





