 bluename
 Choosing the Right Pot for Caladium White Christmas: A Drainage Guide That Actually Works
If you just bought a Caladium White Christmas and are staring at a shelf full of pots, here is the direct answer: choose a pot that is 1-2 inches wider than the root ball, made of terracotta or a breathable plastic, and has at least 3-4 drainage holes at the bottom. Do not use a decorative pot without holes, no matter how pretty it looks. I have killed more plants than I care to admit, and 90% of indoor plants die from overwatering. That is not an exaggeration. It is the truth I learned after my first Caladium turned into mush within two weeks.
I remember unpotting my first White Christmas. The roots were brown and slimy. The soil smelled like a swamp. I had used a beautiful glazed ceramic pot with zero drainage. I was a beginner. I thought the gravel layer at the bottom would save me. It did not. The water pooled right at the root zone and the tuber rotted from the inside out. I had to throw the whole thing away. That was my wake-up call.
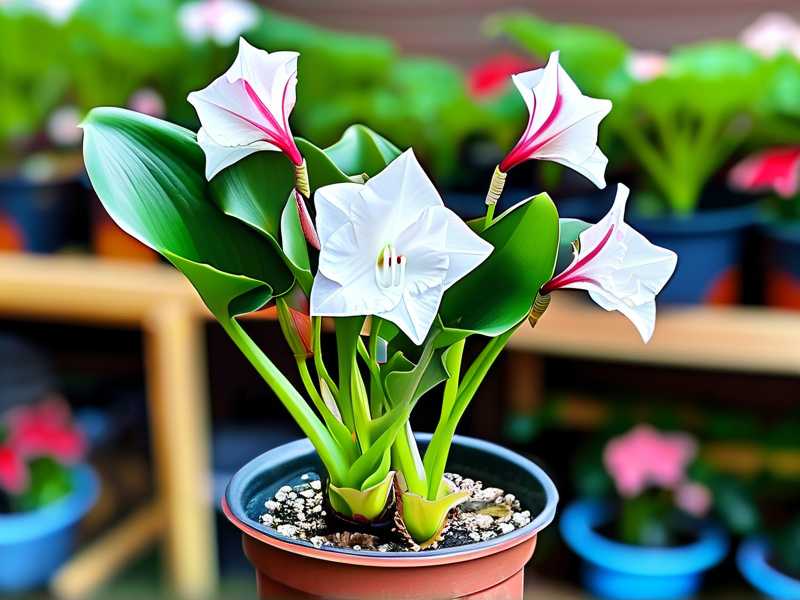
The Drainage Guide for Caladium White Christmas
Let me break this down the way I wish someone had for me. The Caladium White Christmas has thin, almost papery leaves. It is a tuber plant, which means it stores water. That makes it incredibly sensitive to soggy soil. The root system is shallow and brittle. It does not want to sit in a puddle. Ever.
The most important thing is not the pot material. It is the drainage. But the material helps. I tested this over a solid two-week observation period with three different pots side by side. One terracotta pot. One plastic nursery pot. One glazed ceramic pot. All had drainage holes. All had the same soil mix. The difference was shocking.
The terracotta pot dried out almost two days faster than the plastic one. The glazed ceramic held moisture the longest, which sounds good, but actually made the roots sweat. The plastic pot was a middle ground. It stayed moist but not wet. For a beginner, I would honestly recommend terracotta. It is porous. It lets the soil breathe. It forgives mistakes. But you have to water it more often because the walls wick away moisture.
Here is what I did during those two weeks. I watered each pot only when the top inch of soil felt dry to my finger. I used a cheap moisture meter. I checked every single morning. The terracotta pot needed water every 4-5 days. The plastic one every 6-7 days. The glazed one every 9-10 days. I also stopped watering from the top. I switched to bottom watering. That means I placed the pot in a tray of water for 20 minutes and let the soil soak upward. It worked wonders. The top of the soil stayed dry, which prevents fungus gnats and stem rot.
The 3 Fatal Mistakes Beginners Make with Caladium Pots
I have made every mistake in the book. I want to save you the heartbreak. Here are the three biggest errors I see in every plant group and forum.
① Overwatering: The Silent Killer
This is number one and it is not close. You think the leaves are drooping because they are thirsty. So you water more. But drooping leaves on a Caladium White Christmas often mean the roots are drowning. I used to water on a fixed schedule, every Monday and Thursday. That was a disaster. My second Caladium died because I watered it on Thursday when the soil was still wet from Monday. The tuber turned to jelly.
The fix is simple. Stick your finger into the soil. If it is damp, walk away. If it is dry at the first knuckle, then water. Or use a wooden chopstick. Insert it to the bottom. Pull it out. If it comes out with soil stuck to it, no water needed. If it comes out clean and dry, water thoroughly. I do this every single time now. No exceptions.
② Light Placement: Getting It Wrong
A Caladium White Christmas loves bright, indirect light. It does not love direct afternoon sun. I put mine on a south-facing windowsill thinking more light was better. The leaves got scorched. The white parts of the leaves turned brown and crispy. The edges curled up like burnt paper. It was ugly.
But the pot choice plays a part here too. If you have a dark plastic pot and place it in harsh light, the soil heats up too fast. The roots cook. I switched to a light-colored terracotta pot in a north-east window with a sheer curtain. The difference was night and day. The leaves perked up. New growth appeared. The lesson is that light and pot material work together. You cannot ignore one for the other.
③ Using the Wrong Pot: It Is Not Just About Looks
I get it. You want the nice ceramic pot with the gold pattern. I wanted that too. I bought one. My Caladium hated it. Glazed ceramic pots retain water very well. Too well. The inside stays wet for over a week. For a tuber plant like White Christmas, that is a death sentence.
The pot size also matters. I once put a tiny tuber in a huge pot. Big mistake. The soil stayed wet because the roots were too small to drink it all. The tuber sat in cold, wet soil and rotted. I also tried a pot with only one drainage hole. That hole got clogged with soil and water sat at the bottom. The pot needs at least three holes, or one big central hole with a mesh cover. I now punch extra holes into every plastic pot I use. It takes two minutes with a drill or a heated screwdriver. Just do it.
What the Experts Say About Potting Caladiums
I am not just speaking from my own grief. The RHS advises that potted plants, especially those with tuberous roots, need sharp drainage to prevent basal rot. They recommend a gritty, free-draining potting mix. I took that advice and mixed in perlite and orchid bark. It changed everything. The AHS also points out that container plants rely entirely on the gardener for water management. If the pot does not drain, the plant suffers. I found it helpful to read their growing guides before repotting.
The RHS guidance on pot type was clear. They suggest that porous containers like terracotta reduce the risk of overwatering. But they also warn that these pots dry out faster in summer. So you need to check them more often. That matches my two-week test perfectly. The AHS adds that the root system of caladiums is fibrous and shallow. A deep pot is a waste. A wider, shallower pot is better because it allows the roots to spread out horizontally without sitting in deep, soggy soil.
My Step-by-Step Potting Process for White Christmas
Let me walk you through exactly what I do now. It took me three dead plants to get this right. I hope you learn from my pain.
Step 1: Choose the right pot. I pick a terracotta pot that is about 2 inches wider in diameter than the tuber cluster. If the tuber is small, I use a 4-inch pot. If it is large, a 6-inch pot is plenty. I do not go bigger. I wash the pot with soapy water and let it dry completely before using it.
Step 2: Check the drainage holes. I run water through the empty pot. If the water flows out fast, it is good. If it pools, I add more holes. I use a small hand drill for terracotta and a screwdriver for plastic. I also cover the holes with a piece of mesh or a coffee filter to keep soil from washing out while still letting water escape.
Step 3: Mix the soil. I use a mix of 60% high-quality potting soil, 30% perlite, and 10% orchid bark. This is the drain-friendly recipe. I used to use pure potting mix and I paid the price. The perlite creates air pockets. The bark adds structure. The water runs through instead of getting trapped.
Step 4: Plant the tuber. I place the tuber with the "eyes" facing up. I do not bury it too deep. About 1-2 inches of soil on top. The top of the soil is level with the top of the pot. I press down gently to remove air pockets. I do not pack it tight.
Step 5: Water it in. I water immediately after potting but only lightly. I want the soil slightly moist, not soaked. I use a watering can with a narrow spout and water around the edges. I avoid the center where the tuber is. After that first watering, I wait until the top inch is dry before watering again. This waiting period usually lasts about 5 days in my home.
Step 6: Monitor for two weeks. I keep a small notebook. I write down the date I watered and the date the soil felt dry. This tells me how fast my specific environment dries out. My apartment is dry. My friend’s house is humid. We water on completely different schedules. You need to know your space. Do not copy someone else’s calendar.
What I Observed Over 14 Days
I want to give you a real look at what I saw. Day one was potting. Day two, the soil was damp but not dripping. Day three, the top layer started to feel slightly dry. Day four, it was dry at the knuckle. I watered. Day five and six, the plant looked perky. The white leaves were standing upright like little flags. Day seven, I noticed a new leaf unfurling. It was pale green, almost white. Day eight, I watered again because the pot felt light. I picked it up daily to feel the weight. A dry pot is very light. A wet pot is heavy. This trick works better than any sensor.
Day ten, I made a mistake. I thought the plant looked thirsty. The leaves were slightly drooping. I watered it. But the soil was actually still moist just half an inch down. I ignored my own finger test. Within 12 hours, the leaf edges turned translucent. That is a sign of overwatering. I was furious with myself. I removed the plant from the pot, let the root ball dry out for an hour on a newspaper, and then repotted it in a fresh, drier mix. It recovered after three days. But the leaf had permanent damage.
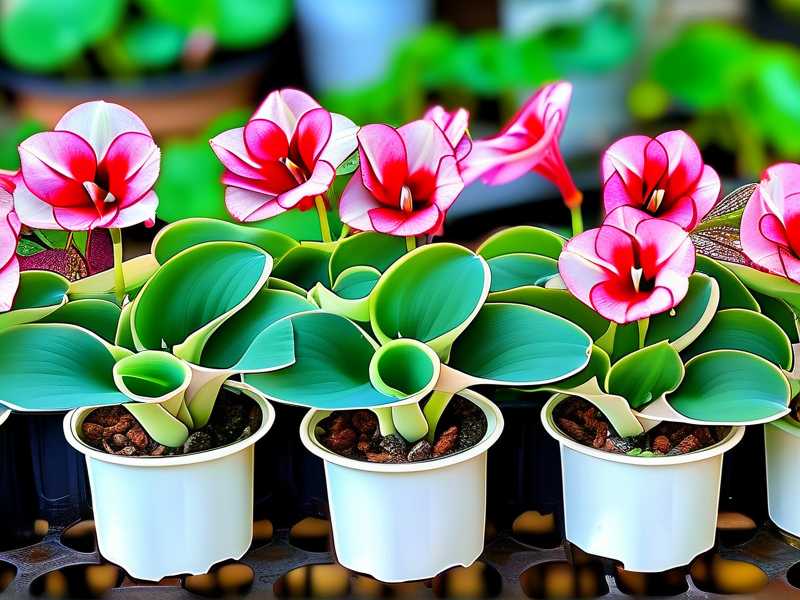
Day fourteen, the plant had two new healthy leaves. The damaged leaf was still alive just a bit crispy. The lesson stuck. When in doubt, do not water. Check the soil. Check the weight. Wait another day. That extra day of dryness almost always helps the Caladium White Christmas.
Common Questions I Ask Myself About Pots
Can I use a pot without drainage holes?
Honestly, do not do it. I tried a cachepot system once, a decorative outer pot with an inner plastic pot. That works if you take the inner pot out to water and let it drain completely before putting it back. But if you plant directly into a no-hole pot, you are playing with fire. The water has nowhere to go. It sits at the bottom and rots the tuber. Do not risk it.
Does the pot color matter?
Yes, more than you think. Dark pots absorb heat. In a sunny room, my black plastic pot got noticeably warm. The roots got too warm. I noticed slower growth and a sad look. Light-colored pots reflect heat and keep the root zone cooler. For the White Christmas, which likes cool roots, pale terracotta or white plastic is better.
Is a smaller pot better?
Yes. A snug pot is good. When the pot is too big, the soil stays wet for too long. The plant gets root rot. I downsized my Caladium from a 8-inch pot to a 5-inch pot and it perked up in a week. The leaves stood taller. The color was brighter. The pot should be just big enough to hold the roots with a little room to grow. Not a mansion.
What about self-watering pots?
I have mixed feelings. I tried a self-watering pot with a wick system. The bottom reservoir keeps the soil uniformly moist. That is great for some plants like ferns. But the Caladium White Christmas needs a dry period between waterings. The self-watering pot never allows that dry period. It stays evenly damp forever. My Caladium leaves developed brown spots after 10 days. I stopped using it. Stick to a regular pot with holes and manual watering.
Should I use a clear pot?
Some people use clear nursery pots to see the roots. I tried it. You can see the moisture level in the soil through the plastic. It looks nice. But roots do not love light. Exposure to light can inhibit root growth. I found that the clear pot caused algae to grow on the inner wall of the soil. It looked gross. I switched back to an opaque terracotta pot. That is the better choice.
The Final Word on Drainage for White Christmas
Look, I have been growing caladiums for years now. I have killed my fair share. But the White Christmas is special to me because its leaves are almost translucent, like they are made of light. I want to give it the best chance.
The pot is the foundation. If the foundation is wrong, nothing else matters. You can have perfect light. You can have perfect fertilizer. But if the roots are drowning in an airtight pot, the plant will die. It is that simple.
My advice is to go out and buy a terracotta pot with holes. Mix in perlite. Water sparingly. Feel the weight of the pot. Trust your finger over your eyes. And do not be afraid to repot if you feel the soil is holding too much water. I have repotted the same plant twice in one month. It survived and thrived. The plant forgives you if you catch the problem early.
The pot is a tool. Actually, it is more like a house. The house needs good plumbing. That plumbing is the drainage. Give your Caladium White Christmas a house with good plumbing. You will see the difference in weeks. The leaves will grow bigger. The white color will be brighter. The plant will be happy.
I hope you learn from my mistakes and enjoy a flourishing White Christmas. It is a beautiful plant, worth the effort. Trust me.





