 bluename
 Choosing the Right Pot for Your Caladium Strawberry Star: Size, Steps, and My Hard-Learned Lessons
If you just bought a Caladium Strawberry Star, here is the answer you need right now: start with a pot that is only 1 to 2 inches wider in diameter than the current root ball. Do not go big. A pot that is 6 to 8 inches deep is perfect for most starter tubers. I have killed more plants with oversized pots than I care to admit, and honestly, 90% of indoor plants die from overwatering, which is almost always caused by too much soil holding too much moisture. So, size matters more than the pretty ceramic finish.
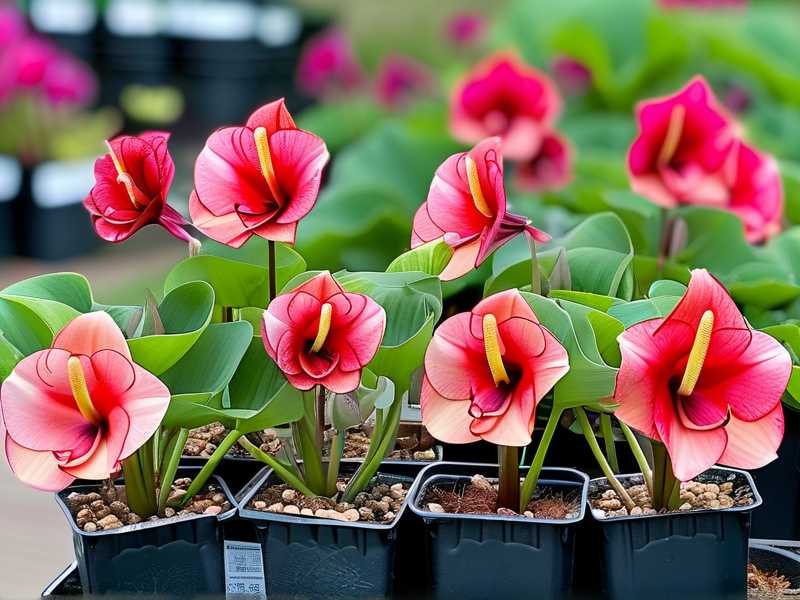
I remember the day I brought my first Strawberry Star home. The leaves were speckled with blush pink and white. It looked like a watercolor painting. I was so excited that I immediately repotted it into a massive 12-inch terracotta urn. I thought bigger meant better. I thought the roots would have room to "stretch." That was my first mistake. Within ten days, the edges of the leaves turned brown and mushy. The stem felt soft at the base. I dug up the tuber and it was literally rotting in the wet soil. That is when I stopped guessing and started measuring.
My 3 Biggest Mistakes That Killed My First Plants
Before I give you the step-by-step guide, let me save you some pain. I have made every single rookie error you are probably about to make. Here is what I wish someone had told me.
Mistake #1: Watering on a Fixed Schedule I used to water every Sunday. It didn't matter if the soil was wet or dry. That is how I drowned my second Caladium. The roots need oxygen as much as they need water. When you water on autopilot, you replace all the air in the soil with water. The roots suffocate. I now stick my finger into the soil up to the second knuckle. If it feels damp, I walk away. If it feels dry, I water slowly.
Mistake #2: Putting it in Direct Sunlight I figured a tropical plant from the arum family would love a south-facing window. Big mistake. The Strawberry Star has thin, delicate leaves that scorch easily. The pink spots turned white and translucent, and the edges crisped up like bacon. I learned that bright, indirect light is the only way to keep those colors vibrant. A few feet away from an east or west window is the sweet spot.
Mistake #3: Choosing a Pot Without Drainage (or Too Big) I once bought a beautiful glazed pot without a hole because it matched my living room decor. I added a layer of pebbles at the bottom, thinking that would create drainage. It didn't. The water sat at the bottom and kept the roots constantly wet. That was the first plant I lost to root rot. Now, I refuse to use any pot that doesn't have at least one drainage hole. I also refuse to "upsize" too soon.
The Exact Step-by-Step Potting Process I Swear By
Now, let me walk you through the exact steps I use every single time I repot a Caladium Strawberry Star. I have been doing this for years now, and this routine has never failed me since I got it right.
Step 1: Assess the Current Root System
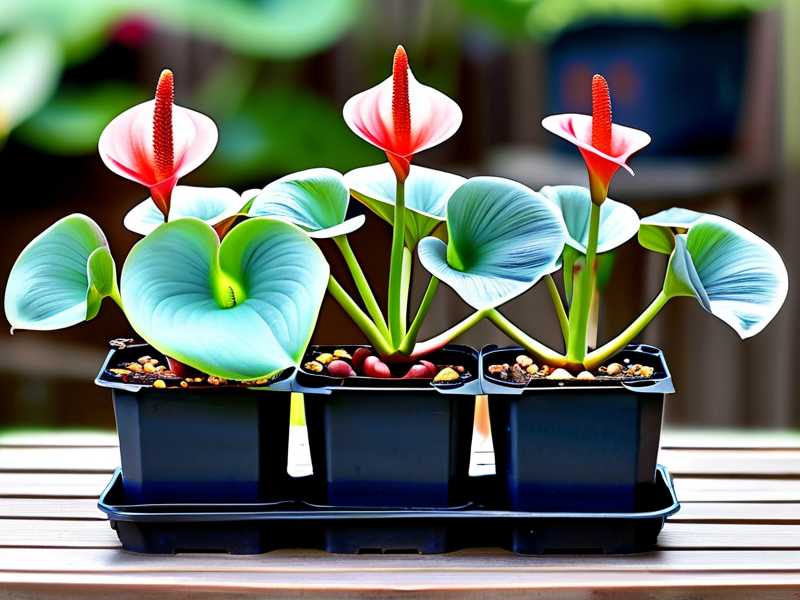
First, take the plant out of its nursery pot. You want to look at the roots. Are they white and firm? That is healthy. Are they brown and squishy? That is rot. Also, look for the tuber itself. The Caladium will often go dormant and grow back from a tuber. The size of this root system determines the pot size. If you see roots circling the bottom of the pot, it is time to move up one size. If the roots are loose and not filling the container, leave it alone.
Step 2: Forget the "One Size Up" Rule for a Moment
Most people say to go one size up. I disagree for Caladiums. I actually prefer to pot them smaller than the nursery pot if I think the nursery pot was too big. I know that sounds weird, but hear me out. These plants prefer to be slightly rootbound. It keeps the moisture levels balanced. I have a pot that is 4 inches in diameter for a single tuber, and it produces leaves that are 9 inches long. The pressure on the roots forces the plant to push out foliage instead of just sitting in wet soil.
Step 3: Choose the Material Wisely
This is where many people slip up. Here is a quick breakdown of what I have tried:
-
Plastic Pots: I used to hate these because they look cheap. But they are actually great for beginners. They hold moisture longer, which means you forget to water less often. However, they can drown the plant if you are heavy-handed with the watering can.
-
Terracotta/Clay: This is my personal favorite for the Strawberry Star. It is porous. It wicks away excess moisture from the sides. This allows the roots to breathe. I tell all my friends: if you have a tendency to overwater, always use unglazed terracotta. It saves you from yourself. The downside is that it dries out fast. I have to water mine every 3 or 4 days in the summer.
-
Ceramic/Glazed: These are pretty but dangerous. They hold way too much water for a plant that loves to dry out slightly. I only use these if I am an expert at measuring moisture. I wouldn't recommend them for newbies.
Step 4: The Potting Mix is 50% of the Battle
I used to use regular garden soil. Big mistake. That soil compacts and suffocates the roots. Now, I make my own mix. I take 2 parts of a high-quality peat-based potting mix, 1 part perlite, and 1 part orchid bark. This creates chunks of air spaces. The water flows through freely. The roots stay moist but never wet. If you skip this step and just use standard potting soil, your pot choice won't matter. The roots will still rot.
Step 5: The 2-Week Observation Period (My Golden Rule)
Here is my non-negotiable rule: after repotting, I do not move the plant for two weeks. I place it in its permanent spot with bright, indirect light. I water it once thoroughly until water comes out of the drainage hole. Then, I stop touching it.
Let me tell you what I observe during this time.
-
Day 1 to 3: The plant is in shock. The leaves might droop a little bit. This is normal. I don't panic. I don't water it again.
-
Day 4 to 7: This is where I test the soil. I stick my finger down into the soil about 1.5 inches. If it feels dry, I give it a small sip. If it feels even slightly damp, I walk away. In these first two weeks, I usually only water twice. The terracotta pot helps pull moisture away from the tuber.
-
Day 8 to 14: I look for new growth. The old leaves might look tired, but I look at the base of the stem. If I see a tiny pinkish shoot coming up, I know I have succeeded. The roots are adjusting to the new pot. The plant is pushing new energy.
The Specific Pot Sizes I Recommend for Different Stages
Let me be super clear about sizes because this is the question I get asked the most.
For a Bare Tuber (Dormant Stage): Start small. Use a pot that is 4 to 5 inches wide and 4 to 5 inches deep. Plant the tuber about 1 to 1.5 inches deep. Do not use a giant pot for a single tuber. You will have a small plant in a big puddle of soil. This is a death sentence.
For a Young Plant (3-5 leaves): Move up to a 6-inch pot. This is the sweet spot for a starter plant. The depth is crucial. I want the pot to be as deep as it is wide. This allows the tuber to sit comfortably without being buried too deep.
For a Mature Plant (6+ leaves): Use an 8-inch pot maximum. I have never needed a pot larger than 8 inches for a single Strawberry Star. The plant gets bushy, but the root system is surprisingly shallow and compact. A huge pot is a waste of soil and a recipe for disaster.
What Happens If You Use a Pot That's Too Large? (The 2-Week Disaster)
I want to explain the science here because it clicked for me when I learned this. When you have a 6-inch pot, the soil volume is small. It dries out in about 4 days. When you put that same plant in a 10-inch pot, the soil volume is massive. The top might look dry, but I guarantee you, the bottom is still soaking wet. The roots are sitting in that wet zone.
Over those two weeks, I watched my plant slowly die. The water sat at the bottom. The anaerobic bacteria grew. The roots turned to mush. The leaves wilted even though the soil was "wet." It is a cruel irony. The plant looks thirsty, but it is actually drowning. After that incident, I measure the pot diameter with a ruler, not my eyes.
Common Signs Your Pot is Wrong
I want you to be able to diagnose a problem before it kills your plant.
-
If the pot is too big: The topsoil will dry out fast, but the bottom stays wet. You will see yellowing leaves. The stem will feel soft at the base. The plant might lean over. There will be no new growth for weeks.
-
If the pot is too small: The leaves will look pale. The plant will dry out very quickly, like every single morning. You will see roots poking out of the drainage hole. The plant will just stop growing because it is cramped.
-
If the pot has no drainage: The leaves will develop brown edges that look like burns. The soil will smell sour and musty. If you dig your finger in, the soil will be cold and muddy. This is root rot in the making.
My Final Potting Routine for Beginners
Alright, let me give you a simple checklist that I follow. This is based on the advice from RHS and AHS, who both stress the importance of proper drainage and aeration for container plants.
- Step A: Always choose a pot with a drainage hole. I cannot stress this enough. If you love the decorative pot, use it as a cachepot. Put a plastic pot with holes inside the pretty ceramic one. Just remember to remove the inner pot when you water, so the excess water drains away.
- Step B: Buy a pot that is 2 inches wider than the root ball. Not 3, not 4. Just 2.
- Step C: Fill the pot with a chunky, airy mix. I use the perlite and bark mix I mentioned earlier.
- Step D: Water deeply once. Wait. Wait a long time. Wait until the soil is dry at 2 inches deep. Then water again.
Here is what I noticed after the 2-week period with my new pot:
I switched my suffering plant from a 10-inch pot to a 6-inch terracotta pot. The difference was night and day. On day 5, the yellowing stopped. On day 8, I saw a tiny new leaf unfurl. On day 14, the new leaf was fully open and the pink spots were vivid. The plant looked happy. It looked stable. The root system had finally filled the small pot and was able to absorb nutrients effectively.
Dealing with Dormancy and Pot Size
One thing many people don't realize is that Caladium Strawberry Star goes dormant. In the winter, the leaves will die back. You have two choices. You can leave the tuber in the pot, or you can dig it up. If you leave it in the pot, do not water it at all. Let the soil stay bone dry. When spring comes, you will see new shoots. At this point, you should repot it into fresh soil. Often, the tuber has divided. You might now have two or three tubers in one pot. Split them up. Give each tuber its own 4-inch pot. That is how you multiply your collection without spending a single dollar.
Frequently Asked Questions
Question: Can I use a self-watering pot for a Caladium Strawberry Star? I personally do not recommend it. Self-watering pots keep the soil consistently moist. That is exactly what this plant does not want. It wants a wet-dry cycle. Constant moisture invites root rot. Stick to standard pots with holes. You have more control that way.
Question: How do I know if my pot is causing root rot? Look for the stench. Healthy soil smells earthy, like a forest floor. Root rot smells like rotten eggs or sewage. Also, check the leaves. If they are dropping even though you just watered, and the pot feels heavy, that means water is pooling. Take the plant out of the pot and check the roots. White roots are fine. Black, mushy roots must be cut off immediately.
Question: Should I repot my Caladium right after buying it from the store? No. Let it acclimate to your home for a week first. Store-bought plants are often in a mix that holds too much water for indoor conditions. But repotting too quickly adds extra stress. Wait one week. Let it get used to your humidity and light. Then, check if the roots are spilling out of the nursery pot. If they are, size up. If not, leave it in the nursery pot for the season. I know the nursery pot is ugly, but the plant is happy in it.
One last piece of advice
I have been growing these for three years now. I still get excited when a new leaf pops up. But I also respect the plant. I respect that it hates wet feet. I respect that it doesn't need a "growth space" that is too big. I respect that it needs to dry out. If you take anything from this, let it be this: the pot is not a house for the roots to stretch. It is a vessel to manage the water. Keep the pot small. Keep the soil airy. Keep the water draining. Do that for two weeks, and you will see the magic happen. The Strawberry Star will reward you with those beautiful, translucent pink-speckled leaves that you bought it for in the first place. Don't fight the plant. Just give it what it needs.





