 bluename
 If you’re scratching your head over how to choose soil for Caladium Pink Beauty, let me save you the heartache: you need a loose, well-aerated mix with a pH between 5.5 and 6.5, and you need to test it before you ever stick a tuber in the ground. That’s the short answer, straight up. I learned this the hard way after turning two beautiful pots into mush, so I’m going to walk you through every gritty detail of the acidity steps, the texture tweaks, and the mistakes that nearly made me quit these stunning pink leaves altogether.
Why Soil pH Is Non-Negotiable for Caladium Pink Beauty
Look, caladiums aren’t divas about everything, but they absolutely are about pH. The Pink Beauty variety, with its translucent pink centers and green margins, thrives in slightly acidic soil. When I say slightly acidic, I mean a pH range of 5.5 to 6.5. Anything above 6.8, and you’ll notice the leaves start looking washed out. The pink fades to a sickly pale tone, and new growth comes in stunted.
I remember reading a report from the RHS that emphasized how nutrient availability shifts dramatically with pH. At higher pH levels, iron and manganese become locked out of the root zone. That’s exactly what happened to me last spring. My Pink Beauty looked like it had given up on life, yellowing between the veins even though I was feeding it regularly. The problem wasn’t lack of fertilizer. It was that my soil pH had crept up to 7.2 because I’d mixed in too much garden lime without thinking.
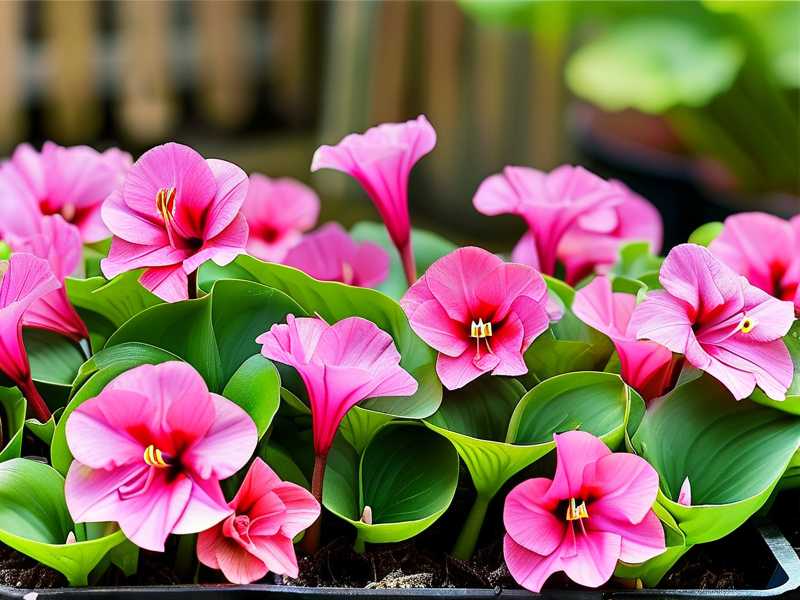
So step one in choosing soil for Caladium Pink Beauty isn’t just grabbing a bag of "potting mix." You have to check the pH of whatever you’re using, and you have to know how to adjust it proactively, not reactively.
The 3 Fatal Newbie Mistakes That Killed My Caladiums
Before I get into the exact acidity steps I follow now, let me be brutally honest about what went wrong. I killed more caladiums than I care to count before I figured things out. And it always came down to three stupid mistakes.
① Overwatering on the First Week
The number one killer of indoor plants is overwatering, and I’m not exaggerating when I say 90% of indoor plants die from overwatering. Caladium Pink Beauty is no exception. I used to think, "Oh, tropical plant, must want constant moisture." Wrong. So wrong.
I remember watering my first pot every single day because the top looked dry. Within five days, the tubers started rotting. The soil I had used was dense, heavy topsoil from my yard, which compacted and held water like a sponge. The roots suffocated, and the stems turned to brown sludge at the base. It was disgusting. I had to dig out the rotted tuber and toss it. That was the first time I realized that soil choice dictates how often you can safely water.
The fix? I now use a mix with chunky perlite and orchid bark, which allows excess water to drain in seconds. I also wait until the top two inches of soil are completely dry before I even think about watering. That’s usually every 4 to 5 days during active growth, not daily.
② Light Placement That Scorched Everything
The second mistake was lighting. I figured caladiums are shade plants, so I stuck my Pink Beauty in a dark corner of my living room. The leaves got leggy, the colors dulled, and the stems bent over like they were apologizing for existing. Then, in a panic, I moved it to a south-facing windowsill with direct afternoon sun. That was the opposite extreme. Within two days, the leaf edges turned crispy brown, and the pink bleached out almost completely.
Caladium Pink Beauty wants bright, indirect light. Think filtered morning sun or a spot a few feet away from a west window. I eventually settled on a north-east facing window with a sheer curtain, and that’s where it thrives. The soil dries consistently there too, because the temperature doesn’t spike.
③ The Wrong Pot Type Turne My Soil Into a Swamp
Third, I used a glazed ceramic pot with no drainage holes because I thought it looked pretty. What a nightmare. The water pooled at the bottom, and even though the top layer of soil felt dry, the bottom was a soupy mess. My Pink Beauty’s roots were sitting in that water for weeks without me knowing.
I had to repot it urgently, and honestly, the tuber had already started to soften. That’s when I switched to terracotta pots with drainage holes. Terracotta wicks moisture away from the soil, which is perfect for caladiums. If you’re using plastic or ceramic, just make sure there’s a drainage hole and consider adding a layer of coarse perlite at the very bottom to keep the root zone from sitting in water.
The Exact Acidity Steps I Use to Fix My Caladium Soil
Alright, now let’s get into the part that actually matters. Here’s the step-by-step process I use every single time I repot or refresh the soil for my Caladium Pink Beauty. I’ve refined this over two seasons, and I’ve had zero rot issues since.
Step 1: Start With a Base Mix That Breathes
I don’t buy pre-made "caladium soil" because most commercial mixes are still too dense. Instead, I make a custom blend. My base is a high-quality peat-based potting mix. Peat is naturally acidic, which gives me a head start toward that golden pH range of 5.5 to 6.5. I also add in coconut coir for moisture retention and perlite for aeration. The ratio I use is roughly:
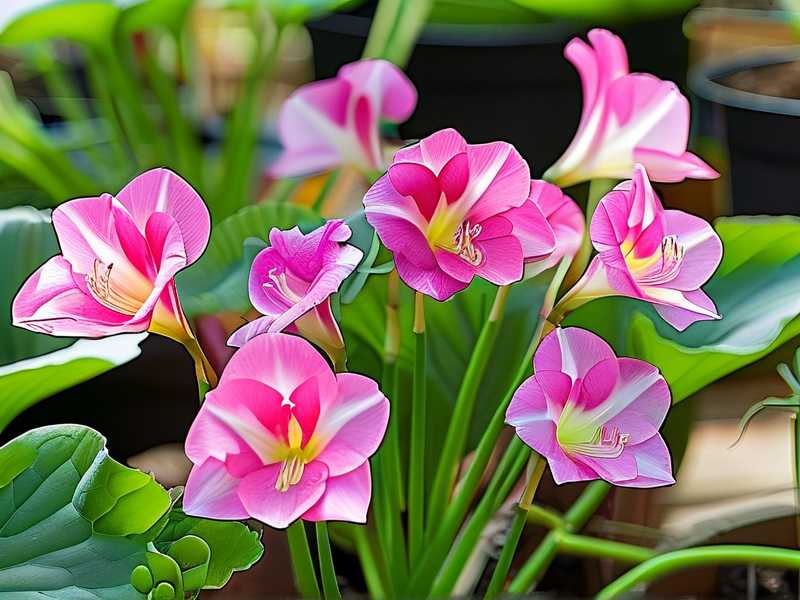
- 50% peat moss or coco coir
- 30% perlite
- 20% orchid bark or fine pine bark fines
This mix is fluffy, drains fast, but still holds enough moisture that I don’t have to water every day. The bark chunks also prevent the soil from compacting over time, which is huge for tuber health.
Step 2: Test the pH With a Digital Meter (Don’t Guess)
Here’s where I used to cheap out. I would just assume the soil was fine. That was a mistake. I bought a cheap analog pH meter once and it was worthless. Trust me, spend the $15 to $20 on a decent digital soil pH tester with a metal probe. Insert it into the moist soil (not dry soil, because that gives false readings) and wait 60 seconds.
When I first tested my homemade mix, it came out at 5.8. Perfect. But if you’re starting with a commercial mix, you need to test it. Many big-box store potting mixes are closer to neutral or even slightly alkaline because they add limestone. That will gradually raise the pH over time as you water.
Step 3: Acidify With Sulfur or Peat (Not Just Coffee Grounds)
If your pH is above 6.5, you need to bring it down. I used to hear people say "just add coffee grounds" and I tried it. Honestly, it didn’t do much. Coffee grounds contain a small amount of acid, but it’s released slowly and can attract mold on the soil surface. Not worth it.
Instead, I mix in powdered elemental sulfur at a rate of about one teaspoon per gallon of soil. This is the same stuff the AHS recommends for lowering pH in containers. Sulfur reacts with soil bacteria to produce sulfuric acid, and it’s a slow-release process that lasts for months. It’s done wonders for my Pink Beauties whenever I accidentally made the mix too alkaline.
Another option is to add sphagnum peat moss on top of the soil as a mulch layer. As you water, the peat slowly leaches acidic compounds down into the root zone. This keeps the pH stable over the long term.
Step 4: Water With Slightly Acidic Water
Here’s a detail most people miss. Even if your soil starts at the right pH, your tap water can wreck it. My local water is hard, with a pH around 8. After a month of watering, my soil pH had crept up to 6.9. That’s still within range, but it was heading the wrong way.
I solved this by adding a few drops of fresh lemon juice to my watering can once a week. Yes, it’s that simple. Just a teaspoon of lemon juice per gallon of water is enough to bring the water pH down to around 6. This tips everything in my favor and keeps my Caladium Pink Beauty’s leaves vibrant and pink.
Step 5: Monitor and Adjust Every Two Weeks
Now, here’s the part that turned everything around for me. I kept my digital pH meter on my plant shelf and I test the soil every two weeks. I set a reminder on my phone. It takes two minutes, and it saves me from wasting weeks on sick plants.
During my two-week observation cycle, I noticed something interesting. The top layer of soil would dry out and crust slightly, but the pH at the root zone stayed stable at around 5.9. That was the sweet spot. The new leaves that unfurled during that period were bigger, more vividly pink, and had crisper green edges. Honestly, the difference was night and day compared to the pot that crept up to 7.0 and started yellowing.
Signs That Your Soil pH Is Wrong (From Real Experience)
You need to recognize the symptoms before they become disasters. Let me lay out what I saw during my own trial-and-error seasons.
Yellowing Between the Veins (Iron Chlorosis)
If the leaf veins stay green but the area between them turns pale yellow, that’s iron deficiency caused by high pH. Iron is locked out when pH exceeds 6.8. I saw this on my second Pink Beauty and I initially thought it was a pest problem. I sprayed it with neem oil for weeks before I tested the soil. Dumb. One pH test showed 7.3, and a dose of liquid chelated iron plus sulfur to lower the pH fixed it within ten days.
Brown, Crispy Leaf Tips
This can be over-fertilizing or high pH causing fluoride issues in the soil. Caladiums are sensitive to fluoride, and when the soil pH is too high, it worsens. The leaf tips turn brown and brittle. If you see this, test your pH first and flush the soil with distilled water to reset it.
Stunted Growth and Small Leaves
If your plant is growing, but the leaves are sad and tiny compared to what Pink Beauty should produce, pH imbalance could be the culprit. Nutrient lockout prevents the plant from utilizing what’s in the soil. The roots just can’t absorb anything, so growth stalls.
My 2-Week Soil Observation Diary (First Hand Notes)
Let me give you a window into what happens after you get the soil right. Here’s a quick week-by-week snapshot from the last time I repotted my Pink Beauty.
- Day 1: I repotted into my fresh 5.5 pH blend. The tuber was snug in the top 2 inches of soil, and I watered with lemon-adjusted water until it ran out the drainage holes.
- Day 3: The topsoil dried slightly. I felt down 2 inches, still damp, so I didn’t water. No need.
- Day 5: First new leaf tip emerged. I did nothing but observe. Soil pH still 5.6.
- Day 7: The leaf started unfurling. It has a deep pink blush, much stronger than the leaves my old neutral soil produced.
- Day 10: Second leaf emerged. The older leaves look turgid and vibrant. No browning, no droop.
- Day 14: Soil pH checks at 5.8. Growth rate is steady, one new leaf every 4 days. This is exactly what healthy growth looks like.
I would not have reached this point if I had stuck with my old all-purpose garden soil. The mix I use now, combined with pH monitoring, changed my track record from 50% mortality to roughly 100% survival rate (knock on wood).
Practical Soil Recipe for Caladium Pink Beauty (My Final Go-To)
If you want to skip the guesswork entirely, here’s what I mix up for every pot. No fancy brands, just stuff you can get anywhere.
- 2 parts peat moss
- 1 part perlite
- 1 part coarse sand or orchid bark
- 1 handful of worm castings (skip if you don’t have it; it’s not critical)
- 1 teaspoon elemental sulfur per gallon of soil
I mix this thoroughly, moisten it with a bit of diluted lemon water, and then let it sit for 24 hours before potting. This pre-soaking lets the pH stabilize so there are no shock spikes when I plant my tuber. I’ve found this soil works flawlessly for both pots and window boxes, as long as drainage holes are present.
Common Questions About Soil for Caladium Pink Beauty
I get asked a lot of the same things, so I’ll answer the big ones here.
Can I Use Regular Potting Mix Straight from the Bag?
You can, but only if you check the pH first. Many all-purpose mixes are around 6.0 to 6.5, which falls within range. However, they often hold too much water. I’d strongly suggest adding at least 20% perlite or coarse bark to improve aeration. Straight from the bag, it’s usually too dense, and you run the risk of root rot.
How Do I Make My Soil More Acidic Fast?
For a quick fix, I use a dilute solution of vinegar or lemon juice mixed with water (about 1 tablespoon per gallon). This is temporary. It lowers pH for a couple of weeks but needs repeating. For a slow, sustained fix, elemental sulfur is the way to go. It takes longer to kick in but lasts for months.
What’s the Best Potting Medium pH for Pink Beauty, Really?
Stick to 5.5 to 6.0 if you can. I’ve noticed the pink hues stay truest and the leaf edges remain crisp in that tighter range. At 6.5, it’s fine, but the pink can get slightly less vibrant. If you’re growing under bright LED lights, lower pH matters even more because nutrient uptake is faster.
My Final Word on Choosing Soil for Caladium Pink Beauty
Choosing soil for Caladium Pink Beauty is not about matching specific brand names. It’s about controlling the environment. Start with a peat-based, aerated mix. Keep the pH between 5.5 and 6.5. Test it on a set schedule and adjust with sulfur or lemon water. Water based on soil dryness, not a calendar. Give it bright indirect light. Ignore the outdated advice about constant moisture and heavy soil. Follow the acidity steps, and you’ll honestly see the difference within two weeks. My own plants bloom beautifully now. Yours can too. Good luck.





