 bluename
 Your Caladium Pink Beauty was the pride of your patio all summer. The arrow-shaped leaves were perfect. Now autumn is here, and you are terrified you will lose it.
I get it.
I remember the exact pit in my stomach the first fall I owned one. I had zero clue what to do. I just shoved the pot in my garage. Spoiler alert: it rotted.
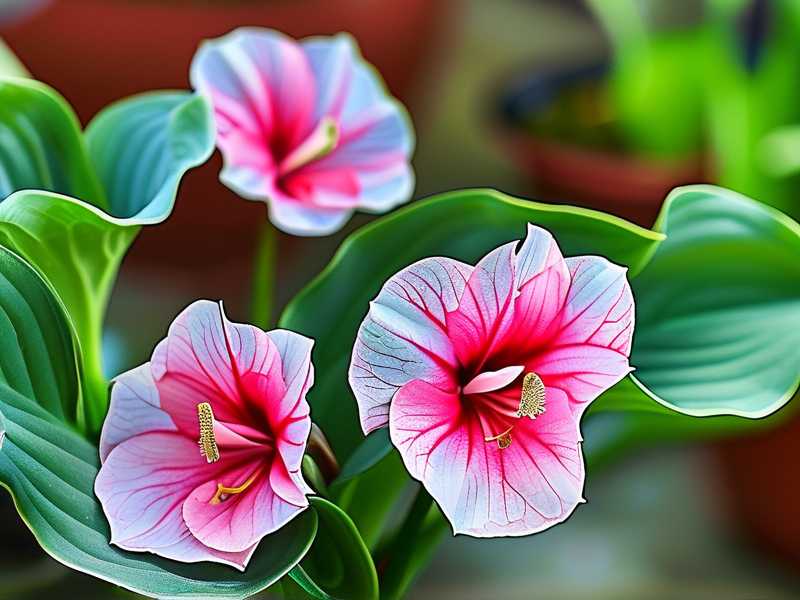
You do not need to do that. The actual fix is simpler than you think. Here is the direct answer: Stop watering immediately when nighttime temps dip below 60°F. Cut the foliage back to 2 inches after it yellows. Dig up the tuber, dry it for 5 days, pack it in dry peat moss, and store it in a dark space at 55–60°F. Do not even look at it with a watering can until spring.
I have kept the same tubers alive for four years using this method. I have also lost a full tray by doing the exact opposite.
This guide walks you through every meticulous step. I will share the brutal mistakes I made with my first three tubers so you can bypass the heartbreak.
Why You Cannot Treat This Like a Houseplant
Caladiums are tropical. They live for dormancy. It is not optional. It is a survival mechanism. When daylight shortens and temps drop, the leaf cells break down. The plant pulls energy back into the tuber.
If you leave it in wet soil during this rest phase, the tuber turns to mush. It actually suffocates. I know the term "overwinter" sounds complicated. It is not. It is just controlled neglect.
The 3 Fatal Mistakes Every Newbie Makes (I Made All 3)
Before I give you the timeline, let me point out the landmines. I lost a pot of 'Pink Beauty' to each of these errors. Honestly, it hurt every single time.
1. Overwatering: The Death Sentence
I have said it before, and I will say it again: 90% of indoor plants die from overwatering. Caladium tubers hate sitting in soggy substrate during winter.
I remember lifting a tuber in February after storing it dry. It felt heavy. I figured it was thirsty. I sprayed it with water. Within two weeks, I opened the bag to find a slimy, foul-smelling mess. The rot had started at the base and traveled upward.
The fix? Keep it bone dry. No misting. No "just a little sip." That moisture creates the perfect environment for fungal spores.
2. Light Misplacement: The Energy Drain
I used to think keeping the leaves alive longer was smart. So I moved my pot inside and put it by a sunny window in November. The plant responded by trying to grow weak, spindly new leaves.
That process drained the tuber's stored energy. It needed to rest, not run a marathon. By spring, the tuber was shrunken and wrinkled. It never produced a single sprout.
3. The Wrong Pot: The Lack of Airflow
My first year, I left the tuber in the same heavy ceramic pot with no drainage holes. The soil stayed wet for months. Even though I didn't water it, condensation gathered inside. The tuber sat in that cold, damp clay. It turned to compost.
The solution involves taking it out of the dirt entirely. Use a breathable mesh bag or a paper sack. Plastic containers trap humidity and create a sauna effect.
My Step-by-Step Fall Routine (The Week-by-Week Breakdown)
Stop guessing and start doing this. I usually start this process in late September or early October. It takes about two weeks to get everything prepped for storage.
Week 1: The Wind-Down Phase (Days 1-7)
This is not an overnight process. You have to coax the plant into sleep.
First, check the weather forecast. The magic number is 60°F. Once the temperatures at night consistently stay below that threshold, it is time to act. I usually circle a date on my calendar about 4 weeks before my region's first average frost date.
Second, stop feeding immediately. I start withholding fertilizer in late August. But if you haven't, do it now. Excess nitrogen keeps the plant awake. We want it to harden off.
Third, cut back on watering by half. Most experts will tell you to stop cold turkey. I tried that once, and the leaves wilted so fast they didn't even yellow properly. They just collapsed and got moldy on the stem.
I find it better to gradually reduce moisture. Let the top inch of soil dry out completely. Then wait another two days before you give it a small drink. You want the soil to slowly transition from damp to arid over the course of five to seven days.
The Leaf Transition (Days 5-10)
Around day five, you will notice the stems starting to droop. Do not panic. That is normal. The plant is partitioning resources.
The leaves will turn from that beautiful pink and green to a sickly yellow. This is exactly what you want to see.
Here is the golden rule I committed to memory: Wait for 70% of the leaves to yellow naturally before you cut them off. If you cut them too early while they are green, you rob the tuber of vital carbohydrates.
I know it looks ugly. I have a neighbor who thought her plant was dying and threw it on the compost heap. It could have been saved.
The Dig-Up Moment (Day 10-12)
Once the foliage is dry and yellow, grab your shears.
Sanitize your scissors with rubbing alcohol first. You do not want to introduce bacteria to a fresh cut.
Cut the stems about 2 inches above the soil line. Leave that little stub. It acts as a natural seal to prevent pathogens from entering the tuber through the stem hole.
Now, gently tip the pot out onto a tarp. Do not pull on the stems. Shake the soil off loosely.
Look for the "eyes" — small pinkish bumps on the tuber. Sometimes mother tubers have tiny offset corms attached. You can leave them attached for winter or separate them. I usually leave them attached. They seem to do better when stored as a cluster.
The Critical Drying Period (Days 12-17)
I cannot stress this enough. Do not skip the curing process.
If you dig up a tuber and immediately put it in a bag, the moisture trapped in the skin will cause rot. This is the step I messed up on my second attempt. I was too eager to clean it up.
Here is what I do now. I rinse the tubers gently to remove thick clumps of dirt. But I do not scrub them. Scraping the skin opens wounds.
Then, I lay them out on a wire cooling rack. I put them in my garage, which is dry and dark.
I inspect them daily. They need at least three days of this. Usually five days is perfect for thicker tubers. The surface should feel firm and almost cork-like. If the skin feels clammy or slippery, they need another day or two.
The Packaging Process (Day 17)
This is where the "pot" mistake comes into play.
Option A: The Plastic Tub with Peat Moss I use a clear plastic storage bin. I drill a few small holes in the lid for airflow. I add a layer of dry peat moss. I place the tubers in a single layer, not touching each other. Then I cover them completely with more peat moss.
Think of it as wrapping them in a blanket. The peat moss absorbs any excess humidity. I have tested this method against vermiculite. Both work. I find peat moss holds the temperature steadier.
Option B: The Mesh Bag If you have a basement with stable temps, just use a mesh onion bag. Hang it from a rafter. This works if your humidity is extremely low. I tried this once. My basement got a bit too damp in February, and a few tubers grew mold. Stick to the peat moss method if you have any doubts about moisture.
The Storage Location Hunt
This is trickier than people think. You need three things:
- Darkness.
- Temperature between 50°F and 60°F.
- Low humidity.
My house has a weird utility closet under the stairs. I have a thermometer in there. It hovers around 55°F from November to March. Perfect.
Do not store tubers in the main living area. The warm air (above 68°F) will either dry them out completely or trick them into breaking dormancy early.
Do not put them in the fridge. The refrigerator is too humid and too cold. It will cause the starches to convert to sugars. The tuber will become waterlogged and suffer cellular damage.
Do not store them near a fruit bowl. Ripe fruit emits ethylene gas, which can interrupt the dormancy cycle.
I check on my tubers once every three weeks. I just peek in the bin. I am looking for condensation on the plastic lid. If I see water droplets, I wipe them off and leave the lid cracked for a day.
If I see any shriveling, I give the peat moss a light mist. Not the tubers. Just the medium around them. I did this last year, and they plumped up without rotting.
Digging Deeper: Cold Climate vs. Warm Climate Strategies
I live in Zone 7, so I dig mine up. But if you live in Zone 9 or warmer (like Florida or Southern California), you have a different option.
According to the RHS, caladiums are only fully hardy in very mild, frost-free climates. In the UK, they always recommend lifting tubers for storage.
If you are in a warm zone, you can technically leave them in the ground. But here is the catch—the soil gets soggy during winter rains. Wet soil causes rot even if the air is warm.
I have a friend in coastal Georgia who tried leaving hers in the ground. She lost every tuber to root rot because we had a wet hurricane season.
My advice? Even if you do not get frost, lift them. Dry winters are manageable. Wet winters are deadly.
The Mid-Winter Check-Up (The February Panic)
I always panic in late January. I open the bin, expecting to see black mush. Usually, everything looks perfect.
But sometimes, you will find a tuber that feels slightly soft. Do not toss it yet. Try the "squeeze test."
A healthy tuber is hard like an apple or a radish. A soft tuber is mushy like an overripe avocado.
If it is mushy, cut off the rotting area with a sterilized knife. Dust the cut surface with sulfur powder (available at garden centers). Put it back in the dry peat moss.
I saved one tuber this way. It had a tiny rotten tip. I cut it off, and the remaining mass produced a beautiful plant in June.
The Spring Wake-Up Call (When to Start Overwintering in Reverse)
The average gardener starts waking tubers up 8 weeks before the last frost date.
But here is a specific trick I learned from the AHS guidelines on tropical bulbs. Start them in trays of damp peat moss, not directly in soil.
I move my bin to a bright, warm windowsill in early April. I tease the tubers out of the peat moss. I put them in a seed tray filled with just damp vermiculite. I place the tray on top of my refrigerator for bottom heat.
The ambient heat from the fridge coils warms the base of the tray. Within two weeks, you will see the pink eyes swell and turn green.
Only when those sprouts are about an inch long do I move them into their final pots with rich, well-draining soil.
Essential Gear List
If you are going to do this right, you need a few things on hand.
- Pruning shears (sharp and sterilized).
- A wire cooling rack for the drying phase.
- Sulfur powder (for wound treatment if you cut rot out).
- A plastic bin with a lid.
- Peat moss or vermiculite (dry is critical).
- A reliable thermometer.
Do not buy expensive storage bags. A shoebox works if you put holes in it. Keep it simple.
Final Thoughts on Patience
The process of overwintering caladiums is a lesson in patience. For two weeks in the fall, you are active. For four months, you are waiting. It feels like you are doing nothing, but you are actually safeguarding the plant with neglect.
I have learned that the tubers that look slightly shriveled in March actually bounce back faster than the ones that look plump and juicy. The slight dehydration triggers a more aggressive root response when they hit moisture.
Trust the process. Keep them dry. Keep them cool. Keep them dark.
By the time the soil warms up in May, you will have a beautiful, healthy tuber ready to explode with growth again. I promise you, the effort is worth it when you see that first new pink leaf unfurl.
Frequently Asked Questions
1. My caladium leaves haven't died back yet. It is November and still green. What do I do?
Do not force it. If you dig it up with green leaves, the tuber will not have stored enough energy. Wait until the leaves yellow on their own. If you are in a mild climate, this might happen in December. If you are forcing dormancy early, stop watering completely and let the plant dry out naturally. The stress of drought will force the leaf senescence (yellowing).
2. How do I store caladium pink beauty tubers without them touching?
The easiest way is a layer of dry sphagnum moss. Place one layer of tubers on top of the moss. Cover with another two inches of moss. The moss prevents them from touching. I tried wrapping each one in newspaper last year. The ink stained the tuber surface and the paper held too much moisture against the skin. The moss is better.
3. Can I store the tubers in the original soil if I just keep the pot in the garage?
I tried this during my "lazy phase." For a few years, I left the pots in the shed, assuming the soil was dry enough. The issue is that soil holds water molecules tightly. The micro-environment around the tuber stays damp. You will likely end up with dead tubers. It is 100% worth the 20 minutes to dig them up and store them in a breathable medium.





