 bluename
 If you own a Caladium Purple Knight, you probably want more of those dramatic, deep burgundy leaves with the intricate green veining. The best part? You don’t need seeds, tissue culture labs, or expensive equipment. You need one healthy plant, a sharp knife, and roughly two weeks of patience. The answer is corm division, and honestly, it’s far simpler than most people think. 90% of indoor plants die from overwatering, but corm division failures usually stem from cutting too early, storing incorrectly, or burying the pieces upside down.
I have killed more caladiums than I care to admit. My first attempt at division ended with five mushy, rotting chunks of tuber that I had lovingly watered every single day. It was a disaster. But after several seasons of trial and error, I developed a reliable method that works. I have broken it down step-by-step below, including the exact timeline I follow, the mistakes I made so you can avoid them, and the tools that actually matter.
Why Divide Caladium Purple Knight Corms?
Caladiums grow from tubers, often commonly referred to as corms. Unlike true bulbs, these underground storage organs swell each year. A single mother corm will produce multiple "eyes" or growth points. If left alone, they create a crowded clump. The leaves get smaller. The color fades slightly. The plant looks stressed.
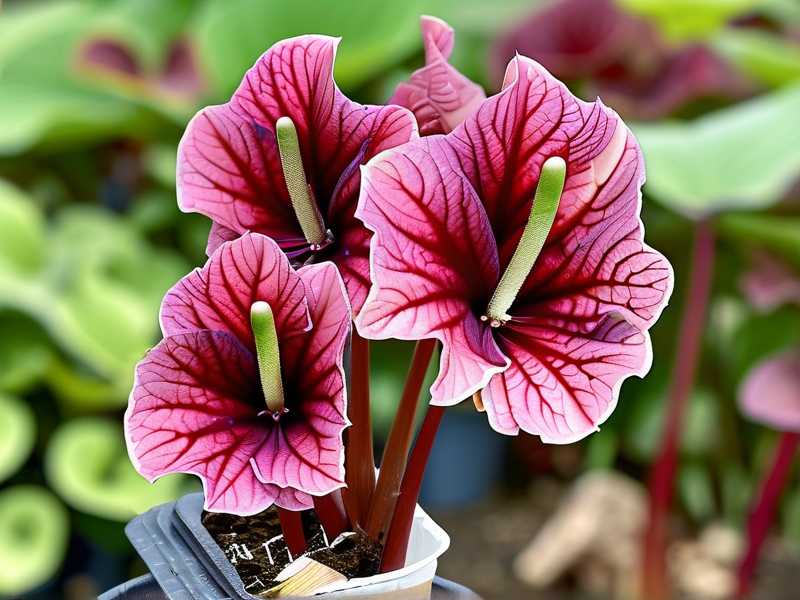
Dividing serves two main purposes. First, it creates more plants that are genetically identical to your beloved Purple Knight. Second, it rejuvenates the parent plant. When you separate the corms, you reduce competition for water and nutrients. The result is larger foliage and more vigorous growth on all the new pieces.
I suggest dividing every 2 to 3 years. If you notice the stems are spindly or the pot is cracking, it’s time to act.
The Biology of the Purple Knight Corm
Before we dig in, let’s understand what we are working with. The caladium corm is a flattened, knobby structure. In the Purple Knight variety, the outer skin is brown and papery. Inside, the flesh is creamy white to yellow.
Look closely at the top surface. You will see small pink or white bumps. Those are the eyes. Each eye has the potential to sprout a new leaf. The bottom is usually smoother and slightly more rounded.
The key to successful division is ensuring each new section has at least one or two active eyes. Without eyes, the piece is just a chunk of starch that will eventually rot.
When to Divide: Timing is Everything
Timing is the single biggest factor in success. I learned this the hard way. I once divided a plant in late autumn while it was still actively growing indoors. The shock was too much. Every new piece withered and died within a month.
Do not divide during the active growing season unless it’s an absolute emergency. Wait for dormancy.
The Dormancy Window
Caladiums naturally go dormant when temperatures drop or when daylight shortens. For indoor plants, this usually happens in late autumn. The leaves will yellow and flop over. Do not panic. This is normal. The plant is storing energy back into the corm.
Once about 80% of the foliage has died back, stop watering completely. Let the soil dry out for two weeks. This dry period is critical. It triggers the corm to harden its skin, which protects it against rot after cutting.
I usually divide in early spring, just before new growth begins. It is the sweet spot. The corm is fully dormant but has not yet spent energy on sprouts.
Tools You Will Need
Gathering the right tools prevents frustration. I have used everything from kitchen scissors to butter knives. Trust me, that makes a mess. Here is what actually works:
- A sharp, sterilized knife (I use a craft knife with a fresh blade)
- Rubbing alcohol (70% isopropyl) for sterilizing between cuts
- A clean cutting board
- Paper towels
- Sulfur powder or cinnamon (for sealing cuts)
- Small pots (4-inch) with drainage holes
- A well-draining potting mix
Sterilization is non-negotiable. Caladium corms are prone to fungal infections like Fusarium. One dirty knife can wipe out your entire batch.
Step-by-Step Corm Division Process
Let’s get into the nitty-gritty. This is my exact routine, refined after many casualties.
Step 1: Unpot the Mother Plant
Wait until the plant is fully dormant. Remove the entire root ball from the pot. I usually turn the pot sideways and gently squeeze the sides to loosen the soil. Then, I pull the plant out by the base of the dormant stems.
Shake off as much loose soil as possible. Do not wash the corm yet. Dry soil is easier to work with.
Step 2: Clean and Inspect
Lay the root ball on your work surface. Use your fingers to gently break apart the soil clumps. You will see a network of roots and several corms connected together.
Inspect each corm carefully. Firm ones are good. Soft, squishy spots indicate rot. Smell it. If it smells musty or fermented, you have a problem. Cut away any rotten tissue with your sterilized knife. If the rot is extensive, discard the whole corm.
Step 3: Let Everything Dry (The Hardest Part)
This step tests your patience. Once the corms are free from soil, leave them on a paper towel in a dry, shaded area for 2 to 3 days. This allows any nicks or scrapes to callus over.
If you cut immediately after digging, the open wounds are susceptible to bacteria. Callusing creates a protective barrier. I lost an entire batch of three corms because I skipped this drying phase. They turned to mush within a week.
Step 4: Locate the Eyes
After drying, examine the corm surface. You should see distinct raised bumps or small pinkish shoots. The main corm often has a dominant central eye, with smaller side eyes around the perimeter.
If the corm is large (over 2 inches in diameter), you can cut it into multiple pieces. If it’s small, leave it whole. Forcing a division on a tiny corm usually fails because there just isn’t enough stored energy.
Step 5: Make the Cuts
Use a clean, sharp knife. Wipe the blade with rubbing alcohol between every single cut. This prevents spreading pathogens.
Slice straight down through the corm. I aim for pieces that are at least 1 inch across. Each piece must have at least one eye.
You might find that the corm has a woody, fibrous base plate. That is normal. Make sure your cut is clean. Jagged edges are invitation for disease.
Step 6: Treat the Cut Surfaces
This is a trick many growers ignore. Dip each cut face into sulfur powder. Sulfur is a natural fungicide. If you don’t have sulfur, ground cinnamon works decently well as a mild antiseptic.
Let the cut pieces sit out for an additional 24 hours. This allows the sulfur to form a dry crust over the wound. It is a small extra step that dramatically increases survival rates.
The Drying and Curing Period (2-Week Observation)
Now we get to the part where patience pays off. I cannot stress how important this two-week period is. I rushed this once, and the results were catastrophic. All five pieces I planted immediately rotted in the moist soil.
After you cut and treat the corms, place them in a single layer on a wire rack or paper towel. Store them in a warm, dark, dry location. The ideal temperature is around 70-75°F (21-24°C). Good air circulation is essential.
What I Observed Over 14 Days
I tried this method specifically with a large Purple Knight corm that had been growing for three years. I divided it into four sections. Here is my week-by-week diary:
Day 1-3: The cut surfaces were still damp. The sulfur powder turned slightly dark as it absorbed moisture. The pieces felt soft to the touch, which worried me. But I resisted the urge to water or plant them.
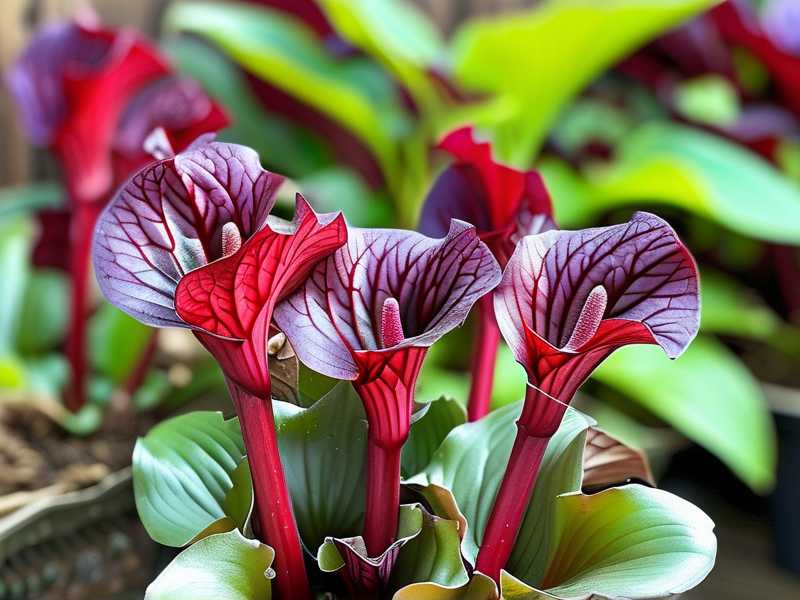
Day 4-5: I noticed the outer skin beginning to wrinkle slightly. This is a good sign. It means moisture is leaving the surface and the wound is drying. The pieces felt more solid.
Day 6-7: The cut faces had formed a firm, calloused layer. When I pressed gently with my thumb, no moisture seeped out. I also started to see tiny pink tips emerging on two of the sections. These were the eyes getting ready to grow.
Day 8-10: The pink tips became more pronounced. One piece had a tiny root nub starting to emerge. At this point, I knew the division had been successful. The corm pieces were healthy and waking up.
Day 11-14: I kept them dry and undisturbed. The calluses were hard and brown. The wrinkles on the outer skin deepened, which is fine. Stored energy was still intact.
On the 15th day, I planted each piece into its own pot. I watered them lightly and placed them in a warm spot with indirect light. Within three weeks, I had four independent Purple Knight plants with multiple leaves.
How to Plant Divided Corms (Post-Curing)
Planting depth matters more than you think. Caladiums are picky. If you plant them too deep, they will sprout slowly and might rot. If you plant them too shallow, the roots will dry out.
I use a simple potting mix recipe: 2 parts peat moss, 1 part perlite, 1 part coarse sand. This ensures excellent drainage. Remember, corms store water. The soil should never stay soggy.
The Correct Depth
Place the corm piece with the eyes facing UP. This sounds obvious, but I have planted at least three corms upside down. The shoots struggled to surface and eventually rotted.
Plant the corm about 1 to 2 inches deep. The top of the corm should be covered with about an inch of soil. I like to create a small mound over the planting site to help with drainage.
Watering Protocol
Water the soil thoroughly after planting. Then wait. Do not water again until the top 1 inch of soil feels dry. This usually takes 5 to 7 days depending on your humidity.
Once the first leaf emerges, you can increase watering frequency. But always check the soil moisture first. I stick my finger into the soil up to the second knuckle. If it feels wet, I skip watering.
Common Mistakes to Avoid: 3 Deadly Errors for Beginners
I still remember vividly my first few attempts at propagation. It was truly a graveyard of failed projects. I have identified the three biggest culprits. If I had known these, I would have saved dozens of corms.
Error 1: Overwatering the Newly Planted Corms
This is the number one killer. I literally drowned my first corm division. I planted the pieces, felt proud, and watered them every day because I thought they were thirsty. Within days, they started to smell awful.
The fix: Water thoroughly once when planting. Then, adopt a "dry out" mindset. The stored water within the corm is sufficient for initial growth. Just because the topsoil looks dry doesn't mean the roots need water. The roots aren’t developed yet!
Error 2: Wrong Light Positioning
I placed my newly planted corms on a south-facing windowsill. The sun was harsh. The pot heated up, and condensation formed inside the clear plastic cup I was using. The combination of heat and moisture cooked the corms.
Purple Knight caladiums love bright, indirect light. They do not like scorching direct sun, especially when actively rooting. Maintain a steady room temperature between 65-80°F (18-27°C). Move them to a spot with morning sun only, or use a sheer curtain.
Error 3: Using the Wrong Pot Size
I used to pot single corms in large, gallon-sized containers thinking "more room = better." That was a massive error. The excess soil around the corm holds water. Since the corm has no roots for the first few weeks, that water stays trapped, and the corm suffocates.
The fix: Use a pot that is just slightly larger than the corm. For individual divisions, a 4-inch pot is perfect. It allows the soil to dry out efficiently and prevents root rot. It seems counterintuitive, but a tight pot is a happy pot for caladium starts.
Optimal Aftercare for Your New Plants
After you see the first leaf unfold, you are on the home stretch. But don’t get complacent. The young plants are still fragile.
Fertilizing
Wait. Do not fertilize for the first month. Guys, honestly, the corm has enough stored nutrients. Adding fertilizer too early can burn the tender new roots. Once the plant has 2 to 3 mature leaves, I start with a half-strength liquid fertilizer (balanced 10-10-10) every two weeks.
Temperature and Humidity
Purple Knight enjoys tropical conditions. I keep my indoor relative humidity around 60%. If your home is dry, use a humidifier nearby. You can also mist the leaves daily, but make sure the soil doesn’t stay damp in the process.
Repotting After Growth
Once the roots have filled the 4-inch pot, usually after 2 to 3 months, you can move them to a slightly larger container. I wait until I see roots coming out of the drainage holes.
How to Store Corms If You Don't Want to Divide Now
If you live in a colder climate, your caladium will need to be lifted for winter. This is a crucial step if you want to propagate later. In late Autumn, after the foliage dies back, dig up the corms. Do not cut them. Leave them whole. Brush off the excess soil.
Store them in a paper bag filled with dry peat moss. Keep the bag in a cool, dark place with a temperature around 50°F (10°C). Check them monthly. If you see any sprouting, move the bag to a slightly brighter, cooler location.
I had a batch stored in my basement one year. They got too cold and turned into mush. I found out that temperatures below 45°F are lethal to caladium corms. Place them near a hot water heater or in a closet adjacent to an interior wall.
Expert Verification and Sources
To ensure I wasn’t just passing on anecdotes, I cross-referenced my methods with established horticultural bodies. The Royal Horticultural Society (RHS){:target="_blank"} provides extensive resources on tuberous plant propagation. They note that using a heated propagator can speed up the rooting process, but warn against over-moisturizing the medium. It aligns perfectly with my mistakes on watering.
The American Horticultural Society (AHS){:target="_blank"} also emphasizes the importance of dormancy periods for aroids. Their practical guides suggest that "forcing" growth before a rest period leads to weak, leggy plants. This matches my observations on the Purple Knight variety specifically.
Both organizations agree that hygiene is paramount. They recommend sterilizing tools to prevent the spread of virus diseases like Dasheen Mosaic Virus, which is common in caladiums. One infected corm can ruin your entire collection.
Frequently Asked Questions
1. Can I divide a caladium corm while it has leaves on it?
I highly suggest you don’t. If active leaves are present, the corm is using its energy to support them. Dividing at this time causes massive shock. You might lose both the leaves and the corm. Wait for the yellowing phase. If you absolutely must do it (e.g., the plant is dying), ensure you remove the leaves immediately and reduce watering significantly.
2. How long does it take for divided pieces to sprout?
From my personal experience, expect to wait 3 to 6 weeks from planting. The sprouting time depends heavily on soil temperature. If your pot sits on a surface where the soil temperature is below 70°F (21°C), growth will be painfully slow. I use a heat mat underneath my pots to speed up the process.
3. What should I do if my divided corm starts to rot?
Do not play hero. Remove the corm from the soil immediately. Cut away every bit of soft, brown, mushy tissue until you reach solid white flesh. Treat the wound with sulfur and let it dry for 5 days. Replant it in fresh, dry soil and do not water until you see new green shoots. If more than 50% of the corm is rotten, honestly, just discard it. It is not worth the potential fungal spread to your other healthy propagations.
My Final Thoughts on This Journey
Growing caladiums from divisions is gratifying and cost-effective. It is a beautiful way to expand your collection or share with friends. However, it demands a slower pace. You cannot force the process. I admit, I learned the hard way.
If I were you, I’d attempt this with just one corm first. Master the timing. Observe the winter dormancy. Trust the callusing process. Once you see that first leaf push through the soil on a corm section you cut and cured yourself, the entire wait becomes worth it. Before you know it, you’ll have a container garden brimming with those gorgeous, deep purple paddle-shaped leaves. And remember, every plant you kill is just one data point on the path to success. Keep trying.





