 bluename
 How to Grow Caladium Giant Red: Large Red Foliage Care Steps That Actually Work
I killed my first three caladiums. Straight up murdered them with kindness. The leaves turned to mush within ten days, and I couldn't figure out why. Then I got my hands on a Caladium Giant Red tuber, changed a few habits, and watched it push out dinner-plate-sized red leaves that lasted all season. If you want those massive, heart-shaped crimson leaves without the heartbreak, here's the short answer: bright indirect light, barely moist soil, and a pot that drains like a sieve. That's it. Nail those three things and you're 90% there. Most people overcomplicate it, and the plant pays the price.
Now let me walk you through exactly what I did, because the details matter more than the headline.
Why Caladium Giant Red Is Different From Other Caladiums
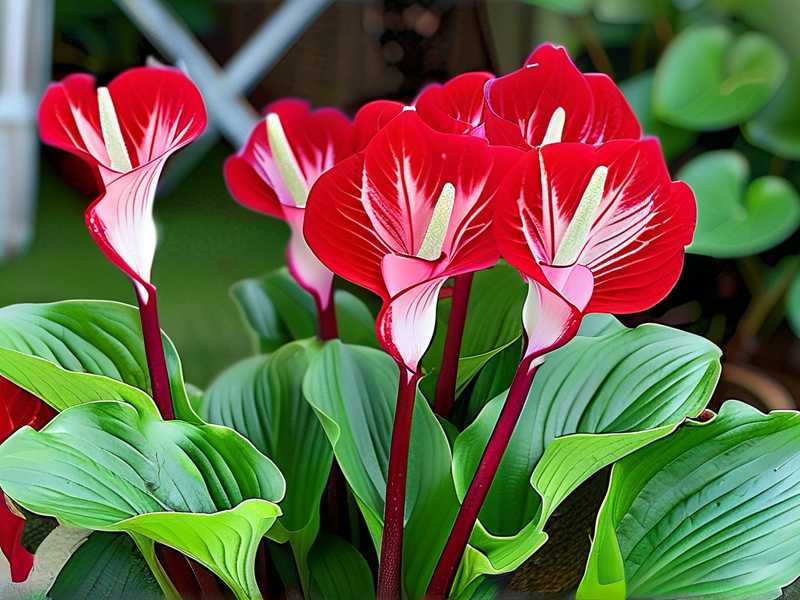
Most caladiums max out around 12 to 18 inches. Giant Red is a different beast. It's a cultivar that can hit 24 to 36 inches tall with leaves that span up to 18 inches across. The color is a deep, saturated red with darker veining and a thin green border. It's not subtle. It's a statement plant.
The RHS notes that caladiums are tropical perennials grown as annuals in most temperate gardens because they need warmth and humidity. The AHS backs this up, pointing out that tuber rot is the number one killer when soil stays cold and wet. I learned that lesson the hard way.
If you're in USDA zones 9–11, you can leave tubers in the ground year-round. Everyone else? Treat it like a container star or lift the tubers before frost. I grow mine in pots on a covered porch in zone 7b, and they thrive from late spring through early fall.
The Three Mistakes That Kill Giant Red Caladiums
I've made every one of these. Let me save you the grief.
Mistake 1: Overwatering
90% of indoor plants die from overwatering. I'm not exaggerating. I watched a neighbor drown a perfectly healthy Giant Red in three weeks because she watered it every morning "just a little." Caladium tubers are basically underground storage organs. They hold moisture. If the soil stays soggy, the tuber turns to brown mush and the whole plant collapses overnight.
The fix: water only when the top inch of soil feels dry. Stick your finger in there. If it's even slightly damp, wait. When you do water, soak until it runs out the drainage holes, then dump the saucer. Never let the pot sit in standing water. I water my 10-inch pot maybe once every five to seven days in summer, less in cooler weather.
Mistake 2: Wrong Light
I tried full sun first. Bad idea. The leaves scorched and curled like old paper. Then I moved it to a dark corner. The stems stretched thin and floppy, and the red faded to a dull pink. Giant Red wants bright, indirect light. Think dappled shade under a tree or a spot two feet back from a south-facing window.
In my experience, morning sun is fine. Harsh afternoon sun is not. If you're growing outdoors, filtered light through a sheer curtain or a north-facing porch is ideal. Indoors, a grow light set to medium intensity for 10–12 hours works beautifully. I run mine about 18 inches above the leaves.
Mistake 3: Bad Pot Choice
I once planted a Giant Red in a cute ceramic pot with no drainage hole. I thought I could just "be careful" with watering. Spoiler: I couldn't. The tuber rotted in two weeks. Now I only use pots with at least three drainage holes. Terracotta is great because it wicks away extra moisture. Plastic nursery pots work too, as long as you don't overpot.
Size matters as well. A tuber that's 2 inches across does not need a 14-inch pot. It needs a 6- to 8-inch pot. Too much soil around the tuber means too much moisture hanging around. I learned to go only one size up from what looks "right."
Step-by-Step: How I Grow Giant Red From Tuber to Full Glory
Here's my actual routine. Nothing fancy.
Step 1: Start With a Firm Tuber
Squeeze it. A healthy Giant Red tuber feels like a raw potato. If it's soft or moldy, toss it. I buy mine from a reputable grower in late winter and store them in dry peat moss until planting time.
Step 2: Plant at the Right Depth
Plant the tuber knobby side up, about 1.5 to 2 inches deep. I plant mine in late spring once nighttime temps stay above 60°F. Cold soil equals rot. I've tried planting early thinking I'd get a head start. Nope. The tuber just sat there and sulked, then rotted.
Step 3: Use the Right Soil Mix
I make my own blend: two parts peat-based potting mix, one part perlite, one part orchid bark. It drains fast but holds just enough moisture. Bagged mixes labeled "moisture control" are the worst for caladiums. They stay wet too long.
Step 4: Water Lightly Until Sprouts Appear
Before leaves emerge, the tuber doesn't need much water. I mist the soil surface every few days, just enough to keep it barely damp. Once I see a sprout, I switch to the finger-test method. That's usually 2–3 weeks after planting depending on soil temperature.
Step 5: Feed Gently
I use a balanced liquid fertilizer at half strength every four weeks. That's it. More fertilizer doesn't mean bigger leaves. It means burned roots and brown tips. I've seen people dump Miracle-Gro on these weekly and wonder why the plant looks terrible. Don't do that.
What I Observed Over Two Weeks
I planted my Giant Red tuber on May 12th. Kept it in a warm spot with indirect light. Nothing happened for nine days. I almost gave up. Then on day 10, a tiny pink spear pushed through the soil. By day 14, that spear was an inch tall and unfurling into a tight red spiral. That's when I knew the tuber had rooted properly.
Two weeks isn't enough for full leaves, but it's the critical window. If you see nothing by day 21, dig gently and check the tuber. If it's mushy, you overwatered. If it's firm but no growth, it might be too cold. Patience is part of the game.
Caring for Giant Red Once It's Growing
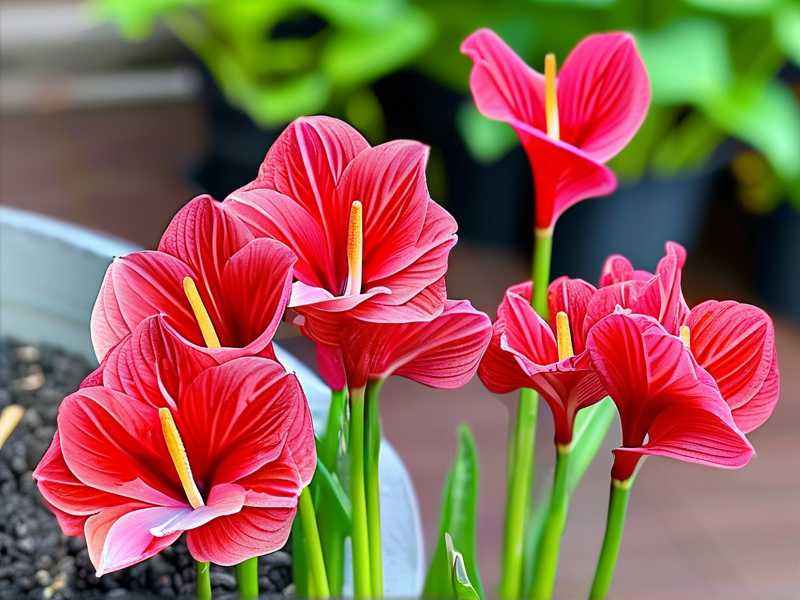
Light: Bright indirect, no harsh midday sun. Water: When top inch of soil is dry, soak and drain. Humidity: 60% or higher is ideal. I group mine with other plants or run a small humidifier. Temperature: 65–85°F. Below 60°F and growth stalls. Fertilizer: Half-strength balanced liquid every 4 weeks. Pests: Spider mites love dry air. I wipe leaves weekly and rinse them in the shower if I spot webbing.
A Note on Dormancy
Giant Red caladiums go dormant when days shorten or temperatures drop. The leaves yellow and flop. Don't panic. That's normal. Stop watering, let the foliage die back completely, then dig the tuber, brush off soil, and store it in dry peat or vermiculite at 60–65°F. I store mine in a mesh bag in my closet. Replant next spring.
Some people treat them as annuals and buy new tubers every year. That's fine too. But I've had the same tuber for three seasons now, and it gets bigger each time.
Frequently Asked Questions
How often should I water a Giant Red caladium?
Water only when the top inch of soil is dry. In summer, that's usually every 5–7 days. In cooler weather, every 10–14 days. Always drain the saucer. Soggy soil is the fastest way to kill this plant.
Why are my Giant Red leaves turning green or fading?
Too little light. Giant Red needs bright, indirect light to maintain that deep red color. Move it closer to a window or increase grow light intensity. Also check for spider mites, which can stress the plant and dull the leaves.
Can I grow Giant Red caladium indoors year-round?
Yes, if you give it 10–12 hours of bright indirect light daily, keep humidity above 60%, and never let the soil stay wet. Many indoor growers treat it as a seasonal plant and let it go dormant in winter. That's perfectly fine.
Final Thoughts
Giant Red caladiums are not difficult. They're just particular. Give them warmth, drainage, and filtered light, and they'll reward you with leaves the size of your face. I wish I'd known that before I drowned three tubers. But now you do. Start with a firm tuber, plant it shallow, water sparingly, and watch the show.





