 bluename
 How to Grow Caladium Mini White: Miniature Variety Care Steps
If your Caladium Mini White is drooping, yellowing, or just plain sulking, the fastest fix is almost always less water, not more. I learned that the hard way after killing three caladiums in one summer. Here's the blunt truth: 90% of indoor plants die from overwatering. So before you do anything else, pick up that watering can and put it down. Learning how to grow Caladium Mini White is honestly easier than most people think, but it demands you respect three things: water, light, and drainage. Get those right and this miniature variety rewards you with those stunning white, heart-shaped leaves framed in green for months.
I've been growing caladiums for six years now, and the Mini White is my favorite small-space pick. It stays compact, usually under 12 inches, which makes it perfect for windowsills, desks, and balconies in apartments. But it's also fussier than the bigger varieties in a few sneaky ways. Let me walk you through exactly what I do, what I got wrong, and what I'd tell any beginner to do differently.
What Makes Caladium Mini White Different From Regular Caladiums
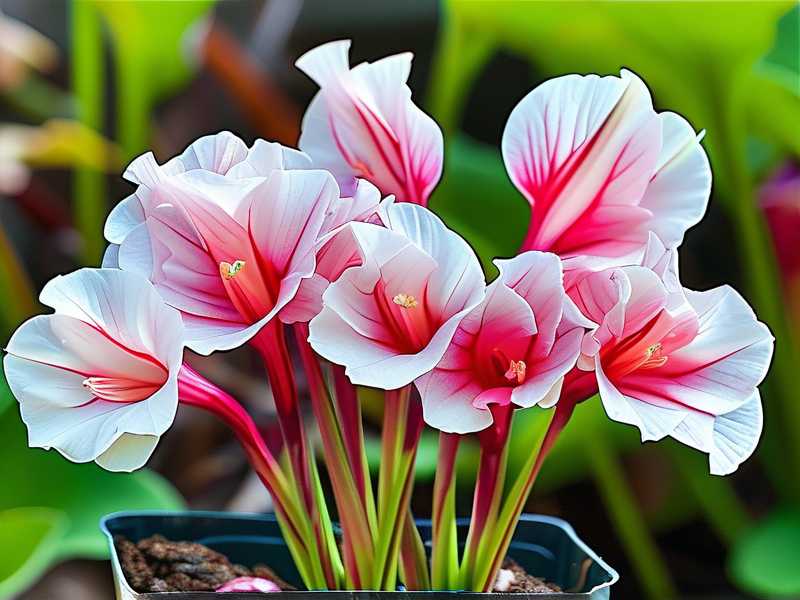
The Mini White is a dwarf caladium. It doesn't get as tall or as wide as the standard varieties you see in garden centers.
That smaller size means it has smaller tubers. Smaller tubers store less water and fewer nutrients. So it dries out faster and it burns faster too. You can't treat it like a big caladium and expect the same results.
I found this out when I bought my first Mini White and planted it in a huge 10-inch pot because that's what I had lying around. The tuber sat in wet soil for weeks. It rotted within a month. That was my first mistake, and it cost me fifteen dollars and a lot of pride.
The Right Way to Start: Tubers, Not Just Plants
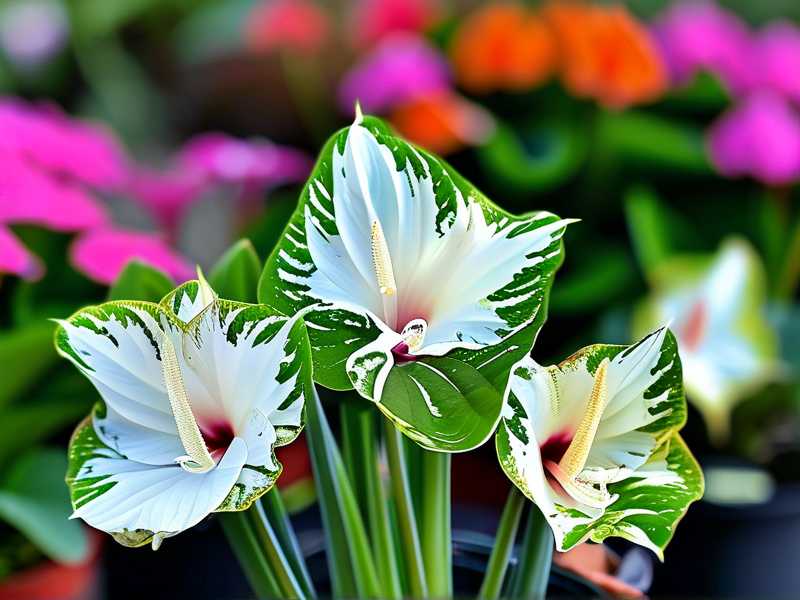
You can buy Caladium Mini White as a potted plant or as dormant tubers. I prefer tubers because they're cheaper and you control the whole process from day one.
Here's what I do:
I start tubers indoors about four to six weeks before the last frost date. I use a small pot, no bigger than 4 to 6 inches across. That feels tiny, I know, but it's correct. A small pot keeps the soil from staying soggy.
I fill it with a loose, well-draining mix. I make my own by mixing regular potting soil with perlite and a bit of orchid bark. Roughly two parts soil, one part perlite, one part bark. The bark isn't mandatory but it helps.
I plant the tuber with the knobby side, the one with the growing eyes, facing up. I cover it with about an inch of soil. No deeper.
Then I water once and wait. That's the hard part. I don't water again until I see a sprout poking through. This usually takes 10 to 20 days.
That waiting period is where most people panic and drown the tuber. I've done it. I watered every three days because I was nervous. Nothing came up. When I dug it out, the tuber was mush. Learn from my grave.
Light: Bright but Never Direct
Light is where the second big mistake happens. People either put this plant in a dark corner or bake it on a south-facing windowsill. Both are wrong.
Caladium Mini White wants bright, indirect light. Think of a spot a few feet back from an east or west window. Or a north window if your space is really bright.
Direct sun scorches those delicate white leaves. I mean it literally burns holes in them. I had one leaf turn crispy brown in a single afternoon after I moved my plant to a south window "for more sun." That leaf never recovered, and I had to cut it off.
Too little light is slower but equally deadly. The stems get long and leggy. The white color fades to a dull greenish white. New leaves come in smaller and smaller until the plant just stops producing.
Here's my rule: if I can read a book comfortably in that spot without turning on a lamp, it's probably bright enough. If I need a lamp at noon, it's too dark for Mini White.
The Watering Trap and How I Finally Got It Right
Let me say it again because it matters: 90% of indoor plants die from overwatering. Caladium Mini White is not an exception. It might be the poster child.
These plants have tubers, not fibrous roots. Tubers rot fast in wet soil. And the signs of overwatering look a lot like the signs of underwatering. Droopy leaves. Yellow edges. A sad, deflated look.
So beginners water more. And the plant dies faster. I did this exact thing with my second Mini White. The leaves drooped, so I watered. They drooped more, so I watered again. Within a week the whole thing collapsed into a brown heap.
Now I use the chopstick method. I stick a wooden chopstick or a pencil into the soil down to about two inches. If it comes out clean and dry, I water. If it comes out with damp soil clinging to it, I wait.
I also water from the bottom when I can. I set the pot in a bowl of water for 15 minutes, then take it out and let it drain fully. That way the soil pulls up only what it needs.
And I always empty the saucer. Always. Sitting water is a death sentence.
The First Two Weeks: What I Actually Observed
I want to give you real numbers here, not vague promises.
When I started my current Mini White from a tuber on March 3, nothing happened for the first 11 days. I checked every morning. Nothing. On day 12, a tiny pale spike broke the soil surface.
By day 14, that spike had opened into a small, curled leaf about the size of a thumbnail. It was pale green, almost translucent. Not white yet.
I kept the soil barely moist during this time. Not wet. Barely moist. I watered once every seven to eight days and only if the chopstick came out dry.
That first leaf unfurled fully by about day 20. The white center started showing around day 25. The green border filled in last.
So if you're two weeks in and you only see a tiny sprout, you're right on schedule. Don't panic. Don't water. Just wait.
Soil and Pot Choice: The Third Mistake Most People Make
Using the wrong pot is the quiet killer. I see it all the time in gardening groups.
The worst offenders are pots without drainage holes. I know they're pretty. I know they're cheap. I know they fit your decor. But a Caladium Mini White in a no-drainage pot is a ticking time bomb.
Water collects at the bottom. The tuber sits in it. Rot sets in. Game over.
The second worst thing is a pot that's too big. I mentioned this earlier but it deserves repeating. A big pot holds a big volume of wet soil. Your tiny tuber's roots can't drink it all. So the soil stays wet for weeks.
My current Mini White lives in a 5-inch terracotta pot with a single drainage hole. Terracotta breathes, which helps soil dry out faster. That's a good thing for this plant.
When to Repot
The tuber grows and multiplies over a season. By the end of summer, you might have two or three new tubers crowded in that little pot.
I repot in early spring before new growth starts. I move up one pot size, so from a 5-inch pot to a 6-inch pot. I never jump up more than two inches. Ever.
If the tuber has multiplied, I gently separate the small tubers and pot them individually. Free plants. That's one of the best parts of growing caladiums.
Fertilizer: Less Is More
I feed my Mini White once a month with a diluted liquid fertilizer. Half strength, maybe even a quarter strength. That's it.
Full-strength fertilizer burns the roots. I learned that when I got overexcited and gave my plant a full dose. The leaf tips turned brown within four days. That damage is permanent. The leaf doesn't heal.
If you're using a slow-release fertilizer in the soil, you might not need liquid feed at all. I skip it entirely for the first month after planting.
Humidity and Temperature
Caladiums love humidity. They're native to tropical forests. So 60 to 70 percent humidity is ideal.
My house sits around 40 percent in winter. So I run a small humidifier near the plant. Or I group it with other plants to create a microclimate.
I don't mist the leaves. Misting can encourage fungal issues, and it doesn't raise humidity much anyway. The RHS backs this up. Misting provides only a brief humidity bump and can spread disease. Better to use a pebble tray or a humidifier.
Temperature-wise, I keep my Mini White between 65 and 80 degrees Fahrenheit. It hates cold drafts. It hates AC vents blowing on it. If the leaves start curling inward, cold stress is often the cause.
Dormancy: Don't Throw It Away
This is the part that shocks new growers. Caladiums go dormant. The leaves yellow, droop, and die back. It looks like the plant is dying. It's not.
This usually happens in late fall when daylight shortens. The plant is telling you it's done for the season.
Here's what I do. I stop watering. I let the leaves die completely. Then I cut them off at soil level. I store the pot, soil and all, in a cool dark spot around 60 degrees Fahrenheit. I don't water it at all for two to three months.
Then in early spring, I bring it back out and start watering lightly. New growth appears in a few weeks.
If you throw the pot away thinking it's dead, you're throwing away a perfectly healthy tuber. I almost did that with my first caladium. Now I know better.
Three Common Mistakes That Kill Caladium Mini White
Overwatering. The soil stays wet, the tuber rots, the plant collapses. Wait until the top two inches of soil are dry. This is the number one killer.
Wrong light. Too much direct sun burns the leaves. Too little light causes leggy growth and faded color. Bright indirect light is the sweet spot.
Wrong pot. No drainage holes or an oversized pot keeps soil wet too long. Use a small pot with drainage. Terracotta is great.
Frequently Asked Questions
How long does Caladium Mini White take to sprout from a tuber?
Mine took 11 to 14 days. Some take up to three weeks. If nothing shows after four weeks and the tuber is firm, give it more time. If the tuber is soft or mushy, it's rotted and won't grow.
Why are my Caladium Mini White leaves turning yellow?
Yellow leaves usually mean too much water. Check the soil moisture first. If the soil is soggy, stop watering and let it dry out. If the soil is dry and the plant is in low light, move it to a brighter spot. Cold drafts can also cause yellowing.
Can I grow Caladium Mini White outdoors?
Yes, in USDA zones 9 to 11 it can stay outdoors year-round. In cooler zones, grow it outdoors in summer and bring it inside before the first frost. It does well in shaded borders or containers on a covered porch. Just keep it out of direct afternoon sun.





