 bluename
 How to Treat Caladium Mealybugs: Rubbing Alcohol Steps That Actually Work
There’s a special kind of frustration that comes from seeing your stunning caladium, with its vibrant, heart-shaped leaves, suddenly speckled with tiny white, cottony tufts. You lean in closer, and your heart sinks. Mealybugs. These sap-sucking pests can quickly turn a lush, tropical display into a weakened, sticky mess. I know this feeling all too well. After trying various sprays and remedies with mixed results, I dedicated myself to finding a reliable, at-home solution. Through trial, error, and careful observation over a two-week period, I perfected a simple yet effective method using a common household item: rubbing alcohol. This guide is my firsthand account of exactly how to treat caladium mealybugs using rubbing alcohol steps, including the mistakes I made and how to avoid them.
Understanding Your Enemy: The Caladium Mealybug
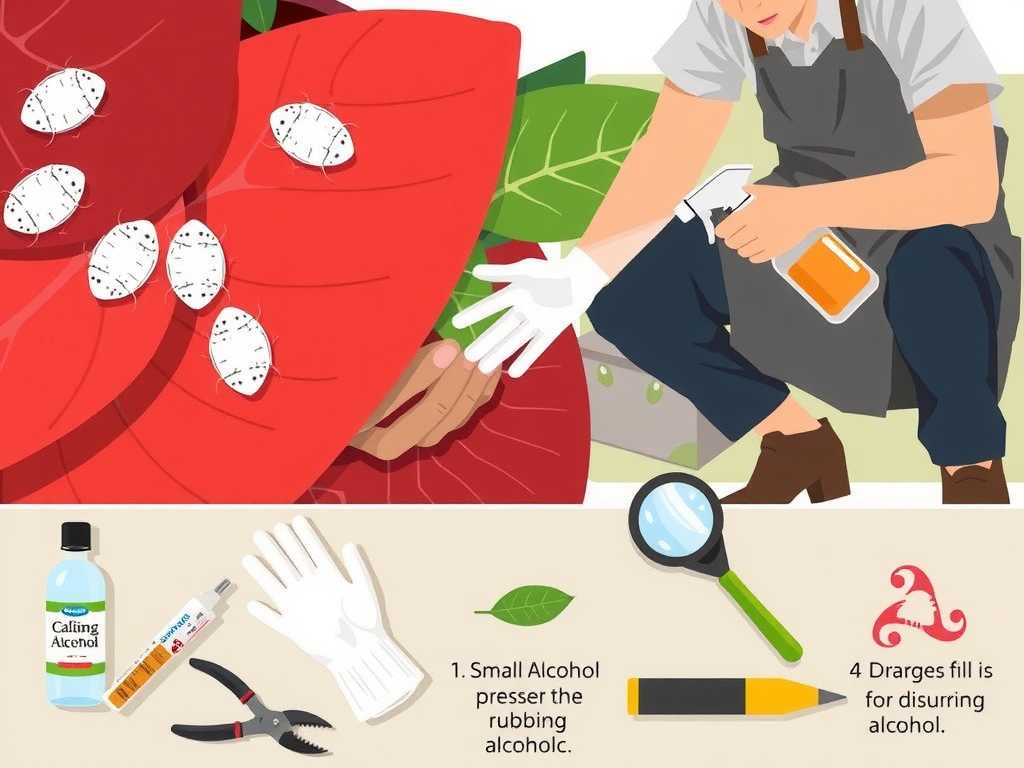
Before diving into treatment, it’s crucial to know what you’re fighting. Mealybugs are soft-bodied insects that hide in leaf axils, under leaves, and along stems. They drain plant sap, excreting sticky “honeydew” that leads to sooty mold. According to the American Horticultural Society (AHS), early intervention is key, as infestations can stunt growth and spread rapidly to other houseplants. My caladium showed classic signs: the white fluff, slight leaf yellowing, and that telltale sticky residue on the lower leaves.
Why Rubbing Alcohol is a Go-To Remedy
Isopropyl alcohol (rubbing alcohol) works by dissolving the waxy coating that protects mealybugs, effectively dehydrating and killing them on contact. It’s a method often cited by plant pathology resources for its targeted action with minimal risk to the plant when used correctly. Unlike some broad-spectrum insecticides, it allows you to spot-treat without dousing the entire plant in chemicals, making it a preferred first line of defense for many indoor gardeners.
My Step-by-Step Battle Plan: The Rubbing Alcohol Treatment
I gathered my supplies: 70% isopropyl alcohol, cotton swabs, a soft cloth, a small spray bottle, and a magnifying glass for good measure. Patience is your most important tool here.
Step 1: Isolation and Initial Inspection
The first and most critical step is to immediately isolate the affected caladium. Mealybugs travel. I moved my plant to a separate room, away from all other greenery. Under bright light, I conducted a thorough inspection, noting every single spot I could see. They love to nestle where the leaf stem meets the main stalk, so I paid extra attention to these crevices.
Step 2: The Direct Swab Application
For visible, concentrated clusters, I used the cotton swab method. I dipped a swab directly into the rubbing alcohol, making sure it was damp but not dripping. Then, I gently daubed it directly onto each mealybug mass. The effect is satisfyingly immediate—you can see the pests dissolve. This is the most targeted approach. I learned the hard way that drenching the swab can lead to excess alcohol running down the stem and pooling in the soil, which you want to avoid.
Step 3: The Spot-Spray Technique
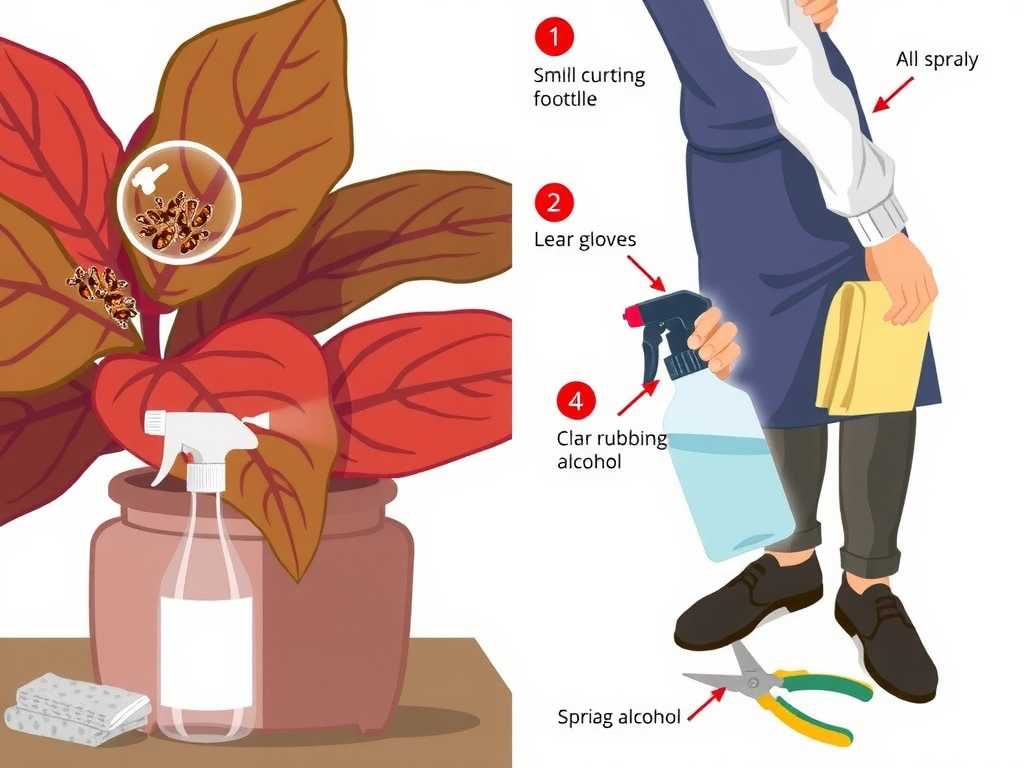
For smaller bugs or hard-to-reach areas, I used a spray bottle. I mixed a solution of one part 70% rubbing alcohol with three parts water. Important: I always tested this spray on a small, inconspicuous part of a leaf first and waited 24 hours to check for damage. Caladium leaves can be sensitive. Once confirmed safe, I lightly misted the infested areas, being careful to avoid soaking the soil. The fine mist helps catch crawlers you might miss.
Step 4: The Wipe-Down
After letting the alcohol work for about 15 minutes, I took a soft cloth dampened with plain water and gently wiped down the leaves. This helped remove any remaining alcohol, dead bugs, and honeydew. It also gave me another chance to inspect the plant closely.
The Two-Week Observation: Triumphs and Setbacks
Treatment is never a one-and-done deal. I committed to a strict two-week protocol.
- Days 1-3: I repeated the swab and spot-spray process every other day. After the first treatment, the visible bugs were gone. I felt prematurely victorious.
- Days 4-7: My victory was short-lived. On day four, I spotted a few tiny, almost translucent nymphs in a brand-new leaf curl. This was my first major lesson: mealybugs have a lifecycle, and eggs can hatch after the initial adults are killed. I had missed the eggs. I resumed daily checks and spot treatments.
- Days 8-14: I switched to treating every three days. By day 10, I found no new bugs. I continued monitoring, checking every nook. I also made a crucial adjustment: I started carefully dabbing alcohol on the very top layer of soil near the stem, as I read they can hide there. This seemed to make the final difference.
The Pitfalls I Encountered and How I Fixed Them
- The Soil Drench Mistake: Early on, I over-applied alcohol from the swab, and it dripped into the soil. Within days, the plant showed signs of stress. Solution: I became meticulous about using less-saturated swabs and placed a paper towel around the stem base to catch drips.
- Missing the Eggs: As mentioned, my initial oversight led to a second wave. Solution: I adopted a mindset of treating for the next generation, not just the visible one. Consistent follow-up is non-negotiable.
- Sunburn Risk: I made the error of treating my plant in direct sunlight once. The alcohol evaporated too quickly and may have contributed to a small leaf scorch. Solution: Always treat your caladium in a cool, shaded area, and keep it out of direct sun for a few hours after application.
Supporting Your Caladium’s Recovery
While fighting the bugs, support your plant’s health. I ensured my caladium had optimal indirect light, consistent (but not soggy) moisture, and held off on fertilizing until it was pest-free for a full month to avoid stress. A healthy plant is more resilient.
Frequently Asked Questions
Can I spray rubbing alcohol directly on my caladium leaves? A diluted spray is generally safe, but an initial patch test is absolutely mandatory. Caladiums can have variable sensitivity. I use a 1:3 (alcohol to water) ratio and spray lightly, never drenching the foliage. Direct, undiluted alcohol from a swab should only be applied to the bugs themselves.
How often should I repeat the rubbing alcohol treatment? My successful regimen involved an aggressive start: treatment every other day for the first week to break the lifecycle. In the second week, I scaled back to every three days. The key is to continue for at least 14 days, even if you see no bugs, to ensure any late-hatching eggs are addressed.
What if the mealybugs keep coming back? Persistent infestations often mean they’ve spread to the roots or are hiding in the soil. If, after two weeks of diligent leaf and stem treatment, problems continue, you may need to unpot the plant. Gently wash the roots and rhizome and repot in fresh, sterile soil. In severe cases, as a last resort, a systemic insecticide may be considered, but always as directed and with caution indoors.
Seeing new, clean leaves unfurl without a trace of white fluff is the ultimate reward. The rubbing alcohol method is a testament to the power of simple, consistent care. It requires diligence and a keen eye, but it effectively rescues your caladium without harsh chemicals. By learning from my missteps—avoiding soil drips, committing to the two-week timeline, and hunting for eggs—you can save your plant. Remember, the goal is control and eradication through persistent, targeted action. Your beautiful, pest-free caladium is worth the effort.





