 bluename
 How to Identify Caladium Mealybugs: White Cotton Clues and Save Your Plants
There's a special kind of heartbreak for a plant lover. It's the moment you notice something off about your favorite, vibrant caladium. The leaves, once a canvas of stunning pinks, reds, and greens, seem less perky. A subtle stickiness appears. And then, you see it: a tiny, fluffy white patch tucked in a leaf crevice. Your stomach sinks. Is it mold? A bit of lint? Deep down, you fear it's what I feared: mealybugs. If you're squinting at your plant, searching for answers, you're not alone. I've been there, and through a meticulous, two-week battle of observation and action, I learned exactly how to spot, confirm, and tackle a caladium mealybug infestation. This guide is born from that hands-on experience, complete with my mistakes and the solutions that finally worked.
Forget complex, jargon-filled guides. We’re going to break this down with clear, visual clues—starting with the "white cotton" that gives these pests their infamous name.
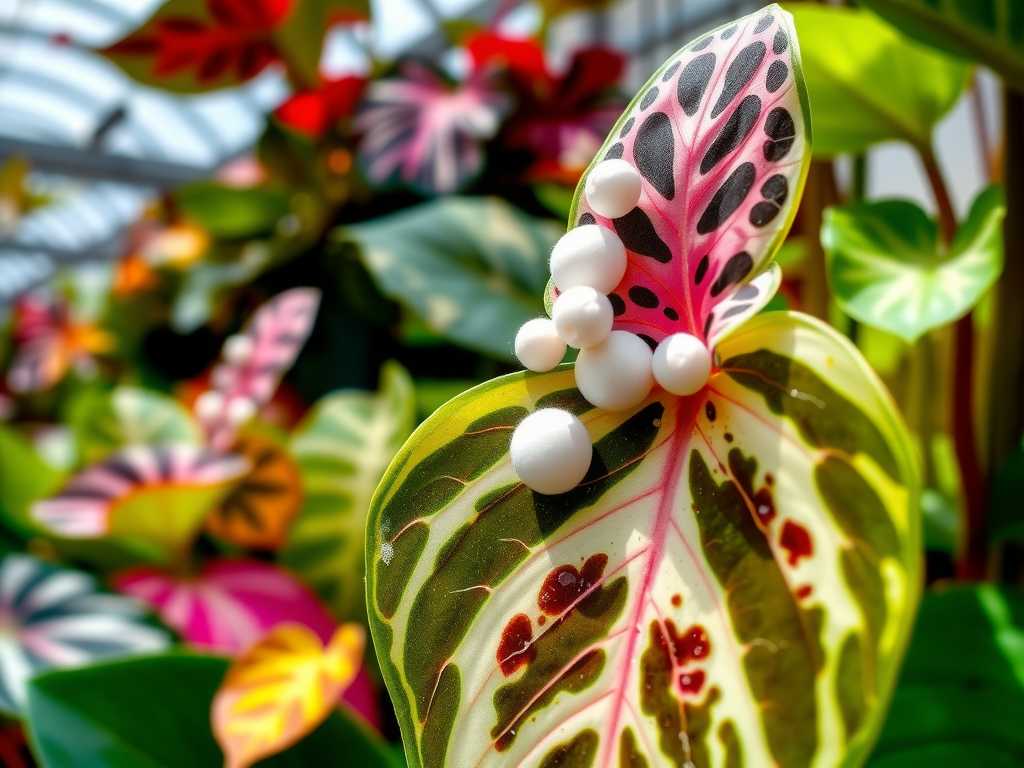
The First Sign: Decoding the "White Cotton"
That fluffy white substance is your primary clue. It's not part of the plant. Upon very close inspection—I used a 10x jeweler's loupe—the "cotton" is actually a protective, waxy secretion produced by the insect itself. Inside or beneath it, you'll find the culprit.
- The Adult Female: This is the most recognizable form. She is oval, soft-bodied, and about 1/8 inch long, covered in that white, powdery or cotton-like wax. She doesn't move much, often clustering in colonies.
- The Nymphs (Crawlers): These are tinier, yellowish, and more mobile. They lack the full cotton coating initially but will produce it as they grow. They are the ones that spread to other parts of the plant.
Where to Look: Their Favorite Hiding Spots
Mealybugs are masters of hide-and-seek. My initial inspection missed them because I only checked the leaf tops. Here’s where you must look, based on my two-week observation log:
- The Undersides of Leaves: Ground zero. Pay special attention along the veins and midrib.
- Leaf Axils: This is the angle where the leaf stem meets the main stalk. It’s a warm, sheltered paradise for them. I found my largest colony here.
- Stems and Petioles: Check where leaves attach and any joint on the stems.
- Near the Soil Line and Roots: For severe infestations, they can colonize the base of the plant and even the roots (root mealybugs). I learned this the hard way.
Secondary Symptoms: What the Plant is Telling You
The white bugs themselves are a direct sign, but your caladium will show distress signals:
- Honeydew and Sooty Mold: Mealybugs excrete a sticky, sugary substance called honeydew. This coats the leaves, making them feel tacky. Soon after, a black, sooty mold fungus grows on this honeydew, blocking sunlight. This was the "dirt" I initially tried to wipe off.
- Stunted or Distorted Growth: New leaves may emerge curled, small, or misshapen as the bugs suck sap from tender tissues.
- Yellowing and Wilting: Infested leaves lose vigor, turning yellow and drooping prematurely.
- Ant Activity: I noticed a trail of ants on my plant stand. Ants are attracted to honeydew and will sometimes "farm" mealybugs, protecting them from predators. This is a major red flag.
My Two-Week Identification and Action Journal
Here is my real-world process, including the pitfalls.
Days 1-3: Discovery and Initial Misstep I spotted a few white patches on my 'White Queen' caladium. In panic, I sprayed the visible bugs with a diluted dish soap solution I found online. I drenched the leaves but didn't check the soil line or isolate the plant. The visible bugs died, but the problem wasn't solved. I learned that soap sprays can damage delicate caladium leaves if not rinsed properly and that a single surface treatment is ineffective against hidden eggs and nymphs.
Days 4-7: Isolation and Thorough Inspection I moved the plant away from all others—non-negotiable. With my loupe and a bright light, I conducted a 30-minute inspection. I found nymphs crawling along the back of the main stem and a cluster of adults in a tightly furled new leaf. I also noticed the soil surface had tiny, moving specks. This was a root mealybug issue co-occurring, which explained why the plant was struggling despite good care. The Royal Horticultural Society (RHS) advises that persistent above-ground infestations often warrant checking the root ball.
Days 8-14: Targeted Treatment and Monitoring I adopted a dual approach, as recommended by resources from the American Horticultural Society (AHS), which emphasizes least-toxic methods first.
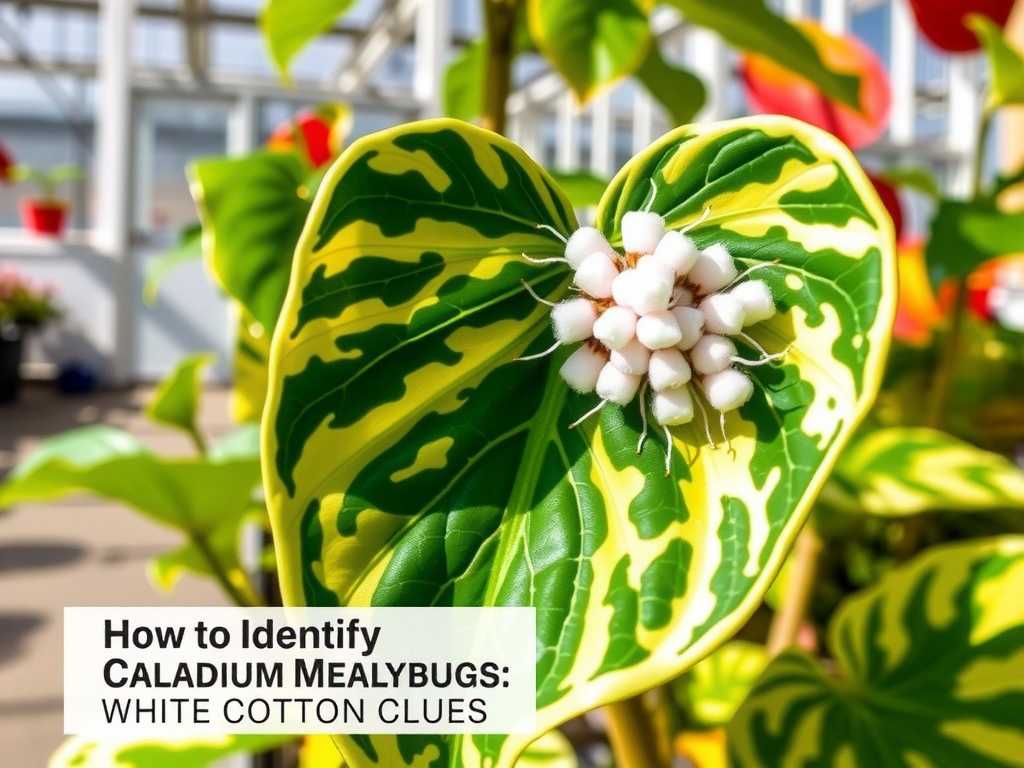
- For Foliar Mealybugs: I switched to a 70% isopropyl alcohol solution. Using a cotton swab, I dabbed every single white spot I could find. For larger areas, I used a fine mist spray (testing on one leaf first). The alcohol dissolves the waxy coating and kills the bugs on contact. I did this every 3-4 days to catch new hatchlings.
- For Suspected Root Mealybugs: On day 10, I gently unpotted the plant. The roots had tell-tale white, powdery patches. I rinsed the root ball thoroughly with lukewarm water and then submerged it in an insecticidal soap solution for 10 minutes before repotting in fresh, sterile soil.
- Biological Control Introduction: After cleaning, I introduced Cryptolaemus montrouzieri (a type of ladybug larvae known as the "mealybug destroyer"), a method supported by integrated pest management (IPM) principles. Watching these predators work was a revelation in natural balance.
By the end of week two, no new white cottony masses appeared. Stickiness ceased, and the sooty mold began to fade. New growth emerged clean and healthy.
Prevention: Your Best Defense
Identification is half the battle; prevention is the rest.
- Quarantine New Plants: Isolate all new plants for at least 2-3 weeks. My infestation likely came from a new, unchecked plant.
- Regular Inspections: Make checking leaf undersides and axils part of your weekly watering routine.
- Optimize Plant Health: A stressed plant is a target. Ensure proper light (bright, indirect for caladiums), avoid overwatering, and fertilize appropriately. Healthy plants resist pests better.
- Maintain Cleanliness: Remove dead leaves and debris from the soil surface where pests can hide.
Your Questions, Answered
Can a plant recover from a severe mealybug infestation? Yes, absolutely. Caladiums are resilient if their tubers are healthy. My plant lost several leaves during the process, but with consistent treatment of both foliage and roots, it pushed out beautiful new growth. Patience and persistence are key.
Are there any effective homemade sprays? Isopropyl alcohol (rubbing alcohol) is the most effective homemade remedy I've used. A 70% solution in a spray bottle or on a swab works wonders. Diluted dish soap can work but carries a higher risk of leaf damage for sensitive plants like caladiums. Always test on a small area first.
How often should I check after treatment? Continue weekly detailed inspections for at least a month after you see the last bug. Eggs can hatch later, and nymphs are incredibly small. Vigilance is what ensures they don't come back.
Spotting those white cotton clues early changes everything. It transforms a situation from a potential plant tragedy into a manageable, if tedious, gardening task. The journey from that first sinking feeling to the confidence of a clean, recovering plant is deeply rewarding. By learning their hiding spots, understanding the secondary symptoms, and committing to a thorough, multi-pronged approach, you can save your caladiums. Trust the clues your plant gives you, and don't hesitate to look closer—it’s the first and most important step to a solution.





