 bluename
 How to Treat Caladium Spider Mites: My Proven Insecticidal Soap Steps
There’s a special kind of heartbreak that comes with seeing your beloved caladium’s leaves, once a vibrant tapestry of color, become dull, speckled with tiny yellow dots, and cloaked in a fine, almost invisible webbing. If you’re nodding along, you’ve likely met the two-spotted spider mite. I’ve been there, staring at my prized ‘White Queen’ with a sinking feeling. After trying numerous remedies, I found a systematic approach using insecticidal soap to be the most effective and plant-friendly solution. This guide isn’t just theory; it’s the detailed, step-by-step process I followed, complete with my two-week battle log, the mistakes I made, and how I finally reclaimed my plants.
Understanding Your Enemy: Why Spider Mites Love Caladiums
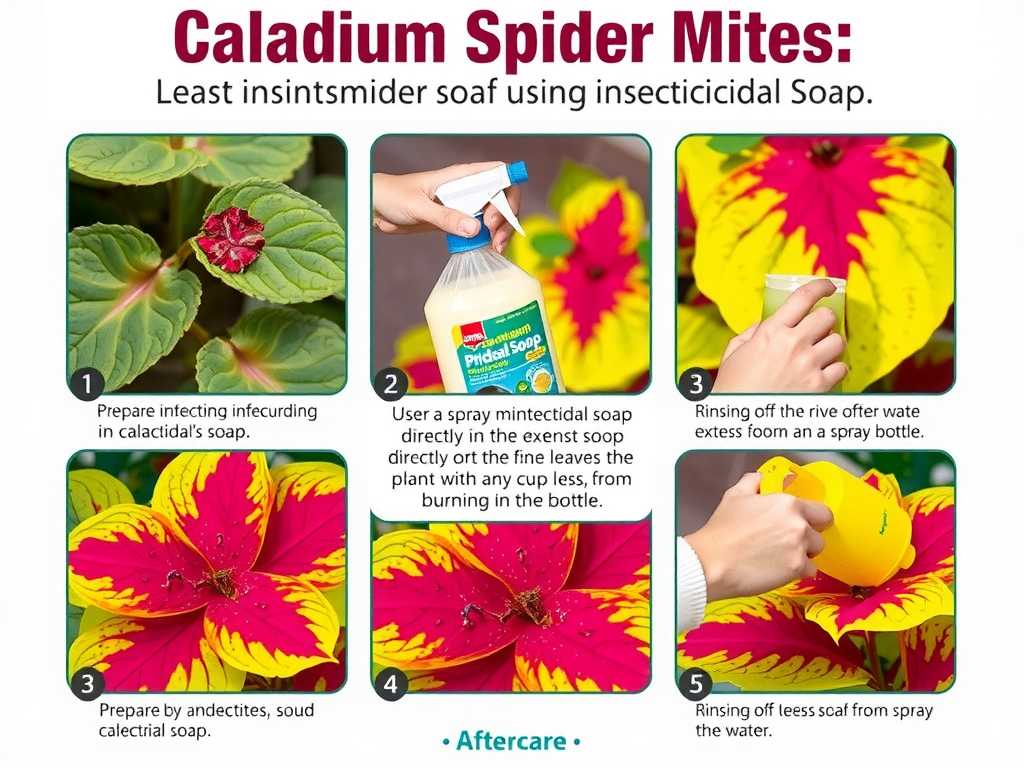
Before diving into the steps for using insecticidal soap, it’s crucial to know what you’re fighting. Spider mites are not insects but arachnids, related to spiders. They thrive in hot, dry conditions—exactly what our indoor environments can become, especially near windows or heating vents. Caladiums, with their thin, delicate foliage, are like a five-star buffet for these pests. They pierce plant cells and suck out the chlorophyll, leaving behind telltale stippling. According to resources from the RHS (Royal Horticultural Society), a severe infestation can lead to leaf drop and even plant death, as the photosynthetic machinery is critically compromised.
My Arsenal: Why I Chose Insecticidal Soap
I needed something effective yet gentle enough for my caladium’s sensitive leaves. Harsh chemical miticides can damage foliage and aren’t always ideal for indoor use. Insecticidal soap, as supported by the AHSA (American Horticultural Society Association), works by breaking down the mites’ protective outer coating, causing dehydration and death on contact. It’s a physical mode of action, meaning pests are less likely to develop resistance. For me, the appeal was its low toxicity to humans and pets when used correctly, and its minimal environmental impact. The key is in the application—it must coat the pests directly.
My 2-Week Battle Plan: Step-by-Step Insecticidal Soap Treatment
This wasn’t a one-and-done fix. Spider mites reproduce rapidly, and their eggs are often immune to soap. Consistency is non-negotiable.
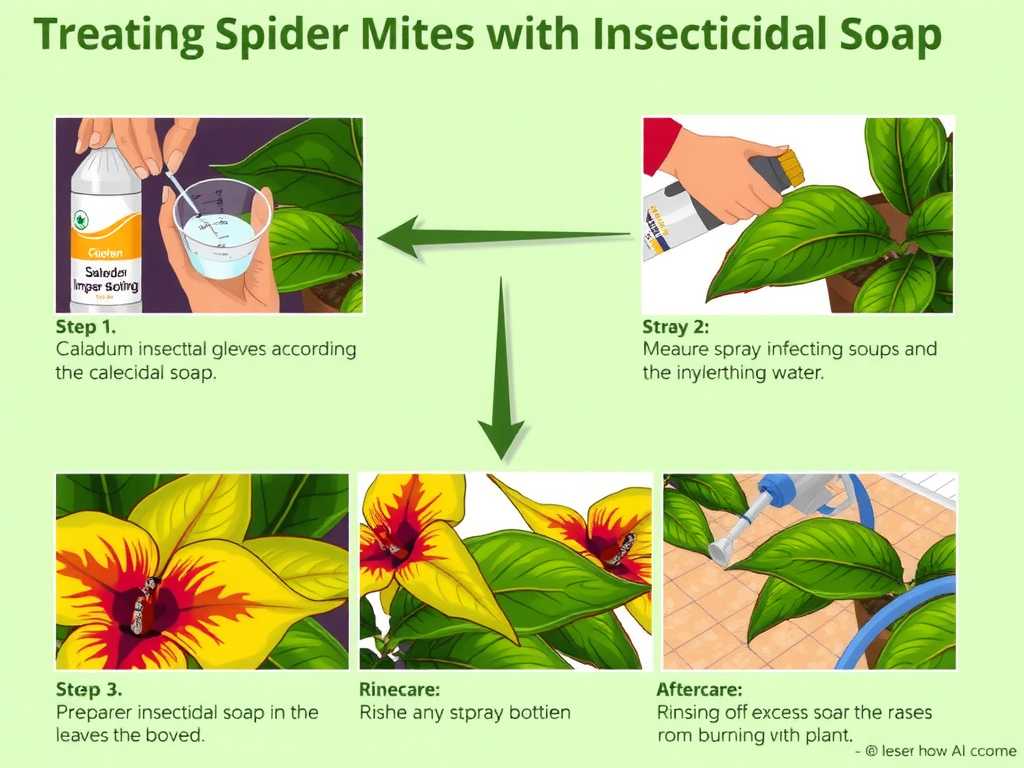
Week 1: The Initial Assault
Step 1: Isolation and Assessment The moment I spotted the webbing on one plant, I immediately moved it away from all my other houseplants. Spider mites spread like gossip on the wind. I placed it in a separate room with good light for treatment. I then thoroughly inspected every other plant, especially the undersides of leaves, using a magnifying glass. Early detection is half the battle.
Step 2: The Preliminary Wash Before applying any soap, I gave the plant a gentle but thorough shower in my sink. Using lukewarm water and a soft spray, I rinsed the leaves, top and bottom. This dislodged a significant number of adult mites and webs, making the soap’s job easier. I let the plant drip-dry completely.
Step 3: Mixing and Application – The First Soap Treatment Here’s where precision matters. I used a commercial, ready-to-use insecticidal soap spray to ensure the correct, plant-safe concentration. Homemade soap solutions can be too harsh. In the evening (to prevent potential sun-scorch on wet leaves), I sprayed every single millimeter of the plant. I mean every part: the tops and undersides of every leaf, every stem, every petiole, and even the top layer of the soil. I made sure the solution was dripping off the leaves—this complete coverage is critical. I left the plant in its isolated location overnight.
Step 4: The Waiting and Monitoring For 24 hours, I simply observed. The soap needs time to work but also to dry. I resisted the urge to fuss with the plant.
Step 5: The Repeat Treatment (Days 3 & 5) This is the step I initially skipped, and I paid for it. Insecticidal soap doesn’t kill eggs. To break the life cycle, I repeated the exact same spraying process on Day 3 and again on Day 5 after the first treatment. This timing helps catch the next generation of mites after they hatch but before they can lay more eggs.
Week 2: Consolidation and Vigilance
Step 6: The Second Week Follow-Up After the three treatments in Week 1, the visible mites were gone. But I wasn’t naive. On Day 10, I performed another full inspection. I saw a few new tiny yellow specks on a lower leaf. Without hesitation, I applied another full insecticidal soap treatment for caladiums, ensuring the same thorough coverage.
Step 7: Environmental Correction Mites love dryness. Alongside treatment, I increased humidity around my caladium. I placed the pot on a pebble tray filled with water and began lightly misting the air around the plant (not the leaves directly, to avoid fungal issues) every morning. I also moved it slightly away from a direct, hot afternoon sunbeam.
Step 8: The Final Check (Day 14) Two weeks after the first shot was fired, I conducted my final in-depth inspection. No new stippling. No webbing. The existing damaged leaves would not recover, but the new growth emerging from the center was clean, unfurling in perfect, vibrant health. The battle was won.
The Pitfalls I Encountered (And How You Can Avoid Them)
My victory wasn’t without setbacks. Here’s what I learned the hard way:
- The “One Spray” Fallacy: My first attempt failed because I only sprayed once, saw improvement, and stopped. The eggs hatched, and the infestation came back worse. The key to successful mite control with soap is the repeated application schedule. Do not deviate from it.
- Poor Coverage: I missed the undersides of a few curled leaves. That small refuge was all they needed to survive and repopulate. You must be meticulous. Get a spray bottle that can be angled upside-down.
- Using the Wrong Product: I once used a dish soap solution out of desperation. It caused phytotoxicity—ugly, burned spots on my caladium leaves. Always use a product specifically formulated as an insecticidal soap for plants.
- Ignoring the Environment: Treating the plant without fixing the hot, dry air was a temporary fix. Adding humidity made the environment hostile to future mites and better for the caladium.
How often should I apply insecticidal soap for spider mites? Follow a strict schedule: apply thoroughly, then repeat twice more at 3-4 day intervals. This usually means treatments on Day 1, Day 3 or 4, and Day 6 or 7. Always inspect for a few weeks after and be prepared for a follow-up spray if needed.
Can insecticidal soap damage my caladium leaves? It can, if misused. Always test on a small, inconspicuous leaf first and wait 48 hours. Apply in the cooler parts of the day, never in direct, hot sunlight. Use a commercial product as directed, not homemade mixtures.
Will insecticidal soap alone completely eradicate spider mites? When applied with obsessive thoroughness and on the correct schedule, it is highly effective. However, for severe infestations, you may need to prune away the most damaged leaves first. Combining soap treatment with environmental changes (increased humidity) and continued vigilance gives you the highest chance of long-term control of spider mites on caladiums.
Seeing new, flawless leaves emerge from a plant you nursed back from the brink is one of the most rewarding experiences in plant care. Spider mites are a formidable foe, but they are not invincible. With patience, a meticulous approach to using insecticidal soap, and a commitment to changing the conditions that invited them in, you can save your caladiums. The process taught me more about my plants than any period of easy growth ever could. Keep a close eye, act swiftly at the first sign of trouble, and trust in the process—your caladiums will thank you with their stunning, mite-free foliage.





