 bluename
 How to Identify Caladium Spider Mites: Webbing Clues and My 2-Week Battle Plan
There's a special kind of heartbreak for a plant lover. It's not the dramatic wilt from under-watering or the scorch of too much sun. It's the slow, creeping suspicion that something unseen is stealing the life from your favorite leaves. I felt it with my prized Caladium 'White Queen.' Her vibrant, painterly leaves began to look dusty, dull, and speckled with tiny, mysterious dots. I feared the worst: spider mites. But knowing they exist and knowing how to identify caladium spider mites, especially by their most telling sign—their webbing—are two very different things. This is the story of my two-week journey from suspicion to confirmation to action, focusing on the critical webbing clues that every caladium owner needs to spot.
My journey wasn't just about looking for bugs; it was about becoming a detective, learning to see the almost-invisible evidence before it's too late. I'll walk you through the exact steps I took, the mistakes I made, and the simple, effective methods I used to confirm an infestation and start fighting back.
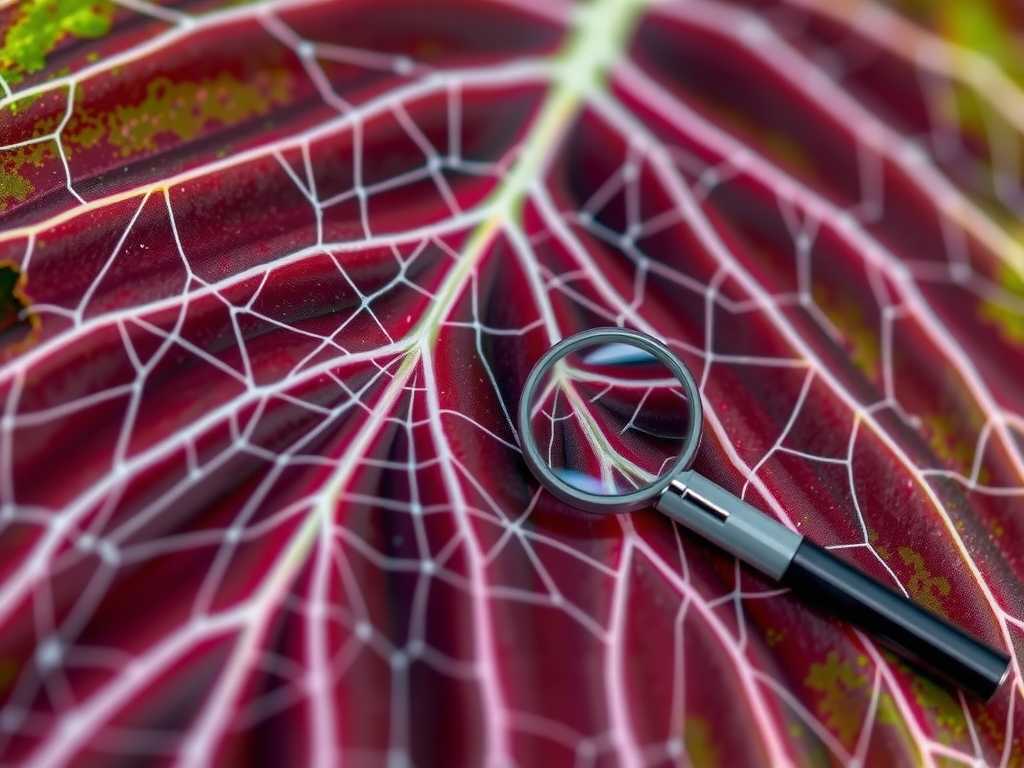
Why Spider Mites Love Your Caladium (And How to Spot the Early Signs)
Caladiums, with their thin, delicate foliage and love for humidity, are like a five-star resort for two-spotted spider mites. These arachnids thrive in warm, dry conditions—often exactly what our indoor spaces become. They don't just sit on the leaves; they pierce individual plant cells and suck out the chlorophyll, leaving behind a landscape of damage.
Before we even talk about webbing, look for these early warnings on your caladium leaves:
- Stippling: This was my first clue. The leaves developed a pattern of tiny, pale yellow or white dots. It looks like someone took a fine pin and pricked the leaf a thousand times. This is the cellular damage from feeding.
- Overall Dullness: The leaf loses its glossy, vibrant sheen. My 'White Queen' started to look washed out and tired, even when the soil was perfectly moist.
- Fine Speckling: Upon closer inspection, the stippling can appear almost like a fine dust. I initially blamed my city's air quality, but wiping the leaf did nothing to improve it.
These signs alone should prompt a much closer investigation. This is where the detective work truly begins.
The Ultimate Detective Tool: The Webbing Clue
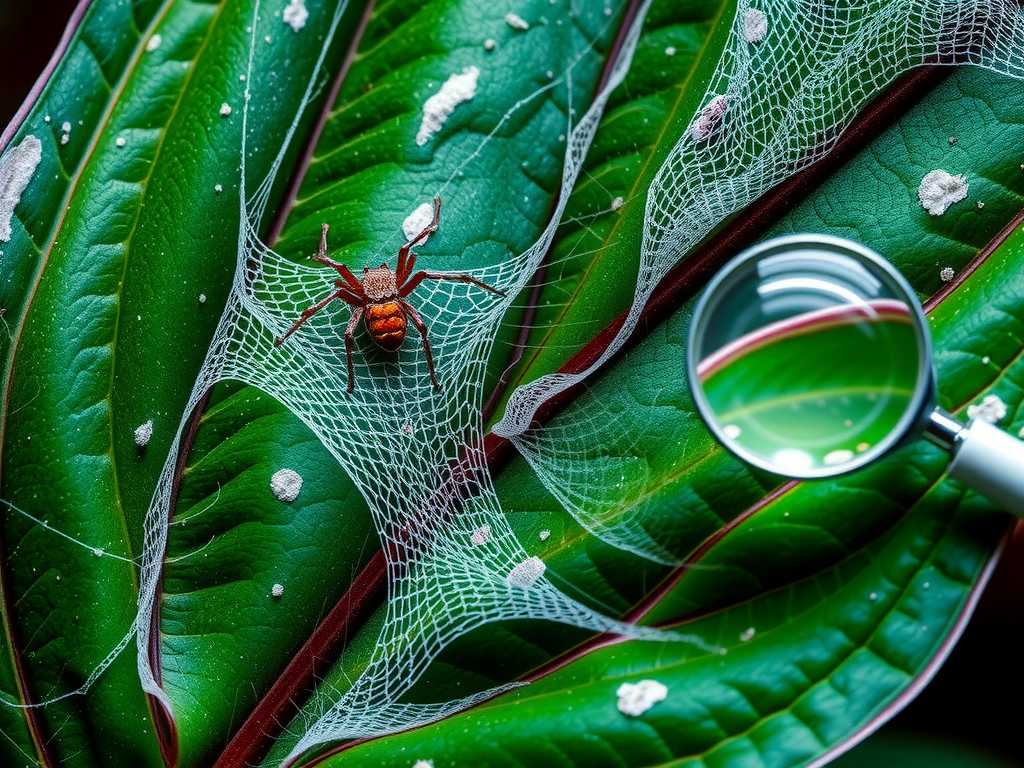
The term "spider mite" isn't given lightly. Like their larger cousins, they produce silk. However, identifying spider mite webbing on caladiums is trickier than finding a classic spiderweb. Their webbing is a defense mechanism, a nursery, and a highway all in one. It's often the definitive sign of a well-established infestation.
Here is my step-by-step process for hunting down this critical clue:
Step 1: The Flashlight Test (My "Aha!" Moment) This was the single most effective technique I found. Wait until early evening or go into a slightly darkened room. Take a bright flashlight (your phone's flashlight works, but a small handheld one is better) and shine it across the surface of the leaf at a shallow angle. Do not shine it directly down. Look at the leaf from the opposite side of the light source.
What you're looking for: The light will catch on the ultrafine silk strands, making them glint like tiny, disorganized strands of gossamer. On my caladium, I first saw this fine webbing on caladium leaves along the main vein on the underside of the leaf and in the protected crevice where the leaf stem (petiole) meets the main stalk. It wasn't a sheet; it was a chaotic tangle.
Step 2: The Mist Test If the flashlight test is inconclusive, try this. Take a fine mist spray bottle filled with clean, room-temperature water and gently mist the plant, focusing on the undersides of leaves and stem junctions. The water droplets will cling to and highlight any webbing, making the delicate structure suddenly visible. It will look like dew clinging to a chaotic, miniature net.
Step 3: The White Paper Test (Confirming the Culprits) This confirms the presence of the mites themselves. Hold a plain sheet of white printer paper under a suspect leaf or stem. Gently tap or shake the foliage. If spider mites are present, you will see tiny, moving specks—like grains of pepper—fall onto the paper. Wait a moment. If they start to crawl slowly, they are almost certainly spider mites. If they don't move, it's likely just soil debris.
My Two-Week Observation and Treatment Log
I committed to monitoring and treating my plant for a full two weeks, as spider mite eggs can hatch on a 3-5 day cycle, and breaking that cycle is crucial.
Days 1-3: Identification and Initial Isolation After confirming the webbing with the flashlight test, I immediately isolated my caladium from all other houseplants. I then performed the first treatment: a thorough physical wash. I took the plant to my shower and used a gentle, lukewarm spray to rinse the leaves, top and bottom, aiming to dislodge as many mites and webbings as possible. I let the plant drip-dry in the bathtub.
- Mistake I Made: I didn't wipe the leaves after showering. Allowing water to sit in the delicate folds of the caladium stems can promote bacterial or fungal rot. I later corrected this by gently patting those areas dry with a soft paper towel.
Days 4-7: Introducing Treatment and Close Monitoring Every 3-4 days, I applied a treatment. I opted for an insecticidal soap spray, a recommendation I cross-referenced with resources from the Royal Horticultural Society (RHS), which notes its effectiveness against soft-bodied pests when coverage is thorough. I meticulously sprayed every inch of the plant, ensuring the solution contacted the undersides. Crucially, I continued the flashlight inspection every other day. By Day 5, I noticed significantly less active webbing in the previously affected areas.
Days 8-14: Persistence and Breaking the Cycle This is where many people fail. I applied a second and third treatment on Days 8 and 12, respectively, to target any newly hatched nymphs before they could mature and lay more eggs. I also increased ambient humidity around the plant by placing it on a pebble tray, as the American Horticultural Society (AHS) emphasizes that higher humidity can deter mite populations. By the end of Week 2, the flashlight test revealed no new webbing. The existing stippling damage on the older leaves remained (it is permanent), but the newest, unfurling leaf was clean, vibrant, and free of specks.
Common Pitfalls and How to Avoid Them
- Treating Only the Tops of Leaves: Spider mites live and breed on the undersides. Missing this area renders any treatment useless.
- One-and-Done Treatment: A single application will not kill eggs. You must repeat treatment at least 2-3 times over 10-14 days to break the reproductive cycle.
- Using Broad-Spectrum Pesticides Indiscriminately: These can harm beneficial insects and are often unnecessary. Horticultural soaps and oils (like neem) are effective and less harsh for indoor use when applied correctly.
- Ignoring Plant Stress: A stressed plant is a target. Ensuring your caladium has adequate humidity, consistent (but not excessive) moisture, and appropriate light makes it more resilient.
FAQ: Your Spider Mite Questions, Answered
Can a plant recover from spider mite damage? Yes, absolutely. The plant can recover its health and grow new, undamaged leaves. However, the stippling and scarring on existing leaves are permanent. The goal of treatment is to stop the infestation and protect new growth. My caladium's new leaves are perfectly healthy, while the older ones tell the story of the battle.
Are spider mites on caladiums contagious to other plants? Extremely. They can crawl short distances, be carried on air currents, or hitch a ride on your hands, clothes, or tools. This is why immediate isolation of the infected plant is your very first step. I learned this the hard way years ago and now quarantine any new or suspect plant for two weeks.
What's the best natural remedy for spider mites on caladiums? For a mild to moderate infestation, a consistent protocol of physical removal via spraying combined with insecticidal soap or neem oil applications is highly effective. The key is thorough, repeated coverage, especially under the leaves. Increasing humidity is also a supportive, preventative measure. For severe cases, you may need to consider more persistent miticides, but always start with the least toxic option.
Spotting spider mites on your caladium early is the key to an easy victory. The webbing is their tell-tale signature, but you have to know how to look for it. By using the flashlight test, staying persistent with a multi-week treatment plan, and learning from the small mistakes, you can save your plant. The process requires patience and a keen eye, but seeing that first clean, unblemished leaf emerge after the battle is one of the most rewarding feelings a plant parent can have. Stay vigilant, trust the clues, and don't give up at the first sign of improvement.





