 bluename
 How to Protect Caladiums from Cold Snaps: Insulation Steps That Actually Work
I remember the sinking feeling all too well. One crisp autumn evening, a forecast I’d missed predicted an unexpected, early frost. The next morning, my prized caladiums—those vibrant canvases of crimson, pink, and green—were slumped over, their tender leaves turned to translucent, mushy sorrow. That loss sparked a mission in me: to never let a cold snap ambush my tropical beauties again. After years of trial, error, and meticulous note-taking, I’ve developed a reliable, step-by-step insulation protocol. This guide isn’t just theory; it’s the hard-won blueprint from my own garden, detailing exactly how to protect caladiums from cold snaps through practical insulation steps, including the mistakes I made and how I fixed them.
Understanding the enemy is the first step. Caladiums (Caladium spp.), hailing from the tropical rainforests of South America, have zero tolerance for cold. According to the Royal Horticultural Society (RHS), these plants thrive in temperatures consistently above 65°F (18°C) and suffer damage when temperatures dip below 60°F (15°C). A light frost is often fatal. The American Horticultural Society (AHS) heat zone map, which measures the number of days above 86°F, further underscores their need for sustained warmth. A cold snap doesn’t just wilt leaves; it damages the tuber beneath the soil, compromising next season’s growth. Your goal isn’t just to save the foliage but to insulate caladium tubers effectively for long-term survival.
My Real-World Insulation Protocol: A 14-Day Journey
When the weather app flashed a warning for a sudden temperature drop to 35°F (2°C) for two consecutive nights, I put my plan into action. The entire process, from preparation to the all-clear, spanned two weeks.
Phase One: Pre-Snap Preparation (Day 1)
The key is to act before the cold arrives. Panic measures at the last minute are less effective.
- Deep Watering: On the afternoon before the predicted snap, I gave my in-ground and container caladiums a thorough, deep watering. Moist soil retains heat far better than dry soil, acting as a thermal buffer. This is a critical step in winterizing caladium plants before a freeze.
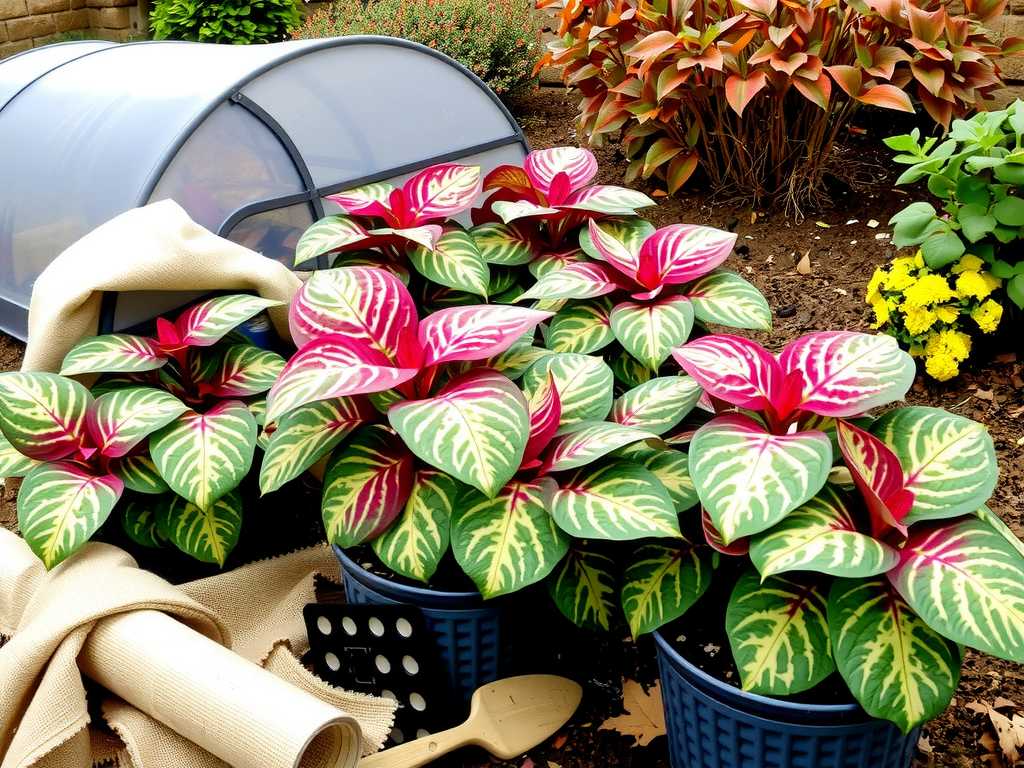
- Gathering Materials: I assembled my insulation kit: frost cloths (also called row covers), wooden stakes, bricks, a pile of dry, shredded leaf mulch, and breathable burlap sacks for my larger potted specimens.
Phase Two: The Layered Defense System (Evening of Day 1)
As dusk fell, I began implementing a tiered approach.
- For In-Ground Beds: First, I gently tucked a 3-inch layer of dry leaf mulch around the base of each plant, covering the critical crown area where the tuber sits. Then, I inserted stakes around the bed to create a framework, draped the frost cloth over it, and secured the edges with bricks, ensuring it reached the ground to trap geothermal heat. The cloth must float above the foliage; direct contact can transfer cold.
- For Potted Caladiums: I moved all portable pots into my garage, which stays cool but frost-free. For the large, heavy planters on my patio, I employed the “swaddling” technique. I wrapped the entire pot—sides and all—with several layers of burlap, securing it with twine. Then, I mounded the shredded leaf mulch over the soil surface and draped frost cloth over the plant itself, staking it around the pot.
The Mistake I Made (And How I Fixed It)
On the first night of my trial, I made a critical error. I used a plastic tarp instead of breathable fabric on one test plant, thinking it would provide a better barrier. The result the next morning was stark: while the frost-cloth-protected plants were perky, the plant under plastic was damp and showing early signs of mold, with condensation having frozen on the inside of the plastic. I learned that breathable insulation for caladiums is non-negotiable. Plastic traps harmful humidity and exacerbates the cold. I immediately removed the plastic, allowed the plant to dry in the daytime sun, and replaced it with a proper frost cloth for the second night. The plant recovered fully alongside the others.
Phase Three: The Uncovering & Two-Week Observation (Days 2-14)
The morning after the cold snap, I did not remove the covers immediately. I waited until the air temperature had risen well above freezing and the sun had thawed any frost on the outside of the covers. Removing them too soon exposes tender plants to a shock.
- Days 2-7: Post-uncovering, I monitored closely. All protected plants showed no damage. Growth appeared to pause for about 3-4 days—a normal stress response—but by day 7, new leaves were emerging. The previously damaged plant from my plastic mistake had stabilized.
- Days 8-14: Steady recovery continued. I resumed light watering only when the top inch of soil felt dry, as cold-damaged roots are prone to rot. The mulching for caladium cold protection proved its lasting value; the soil retained moisture evenly and stayed warmer during cool nights that followed the main snap.
Why This Method Aligns with Expert Guidance
My hands-on experience mirrors professional advice. The RHS emphasizes the importance of protecting the tuber crown with mulch and using fleece for short-term frosts. My layering method—mulch at soil level, cloth above—creates a protected microclimate that mitigates radiative heat loss, a principle backed by horticultural science. The AHS’s focus on plant hardiness reinforces that proactive protection is always better than attempting a cure after the fact.
Beyond a Single Snap: Preparing for Consistent Cold
If you face a forecast of prolonged cold, the strategy shifts from protection to preservation. The most reliable insulation steps are to dig up the tubers, let them cure, and store them in a cool, dry place over winter. However, for unexpected, short-term dips, the in-situ insulation method I’ve detailed is your best defense.
Addressing Your Top Concerns
Can caladiums come back after a cold snap if they look dead? Yes, if the tuber is unharmed. Cut back all the mushy, damaged foliage to the ground. Stop watering and let the pot or soil dry out. If the tuber is firm, it may resprout when warm, consistent temperatures return, though it might take several weeks. My swaddled potted tuber did just that the following spring.
What’s the absolute minimum temperature caladiums can survive? There is no safe minimum for exposed plants. Once air temperatures hit 50°F (10°C), growth stunts. At 32°F (0°C), frost crystals form inside plant tissues, causing fatal cell damage. The goal of insulation is to keep the immediate environment around the tuber above 50°F.
Is it better to just bring potted caladiums indoors at the first sign of cold? Absolutely. This is the simplest and most effective strategy. I now treat any nighttime forecast below 55°F as my trigger to move pots to a sheltered location like a garage, shed, or even indoors overnight. It’s less work than installing outdoor covers and guarantees safety.
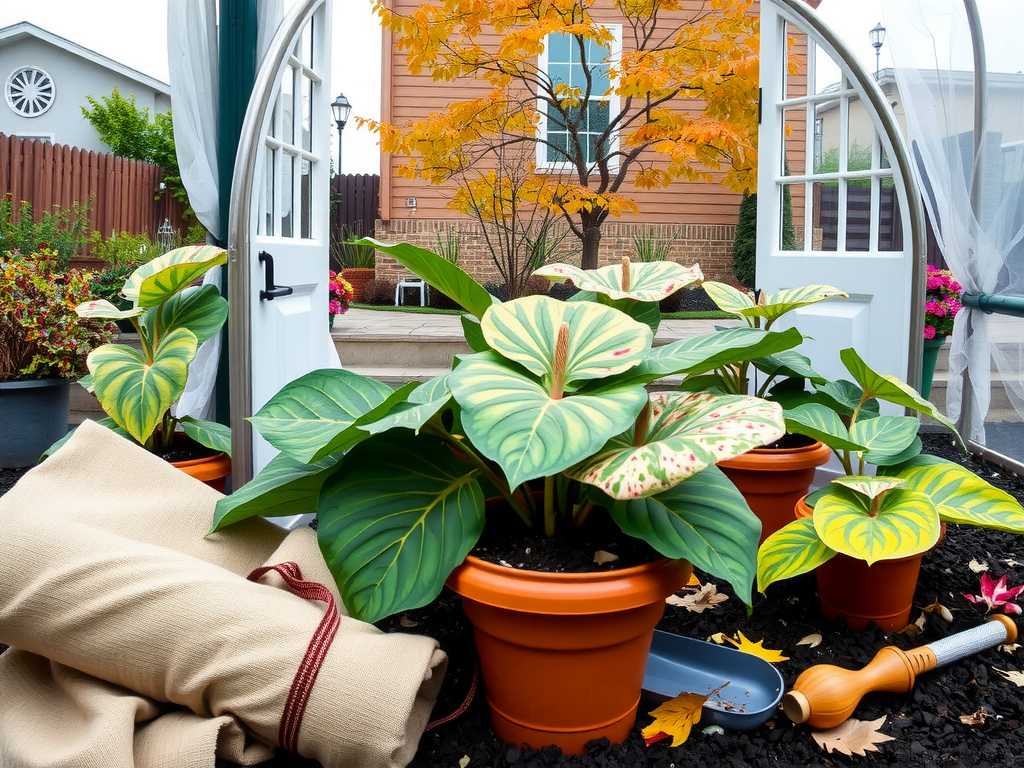
The journey from losing my plants to confidently shielding them taught me that successful caladium cold protection hinges on three pillars: preparation with the right materials, action before the freeze, and patient recovery care. By understanding the science, learning from missteps like my plastic tarp folly, and implementing this layered, breathable defense system, you can safeguard your caladiums’ vibrant beauty against the unpredictability of the seasons. Your reward will be a garden that bounces back with resilience, season after season.





