bluename
 How to Protect Caladiums from Heatwaves: Cooling Tips for Thriving Foliage
There’s nothing quite as disheartening as watching your vibrant caladiums, those living pieces of art with their stunning heart-shaped leaves, begin to suffer under the relentless summer sun. One week of scorching temperatures, and those once-crisp, colorful leaves can become limp, faded, or develop crispy brown edges. I’ve been there, staring at my prized ‘White Queen’ and ‘Red Flash’ varieties, feeling a pang of gardener’s guilt. If you’re searching for how to protect caladiums from heatwaves, you’ve likely seen the early warning signs and want actionable solutions, not just generic advice. This guide is born from my own two-week battle during a record-breaking heatwave, where I tested specific cooling strategies to shield my collection. I’ll share exactly what worked, what didn’t, and the simple steps you can take to ensure your caladiums not only survive but continue to thrive through the hottest days.
Understanding Why Caladiums Hate Extreme Heat
First, it’s crucial to understand our opponent. Caladiums are tropical understory plants, naturally thriving in the dappled light and consistent humidity beneath jungle canopies. Their large, thin leaves are designed for capturing filtered light, not for withstanding direct, intense sun and dry, baking air. During a heatwave, several things happen simultaneously:
- Rapid Transpiration: The plant loses water from its leaves faster than the roots can absorb it, leading to wilting.
- Root Stress: Soil temperatures soar, essentially “cooking” the sensitive tubers and roots, impairing their function.
- Leaf Scorch: Direct sun literally burns the delicate leaf tissue, causing irreversible brown, papery patches.
- Growth Stagnation: The plant goes into survival mode, halting new growth and focusing energy on simply staying alive.
My two-week experiment began when the forecast promised seven consecutive days above 100°F (38°C). I divided my patio caladiums into three groups to test different heatwave protection for caladiums approaches.
Immediate Action: The First 48-Hour Rescue Protocol
When the heatwave hits, time is of the essence. Here’s the exact sequence I followed, which prevented total collapse in my most exposed plants.
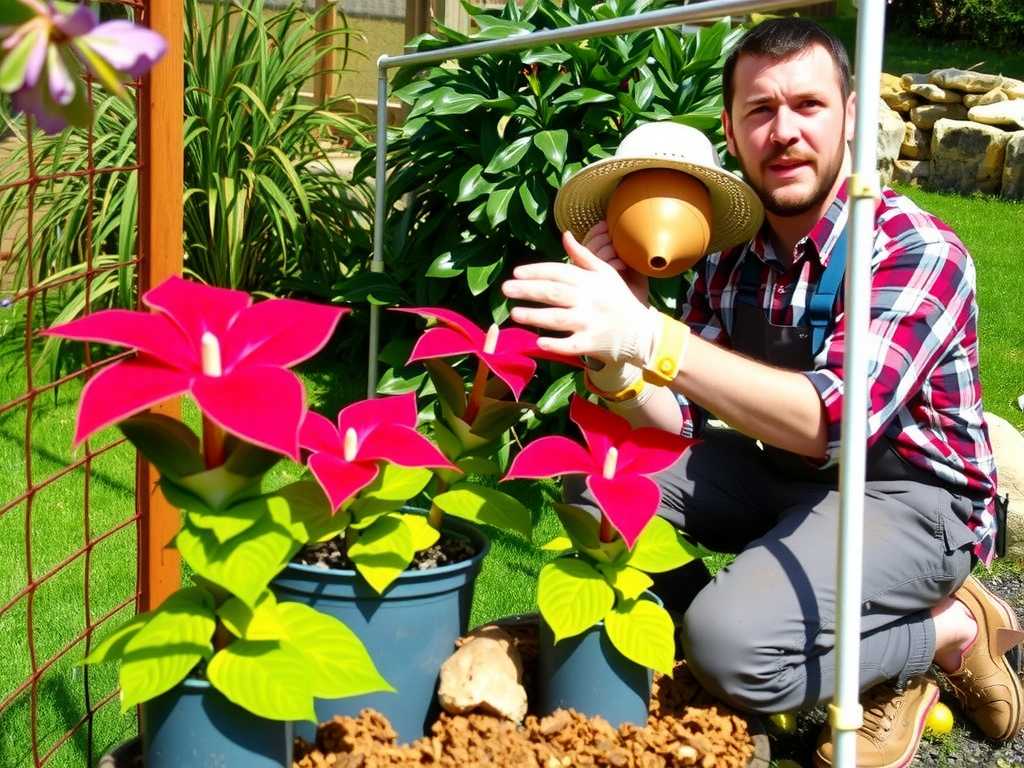
Strategic Relocation and Shade Creation My sunniest patio spot became a death zone by 10 AM. I immediately moved all potted caladiums to the north side of my house, which receives bright but indirect light all day. For caladiums planted in the ground, relocation wasn’t an option. My solution was to create temporary shade. I used tall tomato cages as a frame and draped them with a 40-50% shade cloth, securing it with clothespins. This isn’t about plunging them into deep darkness; it’s about diffusing that harsh, direct sunlight. A study by the Royal Horticultural Society (RHS) on protecting tender plants emphasizes that “filtered light during peak heat can reduce leaf surface temperature by up to 10°F (5.5°C),” which is a game-changer.
The Deep Watering Ritual: Timing is Everything Forget light evening sprinkles. I learned the hard way that watering in the late afternoon during extreme heat is mostly wasteful due to rapid evaporation. The American Horticultural Society (AHS) advises deep, early morning watering. This allows moisture to penetrate thoroughly to the root zone before the day’s heat intensifies. My routine was to water slowly at the base of each plant until I saw water run freely from the drainage holes for potted ones, and until the soil was moist 6 inches down for in-ground plants. This practice alone revived the most dramatic wilts I observed by midday.
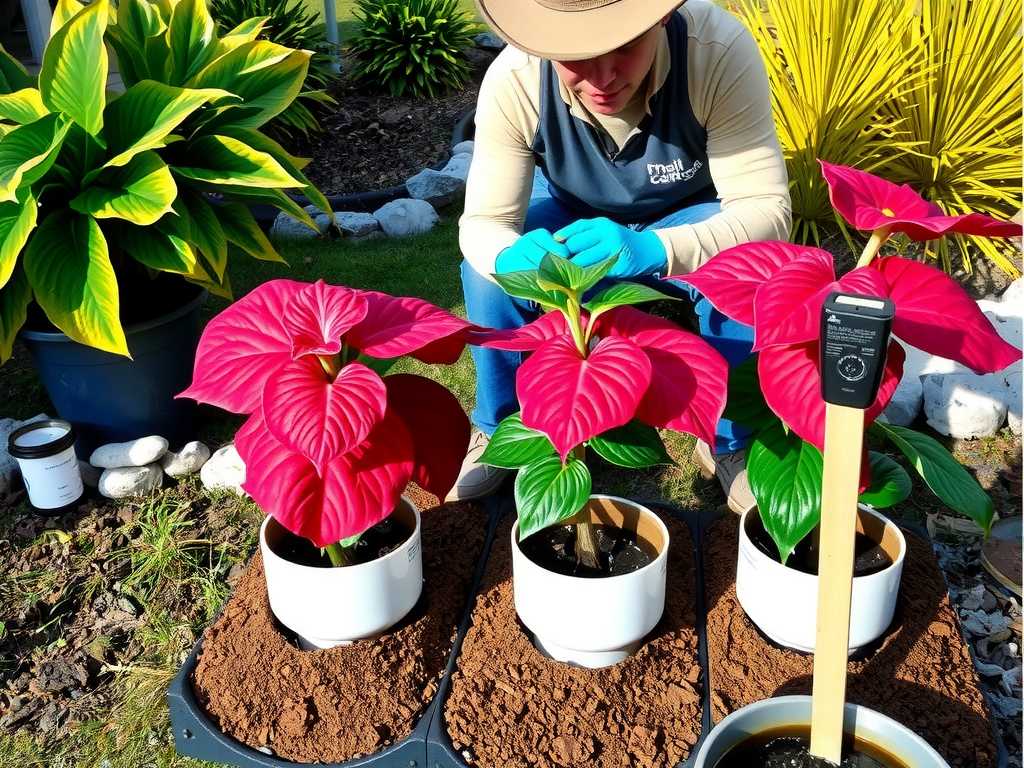
The Mulching Miracle This was the single most effective tactic I implemented. I applied a 2-3 inch layer of organic mulch (I used shredded cedar) around the base of every caladium. Mulching for caladium cooling serves a dual purpose: it dramatically slows soil moisture evaporation and, more importantly, insulates the soil, keeping root zone temperatures stable and cooler. The difference was measurable. In an unmulched pot, the soil surface was too hot to touch by noon. Under the mulch, it felt noticeably cool and damp.
Sustained Defense: Maintaining Protection for Two Weeks
The initial rescue is just the start. Consistency over the following days is what leads to success.
Mastering the Microclimate with Humidity Dry heat is a double whammy. To increase local humidity, I employed two methods. First, I grouped my potted caladiums closer together. Plants naturally release water vapor (transpire), and grouping them creates a communal, more humid microclimate. Second, I became a devoted mist-er. Not at night, as this can encourage fungal issues, but in the early morning alongside watering. A fine mist on the air around the plants (avoiding heavy droplets on the leaves in direct sun, which can act as magnifying glasses) helped reduce moisture loss.
Observing and Adjusting: The Daily Check-In Each morning and evening, I performed a “leaf and soil check.” I felt the soil moisture an inch below the mulch. I looked for early signs of stress—slight wilting, color fading, or leaf edges curling. This proactive observation allowed me to adjust. One pot in a slightly sunnier spot needed a second, lighter watering in the early evening. Another showed signs of heat stress on its leaves, so I added an extra layer of shade cloth above it.
The Fertilizer Pause This is critical: Do not fertilize during a heatwave. I made this mistake with one test plant, thinking a “boost” might help. It backfired. Fertilizing encourages new growth, which demands more energy and water from a plant already under extreme stress. It can also increase salt concentration in the soil, further stressing the roots. The AHS clearly states that fertilizing heat-stressed plants can cause further damage. I resumed a diluted feeding schedule only after temperatures had returned to normal for a full week.
My Two-Week Observation Log: What Actually Worked
Here’s a condensed summary of my findings from the 14-day heatwave:
- Days 1-3: Immediate wilting in unshaded plants by midday. Shaded and mulched plants held firm. Morning deep watering revived wilts by evening.
- Days 4-7: Sustained heat. Unmulched plants required twice-daily watering and still showed stress. Mulched plants needed water only every other day and maintained turgid leaves. The grouped + misted plants had significantly fewer crispy leaf tips.
- Days 8-14: The “fertilizer mistake” plant developed yellowing leaves and stalled completely. All other protected plants, while not putting out significant new growth, maintained their existing foliage. Color vibrancy was preserved best in the shade-cloth group. By the end of the two weeks, the protocol of shade, deep morning water, and mulch had proven unequivocally successful.
Common Pitfalls I Encountered (And How to Fix Them)
- The Pitfall: Assuming “more water” always equals “better.” I overwatered one caladium in a pot with less-than-ideal drainage, leading to soggy soil and the onset of root rot.
- The Fix: Always check soil moisture before watering. Stick your finger an inch into the soil. If it’s cool and moist, wait. Ensure all pots have excellent drainage.
- The Pitfall: Using dark-colored containers. I had a few caladiums in dark plastic pots. These absorbed heat, essentially boiling the roots from the sides.
- The Fix: For future heatwaves, I wrapped the dark pots in reflective white cardboard or placed them inside a larger, lighter-colored cache pot to deflect radiant heat.
- The Pitfall: Neglecting the wind. A hot, dry wind can desiccate leaves even faster than still heat.
- The Fix: I used a temporary lattice or even a row of taller, hardier plants as a windbreak to shield my caladiums from drying gusts.
Will my caladiums come back if the leaves all die from the heat? Yes, there is very good hope! Caladiums are tuberous plants. If the heat damages the foliage but the tuber underground remains viable (protected by mulch and deep watering), it will often go dormant and send up new leaves once temperatures moderate and watering is normalized. Don’t discard the pot too quickly.
Can I use ice cubes to water my caladiums during a heatwave? I do not recommend this. While it seems like a quick cooling trick, placing ice cubes directly on the soil or roots can shock the plant with a sudden, extreme temperature change. It’s far better to use cool water from the hose or watering can applied to the soil in the morning.
Is it better to move my potted caladiums indoors during a heatwave? This can be a good short-term emergency tactic, but be cautious. Sudden moves from bright outdoor light to typical indoor low light can also stress the plant. If you move them indoors, choose a very bright, indirect light location (like an east-facing window) and maintain high humidity. Avoid dark corners, as this will cause the plant to stretch and weaken.
Protecting caladiums from intense summer heat is a manageable task when you understand their needs and act strategically. The core principles are simple: mimic their native jungle floor environment by providing filtered light, consistent soil moisture and temperature through deep watering and mulch, and increased ambient humidity. My two-week journey proved that with these proactive cooling tips for caladiums, you can transform a period of weather stress into a testament to your plant care skills. Your caladiums will reward your vigilance by retaining their spectacular, painterly leaves long into the season.