 bluename
 How to Grow Caladiums Without Fertilizer: Organic Care for Stunning Foliage
I love the vibrant, heart-shaped leaves of caladiums, but I’ve always been uneasy about the constant cycle of synthetic fertilizers. What if I told you that you could grow these tropical beauties with lush, colorful foliage using nothing but organic methods? For years, I struggled with the burn marks from chemical feeds and the guilt of not gardening more naturally. The turning point came when I decided to experiment with a completely fertilizer-free, organic approach for an entire growing season. I’m here to share my detailed, step-by-step journey—including the mistakes, the solutions, and the surprisingly spectacular results I observed over a critical two-week period. This guide is for every plant lover who wants a simpler, more sustainable way to achieve stunning caladium growth.
Understanding the Organic Philosophy: Feeding the Soil, Not the Plant
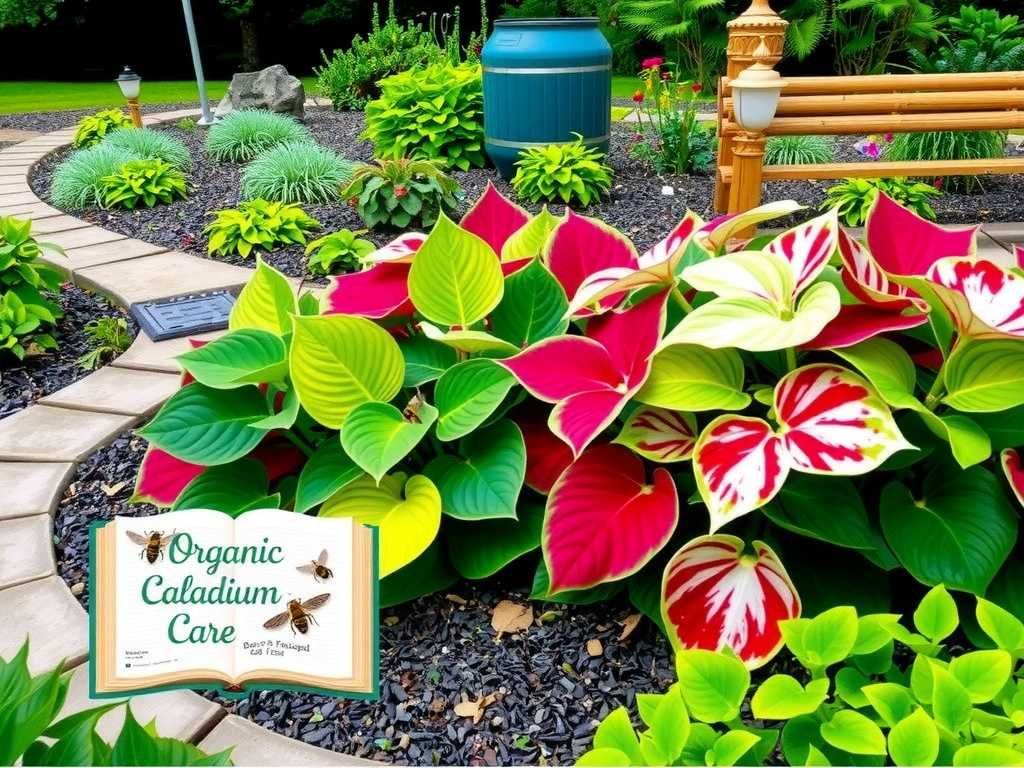
The core principle of growing caladiums without commercial fertilizer is shifting your focus. Instead of directly feeding the plant with soluble nutrients, you build a living, nutrient-rich ecosystem in the soil. Healthy soil teems with microorganisms that break down organic matter, making nutrients available to plant roots in a gentle, sustained release. This method aligns perfectly with the Royal Horticultural Society's (RHS) guidance on soil health, which emphasizes organic matter as the cornerstone of fertility. As one RHS report states, "Well-rotted organic matter improves soil structure, provides a slow-release of nutrients, and supports beneficial soil life."
My Pre-Planting Foundation: The Bedrock of Success
My experiment began long before the caladium bulbs went into the ground. Success without fertilizer is impossible without perfecting the foundation.
Creating the Ultimate Organic Potting Mix I used large containers for my caladiums. My mix was:
- 40% high-quality peat-free potting compost (as a base).
- 30% well-rotted leaf mold from my own compost pile. This is gold for caladiums, providing slight acidity and fantastic moisture retention.
- 20% finished compost from my bin, packed with diverse nutrients.
- 10% horticultural sand for drainage to prevent bulb rot.
I thoroughly blended this mix, ensuring it was loose and airy. The American Horticultural Society (AHS) advocates for such practices, noting that "incorporating generous amounts of compost at planting time can reduce or eliminate the need for supplemental fertilizers in the first growing season."
Selecting and Preparing Caladium Bulbs I chose large, firm bulbs of the ‘White Queen’ and ‘Red Flash’ varieties. Size matters here—a bigger bulb has more stored energy to kickstart growth before the soil ecosystem fully supports it. I soaked them in tepid water for a few hours to rehydrate, a simple step that I found encourages faster sprouting.
The Planting Process and Initial Setup I planted the bulbs about 2 inches deep, with the knobby "eyes" facing upward. After watering them in with a gentle rain spray, I placed the pots in a warm, bright spot with indirect light. The key here is warmth; soil temperature is crucial for caladiums to wake up. I resisted any urge to add anything else to the soil at this stage.
The Crucial Two-Week Observation: Growth Without Feed
This was the most revealing phase. I monitored my caladiums daily, keeping a simple journal.
Week 1: The Quiet Beginning For the first 5-7 days, nothing happened above the soil. It was a test of patience! I kept the soil consistently moist but not soggy. The temptation to "help" with a weak feed was strong, but I held firm. I knew the bulb was using its own reserves, and the microbial life in my rich mix was just beginning to interact with the roots.
Week 2: The Organic Breakthrough Around day 10, the first pink and green nubs broke through the surface. By day 14, each bulb had produced 1-2 small, rolled-up leaves. They were not gigantic, but they were healthy, with good color and no signs of distortion or yellowing—a common issue with poor nutrition. This proved the bulbs had successfully connected with the soil food web. The organic matter was starting to work, providing the basic nitrogen and minerals needed for this initial push.
The Pitfalls I Encountered (And How I Fixed Them)
It wasn't all smooth sailing. I hit two major snags during this early phase.
The Fungus Gnats Invasion My rich, moist organic mix became a magnet for fungus gnats. By the end of the first week, I saw tiny flies around the pots. This was my first major "pitfall." The solution was two-fold:
- I let the top inch of soil dry out completely between waterings, disrupting the gnats' breeding cycle.
- I made a simple sticky trap by placing yellow index cards coated with petroleum jelly near the pots. Within days, the gnat population plummeted. This taught me that organic care requires vigilant pest management, as you’re fostering a living system.
The Slow Growth Anxiety Compared to my past fertilizer-fed caladiums, the initial growth felt slow. I worried my method was failing. Instead of panicking, I reassessed the environment. I realized the spot was a bit too cool. I moved the pots to a consistently warmer location (above 70°F). Within 48 hours of the move, growth visibly accelerated. The issue wasn't nutrition—it was temperature. Caladiums are heat-loving, and organic processes in the soil also speed up with warmth.
Ongoing Organic Care for Long-Term Vibrancy
Once past the seedling stage, my caladium care focused on sustaining the soil ecosystem.
The Magic of Compost Tea and Mulching Every three weeks, I fed the soil with aerated compost tea. I steeped a mesh bag of compost in a bucket of water for 24-48 hours, occasionally stirring to aerate. This brew is teeming with beneficial microbes. Watering with it inoculates the soil, boosting the population of nutrient-delivering bacteria and fungi. I also applied a thin top-dressing of worm castings and covered the soil surface with a mulch of shredded cocoa bean hulls. This mulch conserved moisture, suppressed weeds, and slowly decomposed, adding more organic material.
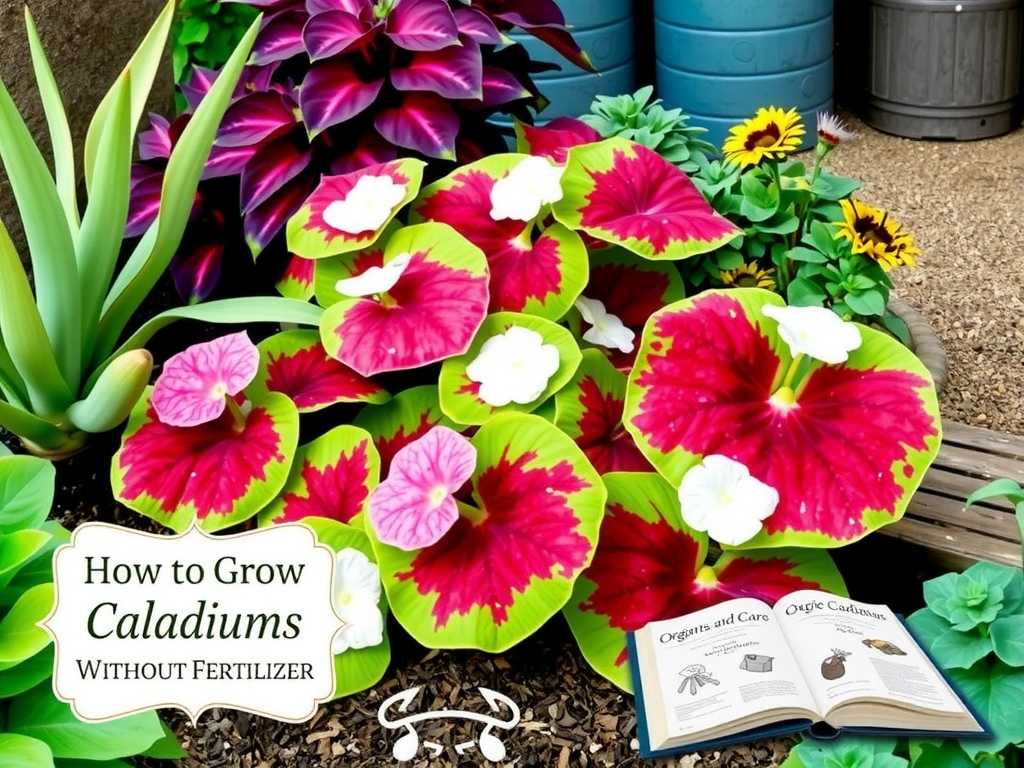
Perfecting the Water and Light Balance I watered deeply only when the top soil felt dry, using collected rainwater when possible. I kept them in bright, filtered light. Too much sun can bleach leaves, forcing the plant to expend energy on repair—energy it gets from your soil system. One long-tail keyword I focused on here was maintaining caladium color organically. The vibrant reds and whites of my ‘Red Flash’ remained intense without any color-enhancing fertilizers, purely through correct light exposure and steady, organic nutrition from the soil.
Harvesting and Overwintering the Organic Way Come fall, as leaves faded, I reduced watering. I let the bulbs go dormant in their pots, stored them in a cool, dark place, and left the soil dry. In spring, I refreshed the pots by removing the top third of the old soil and replacing it with a fresh blend of compost and leaf mold. This "soil refresh" is the organic gardener's equivalent of a fertilizer boost, providing a new season's worth of slow-release nutrients.
Can caladiums truly thrive without any fertilizer? Absolutely, but it requires a paradigm shift. You're not removing nutrition; you're changing the source. By building a rich soil foundation with ample compost and leaf mold, and maintaining it with compost teas and mulch, you create a self-sustaining nutrient cycle. My caladiums not only thrived but seemed more resilient to temperature fluctuations.
What if the leaves are smaller than expected? Smaller leaves in the first few weeks are normal. Ensure the plants are warm enough (above 70°F) and receiving bright, indirect light. Often, it's an environmental factor, not a nutritional one. If leaves remain small later in the season, top-dress with an extra half-inch of worm castings and ensure consistent moisture. The goal is steady, sustained growth, not explosive growth forced by salts.
Is this method suitable for all caladium varieties? Yes, the principle of feeding the soil works for all caladiums. However, larger, fancy-leaved varieties with greater nutrient demands will show the most dramatic benefit from a deeply enriched soil. For these, be extra generous with the compost and leaf mold in your initial mix. The process of growing caladiums with compost alone is especially effective when you start with the best possible soil environment.
Growing caladiums without fertilizer is a journey back to fundamental gardening principles. It’s about partnership with nature, patience, and observation. My two-week experiment stretched into a full season of the most satisfying gardening I’ve done. The leaves were lush, the colors were pure, and I had no burn, no runoff guilt, and a thriving soil ecosystem. It proves that sometimes, the best way to help a plant flourish is to step back, enrich the world beneath our feet, and let nature’s own processes do the work.





