 bluename
 How to Fix Dull Caladium Leaves: Nutrient Boost Steps
There’s nothing more disheartening for a plant lover than watching a once-vibrant Caladium lose its sparkle. I know the feeling well. You’ve provided the right light, kept the soil moist, but those stunning, heart-shaped leaves start looking faded, washed-out, or just… dull. It’s a common cry for help, and after troubleshooting everything else, I realized the issue was often hiding beneath the soil: a nutrient deficiency. My journey to restore their brilliance wasn’t instant, but through a dedicated, step-by-step nutrient boost protocol over two weeks, I turned things around. Here’s exactly what I did, the mistakes I made along the way, and how you can successfully fix dull Caladium leaves, too.
Understanding Why Your Caladium Leaves Lose Their Shine
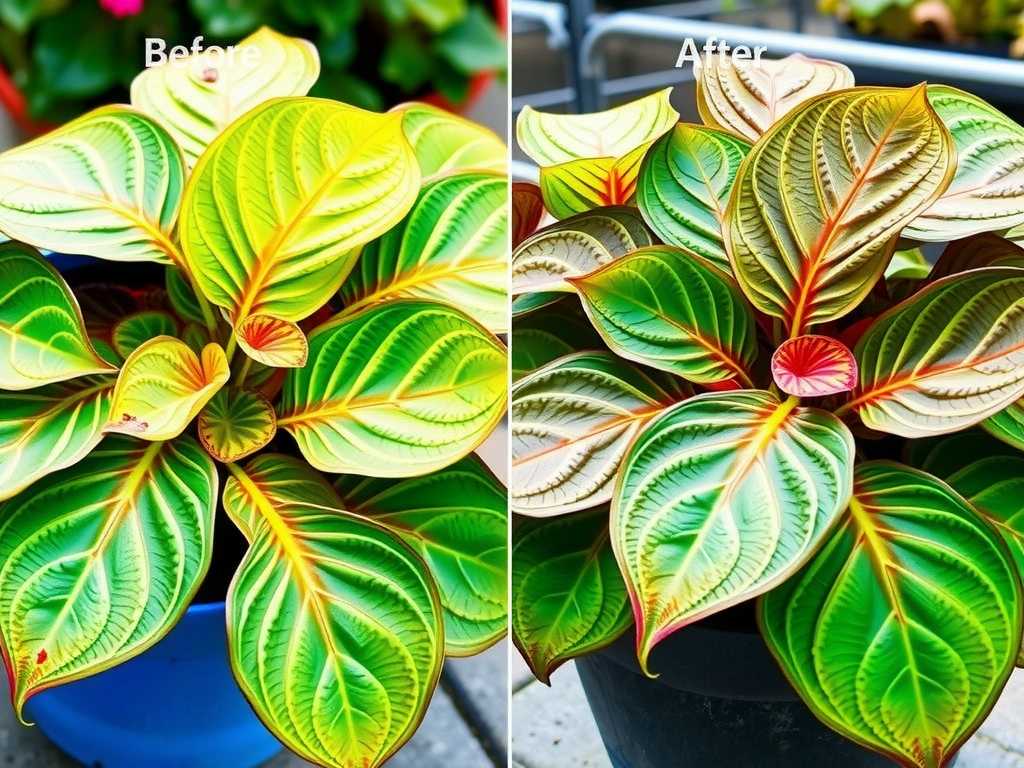
Before reaching for any fertilizer, it’s crucial to understand the "why." Dull leaves are rarely just about color; they're a symptom. Caladiums are heavy feeders during their active growing season, primarily due to their rapid foliage production. The vibrant pigments in their leaves—the shocking pinks, deep reds, and pure whites—require specific nutrients to develop and maintain their intensity. When these are lacking, the first sign is often a loss of that luminous quality, followed by slow growth or smaller new leaves.
According to insights from the American Horticultural Society (AHS), foliar chlorosis (yellowing) and poor color development in ornamental foliage plants like Caladiums are frequently linked to imbalances in nitrogen, iron, and magnesium. Nitrogen is essential for overall leafy growth, while iron and magnesium are key players in chlorophyll production and enzyme functions that support vibrant coloration. My problem was a classic case of assuming my generic houseplant food was enough. It wasn't.
My 2-Week Nutrient Boost Plan to Revive Dull Caladiums
This plan is based on my personal trial, error, and eventual success. It’s a gentle yet effective approach designed to correct deficiencies without shocking the plant.
Week 1: Assessment and The Foundation Feed
The first step is always diagnosis. I rule out other issues first: pests, root rot from overwatering, or excessive direct sun (which can bleach leaves). Once confirmed it’s likely nutritional, I begin.
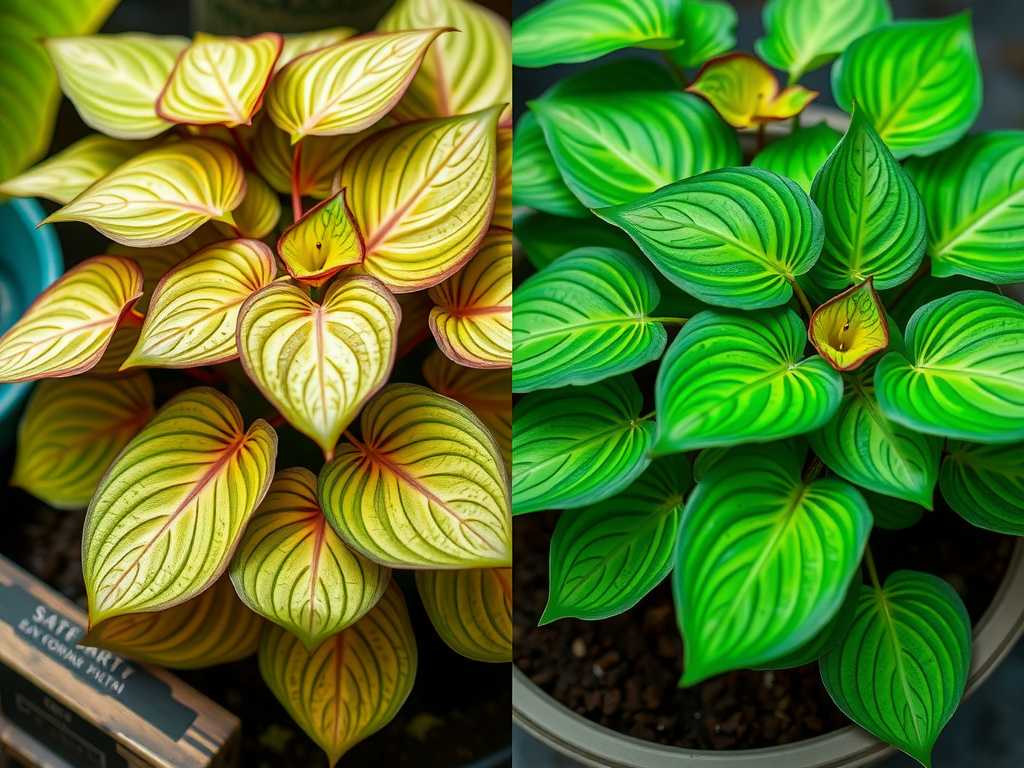
Step 1: The Flush and Soil Check. I start by gently flushing the soil with room-temperature, distilled or filtered water. This helps leach out any potential salt buildup from previous fertilizers that can lock out nutrients. I let the water run slowly through the pot for a minute, ensuring good drainage. This was my first "aha" moment—the runoff was murky, a sign of accumulated residues.
Step 2: The Balanced Liquid Fertilizer Application. After the soil has drained but is still slightly moist (never fertilize bone-dry soil), I apply a balanced, water-soluble fertilizer. I specifically chose one with a near-equal NPK ratio like 10-10-10 or 20-20-20, but with added micronutrients. The Royal Horticultural Society (RHS) advises that a balanced feed supports both root and foliage health, providing a solid base. I diluted it to half the recommended strength—a critical point. Weak, stressed plants can be burned by full strength. I applied this to the soil, avoiding the leaves to prevent burn.
Initial Observations (Days 1-3): Frankly, nothing dramatic. The leaves remained dull. This is normal. The plant is beginning to uptake nutrients through its roots, a slower process. I maintained consistent, even moisture.
Step 3: Introducing a Micronutrient Boost. Three days after the balanced feed, I prepared a diluted micronutrient solution, specifically one containing chelated iron and magnesium. This addresses the common deficiencies head-on. I used a foliar spray method, lightly misting the undersides of the leaves in the early morning. Foliar feeding can provide a quicker pathway for these specific elements to reach the leaf tissue where they’re needed most.
End of Week 1 Check-in: By day 7, I noticed the very newest, still-unfurling leaf felt slightly firmer and showed a hint more defined vein color. The older leaves still looked tired. Patience is key.
Week 2: Consistency and Observation
Step 4: The Second Balanced Feed. Exactly one week after the first, I repeated the half-strength balanced soil drench. Consistency is more important than quantity. The plant is now in a regular, gentle feeding rhythm.
Step 5: Monitoring and Adjusting Care. I paired feeding with impeccable baseline care: bright, indirect light (an east-facing window was perfect), consistent warmth, and careful watering only when the top inch of soil dried. High humidity was maintained using a pebble tray.
The Transformation: Visible Results (Days 10-14) This is where the magic became visible. Around the 10-day mark, the most recent new leaf unfurled with noticeably sharper color contrast. It wasn’t fully mature yet, but the pink was brighter against the green. By day 14, the existing leaves hadn’t magically transformed (mature leaves rarely fully recover color), but they lost that dusty, faded look. Their sheen improved. The biggest victory was in the plant's overall posture and new growth. A second new leaf spear had emerged, growing faster than the previous one. The plant simply looked healthier and more vigorous, which is the ultimate goal.
The Pitfalls I Encountered and How I Solved Them
My process wasn’t flawless. I made two significant mistakes that you can avoid.
Mistake 1: Over-Enthusiasm with Fertilizer Strength. In my initial attempt (before this 2-week plan), I used a full-strength fertilizer, hoping for faster results. Within days, the leaf edges on two older leaves turned brown and crispy—classic fertilizer burn. I had stressed the roots.
- The Fix: I immediately stopped all feeding and thoroughly flushed the soil multiple times over the next few days to dilute the excess salts. I then waited a full two weeks for the plant to recover before starting the gentler, half-strength protocol outlined above.
Mistake 2: Ignoring Water Quality. My tap water is moderately hard. I initially used it for both watering and mixing fertilizer. I noticed white crust forming on the soil surface and the edges of the pot—mineral deposits. These minerals can interfere with nutrient uptake.
- The Fix: I switched to filtered or collected rainwater for all watering and fertilizing sessions. This simple change prevented further mineral buildup and ensured the nutrients I was providing were actually available to the plant.
Sustaining the Vibrancy: Post-Boost Care
Fixing dull leaves is one thing; keeping them vibrant is another. After the two-week boost, I transitioned to a maintenance schedule. During active growth (spring and summer), I feed my Caladiums with a diluted balanced fertilizer every 4-6 weeks. I occasionally use the micronutrient foliar spray once a month as a tonic. In dormancy (when leaves die back in fall/winter), I stop all fertilization entirely.
Why is my Caladium still not showing brighter colors even after fertilizing? Color brilliance is a combination of nutrition and light. Even a perfectly fed Caladium will produce muted colors in low light. Ensure it receives plenty of bright, indirect light. Some varieties are also genetically less intense. Review your light conditions as the primary partner to your feeding routine.
Can I use Epsom salt for my Caladium's dull leaves? Epsom salt is magnesium sulfate. While a lack of magnesium can cause yellowing between veins, it is only one piece of the puzzle. Blindly adding Epsom salt without a confirmed deficiency can lead to other nutrient imbalances and soil salt issues. It’s better to use a complete, balanced fertilizer with included micronutrients or a specific micronutrient blend designed for plants.
How often should I fertilize my Caladium to prevent dull leaves? A consistent but light feeding schedule is superior to occasional heavy feeds. During its active growing season, a half-strength dose of balanced liquid fertilizer every 4-6 weeks is sufficient for most indoor Caladiums. Always ensure the soil is moist before application, and reduce frequency as growth slows in late summer.
Reviving dull Caladium leaves is a testament to the power of targeted nutrition and patient, consistent care. It’s not an overnight fix, but a systematic support strategy. By accurately diagnosing the need, providing a gentle, multi-step nutrient boost over a focused period like two weeks, and then committing to sustained, appropriate care, you give your plant the foundation it needs to produce the spectacular, colorful foliage that makes Caladiums so beloved. The reward is not just in the recovery of a single leaf, but in the renewed vitality of the entire plant.





