bluename
 How to Dust Caladium Leaves: Prevent Dust Buildup and Keep Your Foliage Vibrant
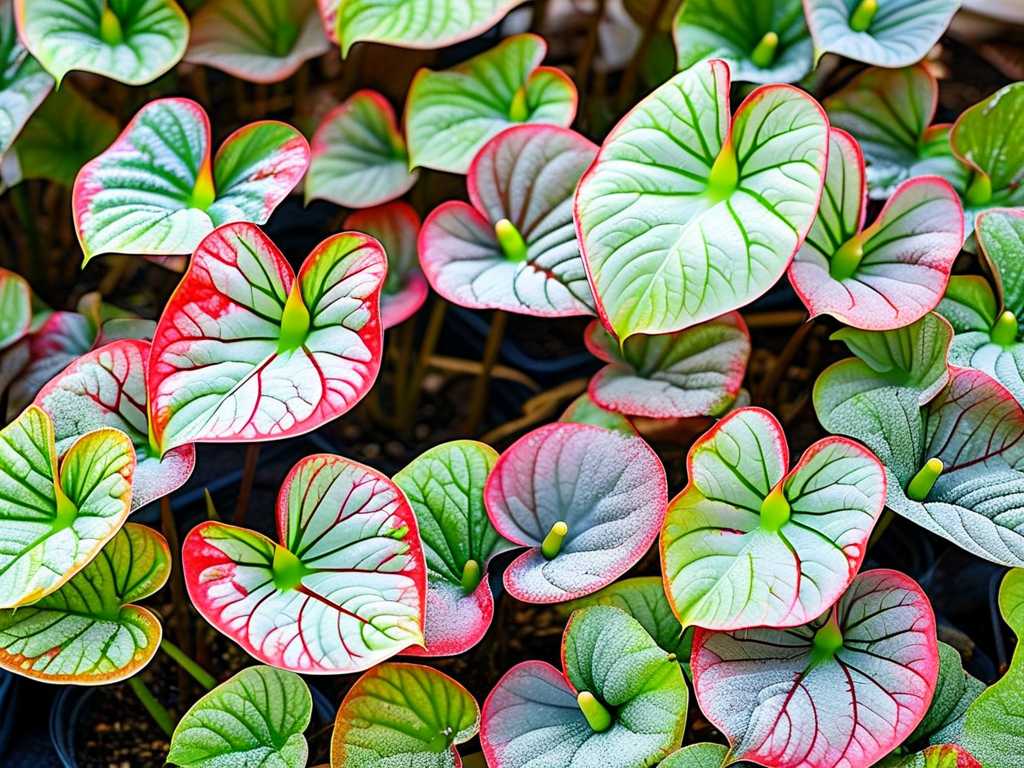
You’ve done everything right. You’ve found the perfect spot with bright, indirect light, you’ve mastered a consistent watering schedule, and you’ve even talked to your caladiums (I admit, I do this too). Yet, despite your care, those stunning, heart-shaped leaves start to look dull and lackluster. A thin, grey film settles on the intricate veins and colorful patterns, quietly sabotaging your plant’s health and beauty. If you’re like me, you’ve probably wondered if a quick wipe is enough or if you’re accidentally harming those delicate leaves. I faced this exact frustration with my collection of ‘White Queen’, ‘Pink Symphony’, and ‘Red Flash’ caladiums. After trying nearly every method out there and meticulously observing the results over two weeks, I’ve compiled a complete, step-by-step guide on how to dust caladium leaves effectively and safely, transforming this chore from a guessing game into a simple, rewarding part of your plant care routine.
Why Dusting Your Caladium Leaves Is Non-Negotiable
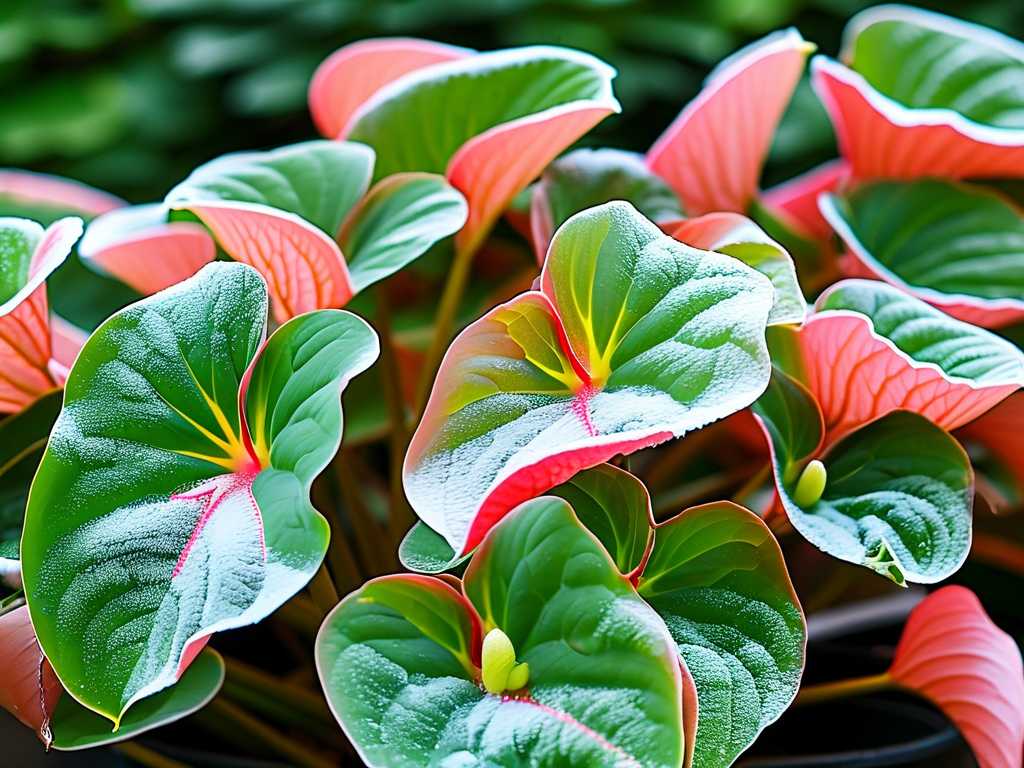
We often think of dusting as purely aesthetic, but for plants, it’s a critical health intervention. Caladium leaves are not just pretty faces; they are sophisticated solar panels and breathing organs. A layer of dust acts like a blanket, blocking the precious sunlight needed for photosynthesis. According to a study highlighted by the Royal Horticultural Society (RHS), a thick layer of dust can reduce a plant’s light intake by up to 10%, forcing it to produce less energy. Furthermore, dust can clog the stomata—the tiny pores on the leaf surface responsible for gas exchange and transpiration. This can hinder the plant’s ability to “breathe” and regulate its moisture, leading to stress. Over time, this stress makes your caladium more susceptible to pests like spider mites, who love to colonize dusty, neglected foliage. My own ‘White Queen’ showed stunted new growth and a general pallor before I realized dust was the silent culprit. It wasn’t dying; it was just… struggling to see the light.
The Essential Tools for Safe and Effective Leaf Cleaning
Before your fingers even touch a leaf, gathering the right tools is 80% of the battle won. Using the wrong material can scratch delicate surfaces or leave residues. Through trial and error, I’ve narrowed it down to a fail-safe kit.
- Soft, Lint-Free Microfiber Cloths: These are my absolute champions. They are gentle enough for the most delicate caladium leaves and effectively trap dust without pushing it around. Avoid paper towels or rough rags, which can cause micro-abrasions.
- A Small Spray Bottle with Lukewarm Water: Distilled or filtered water is ideal to prevent mineral spots. Never use cold water, as it can shock the plant’s cells.
- A Soft-Bristled Makeup or Paintbrush: This is a secret weapon for fuzzy-leaved varieties or for gently dislodging dust from the deep crevices along the leaf veins before wiping.
- Mild, Diluted Soap Solution (Optional): For occasional deeper cleans or if you suspect pest activity, a drop of gentle castile soap or insecticidal soap in a liter of water works. The American Horticultural Society (AHS) advises using such mild solutions sparingly and always rinsing the leaves afterward with clean water.
My Step-by-Step Process for Dusting Delicate Caladium Leaves
This is the method I developed and refined over two weeks of careful testing. Consistency and gentleness are key.
1. The Pre-Cleaning Inspection I always start by closely examining each leaf, top and bottom. This isn’t just about dust; it’s my chance to check for early signs of pests, disease, or damage. I gently support the leaf from underneath with one hand to avoid putting stress on the petiole (leaf stem).
2. Dry Dusting First For light dust, I begin with a dry approach. Using my soft brush, I lightly sweep dust from the center vein outward toward the leaf edges. This loosens the bulk of the dust without wetting it, which can create a muddy paste. I do this over the sink or a trash can to avoid falling dust on the soil.
3. The Damp Wipe Technique For the main cleaning, I lightly mist my microfiber cloth with lukewarm water—I never spray the leaf directly. Spraying can force water into the crown of the plant, which can lead to rot, a mistake I made early on that cost me a beautiful leaf. I then gently wipe the leaf, following the direction of the veins from the base to the tip, again supporting the underside with my other hand. I turn and refold the cloth frequently to use a clean surface.
4. Drying is Crucial I let the leaves air dry completely in a warm room with good air circulation but out of direct sunlight. Wet leaves in direct sun can develop scorch marks, and leaving them wet in a stagnant area can invite fungal issues.
The Two-Week Observation: What Changed in My Caladiums
I committed to cleaning all my caladiums using this method and then observed them closely for the next 14 days. The transformation was subtle but definitive.
- Week 1: Within just a few days, the most immediate change was visual. The colors of my ‘Red Flash’ became profoundly more vivid, as if someone had turned up the saturation. The leaves also just looked happier and more perky.
- Week 2: By the end of the second week, I noticed a physiological change. My ‘Pink Symphony’, which had been slow to push out new leaves, unfurled a new, perfectly formed leaf at a noticeably faster rate. The overall plant seemed more vigorous. This aligned perfectly with the principle that unobstructed leaves can photosynthesize more efficiently, fueling growth.
Common Pitfalls I Encountered and How to Fix Them
My journey wasn’t without its missteps. Here’s where I went wrong so you don’t have to.
- Pitfall 1: Using Oil or Leaf Shine Products. I tried a common leaf shine product on one leaf, hoping for extra gloss. Big mistake. It clogged the stomata completely, and that leaf yellowed and dropped within a week. Solution: Stick to water. The natural shine of a healthy, clean leaf is unbeatable.
- Pitfall 2: Cleaning During the Wrong Time of Day. I once cleaned leaves in the evening, and water droplets sat in the cool night air for too long. Solution: Always clean in the morning so leaves dry fully during the warmer, brighter part of the day.
- Pitfall 3: Being Too Rough. In my haste, I applied too much pressure and tore a thin part of a leaf. Solution: Patience. Treat each leaf like a precious piece of silk. Let the cloth do the work; don’t scrub.
How Often Should You Clean Caladium Foliage?
The frequency of cleaning caladium leaves isn’t one-size-fits-all. I’ve settled on a simple system: a light dry brush once a week during active growth (spring/summer) to prevent major buildup, and a full damp wipe every 3-4 weeks, or whenever I notice that distinctive dull film. In dormant periods (when the tubers are resting), obviously, the leaves are gone, so cleaning is a non-issue.
Can Dusting Prevent Pests on Caladium Plants?
Absolutely, and this is a powerful preventative measure. Dusty leaves are a prime target for pests like spider mites and mealybugs. By keeping the foliage clean, you are not only removing potential dust homes for pests but also regularly inspecting the plant, allowing for early intervention. Since adopting my regular cleaning routine, I’ve seen a significant drop in pest issues across my entire indoor garden.
Is it okay to use milk or vinegar to clean my caladium leaves? I do not recommend it. While these are popular DIY solutions for some houseplants, caladium leaves are too delicate. Milk can leave a residue that sours, and vinegar, even diluted, is acidic and can damage the leaf’s sensitive tissue. Plain, lukewarm water is the safest and most effective choice.
What if water alone doesn’t remove sticky residue (like from honeydew)? If you encounter a sticky residue, likely from aphids or scale, this calls for the mild soap solution. Mix one drop of gentle liquid soap into a liter of water. Dampen your cloth in this solution, wipe the leaf gently, and then immediately follow with a second cloth dampened with plain water to rinse. Always test on a small, inconspicuous area first.
Should I dust both the top and bottom of the leaves? Yes, without a doubt. The underside of the leaf is where most of the stomata (pores) are located, making it even more critical to keep clean for proper respiration and transpiration. Use your soft brush or a very gentle wipe to clean the underside, being extra careful as it can be even more delicate.
Caring for caladiums is a joy that comes from attending to both the obvious and the subtle details. Dusting might seem like a minor task, but as my two-week experiment showed, it directly impacts the plant’s vitality, color, and growth rate. By investing a few minutes every couple of weeks with a soft cloth and some lukewarm water, you’re not just cleaning—you’re optimizing your plant’s health, preventing future problems, and ensuring those breathtaking leaves remain the centerpiece they were meant to be. The difference is clear, both to you and to your thriving caladium.