 bluename
 How to Treat Caladium Nutrient Burn: Leach Soil Steps
I’ll never forget the day my prized Caladium ‘White Queen’ started sending distress signals. Her normally vibrant, white-veined leaves began developing crispy, brown edges, and the tips looked scorched. My heart sank. I’d been so careful with watering and light, but in my enthusiasm to boost its growth, I had over-loved it with fertilizer. I was facing a classic case of nutrient burn. If you’re here, you’ve likely spotted those same tell-tale signs—leaf scorch, yellowing margins, stunted growth—and you’re worried. The good news is, this damage is often reversible. The most effective first-aid treatment is a process called soil leaching. Over the next two weeks, I meticulously followed and documented the soil leaching steps to save my Caladium, and I’m here to guide you through the exact process, including the mistakes I made along the way.
Understanding the Enemy: What is Nutrient Burn?
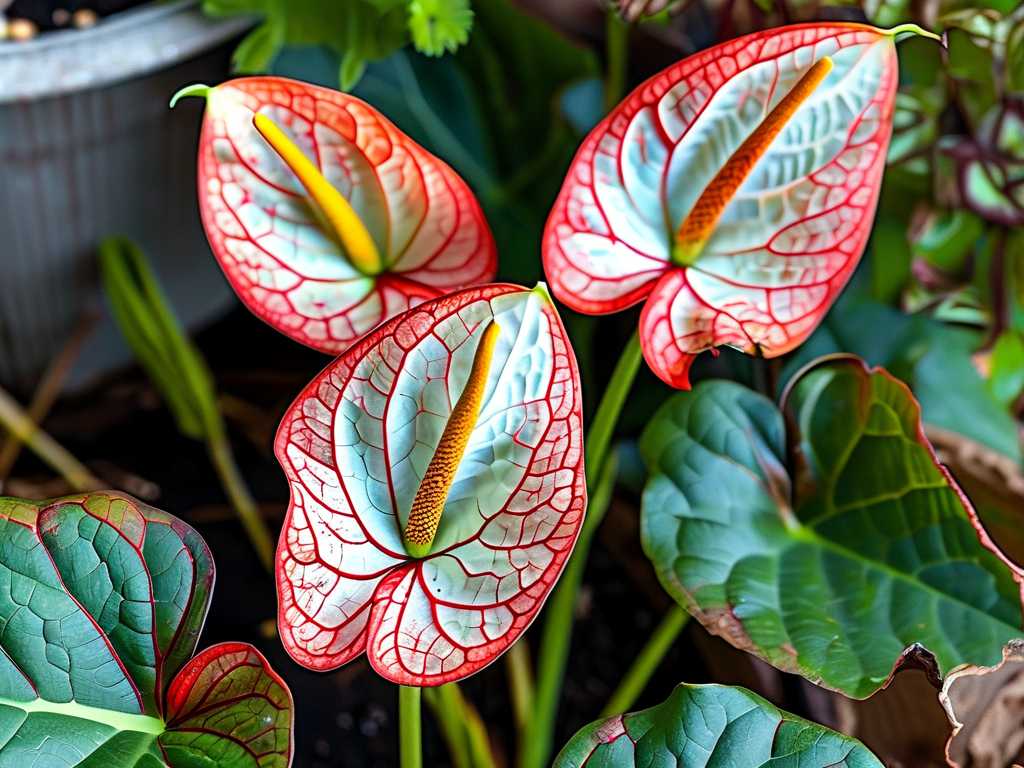
Before we dive into the fix, let’s understand the problem. Nutrient burn, often called fertilizer burn, isn’t about the plant being “burned” by chemicals in a literal sense. It’s a physiological response to a high concentration of soluble salts—primarily from over-fertilization—in the soil solution. These excess salts make it incredibly difficult for plant roots to absorb water, essentially creating a drought condition even in moist soil. The American Horticultural Society (AHS) notes that salt buildup can also directly damage root tissues, impairing their function. For Caladiums, with their delicate root systems and sensitivity to overfeeding, this is a critical issue. The symptoms start at the leaf tips and margins because the plant tries to push the excess salts to these extremities.
The Immediate Rescue: Step-by-Step Soil Leaching for Caladiums
Soil leaching is the controlled process of flushing out these excess salts from the potting mix with a large volume of water. It’s the cornerstone treatment for nutrient toxicity. Here’s the exact protocol I followed, refined by my trial and error.
Step 1: Diagnosis and Preparation First, confirm it’s nutrient burn. Rule out underwatering or low humidity, which can cause similar browning. I gently slid my Caladium out of its pot to inspect the roots. Healthy Caladium roots are firm and creamy. I saw some that were slightly darkened and limp—a sign of early root stress from the salt concentration. I also noticed a faint white crust on the soil surface and the pot’s rim, a visible sign of salt accumulation. I prepared my workspace: a sink, a bucket, or a location where water can drain freely. This is a messy process.
Step 2: The Initial Thorough Watering I placed the plant in the sink. The goal here isn’t a gentle drink; it’s a flood. Using lukewarm, distilled or filtered water (tap water can contain additional salts), I slowly poured water onto the soil surface, allowing it to soak through and drain completely out the bottom. I continued this for a full minute, ensuring the entire root ball was saturated. The key is slow application to avoid washing away the soil itself.
Step 3: The Crucial Leaching Cycle This is the core step. The Royal Horticultural Society (RHS) recommends applying a volume of water equal to at least 4-5 times the volume of the pot. My Caladium was in a 6-inch pot. I calculated its volume and prepared enough water accordingly. I poured water slowly and steadily, letting it drain completely. I repeated this cycle four times over the course of an hour. You must see clear water running out of the drainage holes by the end. My initial mistake was rushing—I only used double the pot volume on my first attempt, and the symptoms paused but didn’t improve. Patience is non-negotiable.
Step 4: Post-Leach Care and Drainage After the final flush, I elevated the pot on pot feet in the sink to let gravity pull out every bit of excess water. Soggy soil after leaching can lead to root rot, replacing one problem with another. I let it drain for several hours until no more water dripped out. Only then did I return it to its saucer (which I keep dry).
The Critical Recovery Phase: My 2-Week Observation Log
Leaching is just day one. The plant’s recovery depends entirely on the follow-up care.
Days 1-3: The Waiting Game The plant looked sad and waterlogged, which was expected. I placed it in bright, indirect light but away from direct sun to reduce transpiration stress while its roots recovered. I did not water. The soil remained moist from the leaching. I resisted the urge to do anything else—no fertilizer, no pruning yet.
Days 4-7: Signs of Stabilization By day five, the existing damaged leaves didn’t magically heal (they never will), but the browning stopped progressing. This was my first sign of success. The newest, still-furled leaf felt firm and showed no signs of tip burn. I resumed my normal watering routine, but only when the top inch of soil was dry. I made a critical error here earlier in my plant journey: I assumed leaching was a one-off fix and resumed a normal fertilizing schedule within a week, which immediately caused a relapse. Do not fertilize for at least 4-6 weeks.
Days 8-14: New Growth and Assessment In the second week, a new leaf began to unfurl. It was perfectly formed, with no crispy edges or yellowing. This was the ultimate confirmation that the leaching process had worked. The plant had successfully accessed water and the minimal nutrients left in the soil. I gently removed the two most severely burned leaves to improve aesthetics and redirect energy, but I left partially damaged ones to continue photosynthesis.
Common Pitfalls and How I Solved Them
- Pitfall 1: Inadequate Water Volume. My first leaching attempt failed because I didn’t use enough water. The salts were diluted but not removed. Solution: Measure your pot’s volume and commit to the 4-5x rule. It feels excessive, but it’s necessary.
- Pitfall 2: Poor Drainage During/After. Letting the pot sit in drained water re-absorbs the salts. Solution: Elevate the pot during and after leaching. Ensure your potting mix is well-aerated; I now add extra perlite to my Caladium mix for this reason.
- Pitfall 3: Premature Fertilization. This is the most common mistake. The roots are traumatized and the soil still has sufficient nutrients. Solution: Mark your calendar. Wait a minimum of one month, and when you resume, use a balanced, diluted liquid fertilizer at half strength.
Preventing Future Caladium Fertilizer Burn
Treatment is reactive; prevention is proactive. I now follow these rules religiously:
- “Weakly, Weekly” Dilution: I fertilize only during the active growing season (spring/summer) with a balanced (e.g., 10-10-10) liquid fertilizer diluted to half the recommended strength, and only every 4-6 weeks, not weekly.
- Seasonal Awareness: I stop all fertilization in late fall and winter when my Caladiums are dormant or growing slowly.
- Annual Soil Refresh: Each spring, I repot with fresh, well-draining potting mix. This naturally resets the salt balance and provides a clean start.
Addressing Your Concerns
Can burned leaves recover? No, the damaged tissue on the leaves will not heal or turn green again. The goal of leaching is to stop the progression of damage and allow the plant to produce new, healthy growth. You can snip off the worst leaves for cosmetic reasons once the plant is stable.
How often should I leach my Caladium’s soil as prevention? Even with careful feeding, salts can build up over time. As a preventative measure, many experts, including those cited by the RHS, recommend leaching the soil of container plants like Caladiums every 4-6 months. Simply take the plant to the sink and water it thoroughly until water runs freely from the bottom, repeating once or twice. This is a milder version of the treatment leaching process.
My Caladium is in the ground, not a pot. Can I still leach the soil? Yes, but it requires more water and effort. Deep watering around the plant with a hose for an extended period (20-30 minutes) can help flush salts deeper below the root zone. However, garden soil drainage varies greatly. Improving bed drainage with organic matter is a more sustainable long-term strategy for in-ground plants.
Watching my Caladium bounce back over those two weeks was a powerful lesson in plant care. It taught me that more isn’t always better, especially with fertilizers. Nutrient burn is a setback, but it’s not a death sentence. The soil leaching method, executed patiently and followed by disciplined aftercare, gives your plant the clean slate it desperately needs. By understanding the signs early and acting decisively with these steps, you can rescue your Caladium and enjoy its spectacular foliage once again. Remember, the key to lush Caladiums is consistent, gentle care, not occasional bursts of excess.





