 bluename
 How to Prevent Caladium Nutrient Burn: The Ultimate Guide to Fertilizer Dilution
I’ll admit it—I’ve killed a caladium or two with kindness. You know the feeling. You bring home this stunning plant with its painterly leaves, veins like stained glass, and you want it to thrive. So, you feed it. A little fertilizer this week, a bit more the next, thinking you’re giving it a gourmet meal. Then, the heartbreak begins. Those vibrant leaves start sporting crispy, brown edges. The tips look scorched. New growth emerges stunted or distorted. You’re not growing a tropical beauty anymore; you’re presiding over a nutrient burn crisis.
This was my exact pain point for years. I chased the perfect, lush foliage only to be met with the telltale signs of fertilizer overdose. It wasn’t until I dedicated myself to mastering one fundamental practice—fertilizer dilution—that everything changed. This guide is born from my two-week experiment to rescue and perfect the feeding routine for my caladiums, packed with the mistakes I made and the simple solutions that finally worked.
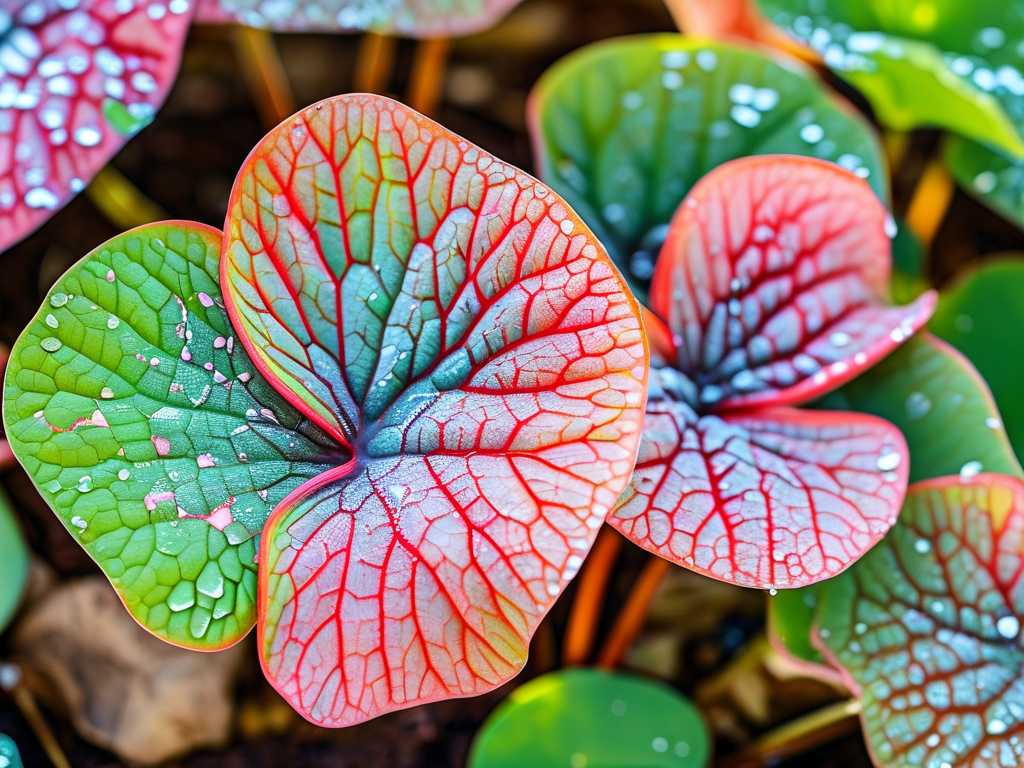
Understanding the Enemy: What is Nutrient Burn?
Before we fix the problem, we need to recognize it. Nutrient burn, or fertilizer burn, isn’t a disease. It’s a physiological injury. When the concentration of salts (from fertilizers) in the soil solution is higher than inside the plant’s roots, water is actually drawn out of the roots through osmosis. This causes dehydration and damage at the cellular level.
For caladiums, with their delicate, thin leaves, the signs are clear:
- Leaf Scorch: Brown, crispy margins and tips, often starting on the oldest leaves.
- Leaf Curling: Edges may curl upward or downward.
- Stunted Growth: The plant seems to stall, with new leaves struggling to unfurl.
- White Crust: A buildup of salt deposits on the soil surface or the pot’s rim.
The American Horticultural Society (AHS) notes that container plants are especially vulnerable to salt buildup, as there’s no natural rainfall to leach away excess. This makes our dilution strategy non-negotiable.
My Two-Week Rescue Mission: A Step-by-Step Log
I selected three caladium varieties showing early burn symptoms: a ‘White Christmas’, a ‘Florida Sweetheart’, and a ‘Red Flash’. My mission was to halt the damage and establish a safe feeding protocol.
Week 1: The Flush and Reset
My first step was immediate damage control. I took my plants to the sink. Using room-temperature, distilled water (to avoid any additional chemicals), I slowly poured water through the soil for a full two minutes, allowing it to drain freely from the bottom. This process, called leaching, helps wash away accumulated soluble salts. I repeated this twice over three days.
Here’s the first pitfall I encountered: I used my regular tap water, which is moderately hard. A white film appeared on the soil after flushing. I realized I was adding more calcium and magnesium salts while trying to remove others. Switching to distilled or collected rainwater for this critical step made a visible difference.
After the flush, I did not fertilize. I let the plants recover in bright, indirect light. I monitored soil moisture closely, keeping it consistently moist but never soggy. The browning stopped progressing within four days—a huge win.
Week 2: Implementing the Dilution Doctrine
With the plants stabilized, it was time to introduce a safe, diluted fertilizer. I chose a balanced, water-soluble formula (with an equal NPK ratio like 10-10-10 or 20-20-20), as recommended by resources from the Royal Horticultural Society (RHS) for promoting steady, healthy foliage growth.
The Golden Rule I Follow Now: I always dilute to half-strength, or even quarter-strength, of what the bottle label recommends for indoor plants. Label instructions are often maximum thresholds, not optimal doses for sensitive plants like caladiums.
My weekly process became this:
- I pre-moisten the soil with plain water. Fertilizing a dry rootball can shock the roots.
- I mix my fertilizer solution in a watering can. If the label says “1 teaspoon per gallon,” I use 1/2 teaspoon. For my most sensitive ‘White Christmas’, I used 1/4 teaspoon.
- I apply the solution slowly to the soil, avoiding any contact with the leaves. If any splashes occur, I wipe it off immediately.
- I observe relentlessly. I kept a simple journal, noting leaf color, firmness, and growth speed.
By the end of the second week, the ‘Red Flash’ pushed out a new, perfectly formed leaf with no burn. The existing damage on older leaves remained (it doesn’t heal), but the plant’s energy was clearly redirected to healthy new growth. This was the proof I needed.
Building Your Bulletproof Fertilizer Routine
Prevention is infinitely easier than rescue. Here’s the routine I swear by, built on the lessons from those two weeks.
1. Choosing the Right Fertilizer Not all fertilizers are created equal. I avoid slow-release granules for my indoor caladiums; they provide a constant, low-level nutrient release that’s harder to control. A liquid or water-soluble powder gives me complete command over dosage and timing. I look for formulas that include micronutrients like magnesium and calcium, which are vital for leaf integrity.
2. The Dilution Math Made Simple This is the core of preventing caladium fertilizer burn. My mantra is “weakly, weekly” during the active growing season (spring and summer). Here’s my fail-safe chart:
- Standard Dilution: 50% of the recommended label strength.
- For Young or Recovering Plants: 25% strength.
- During Lower Light Seasons (Fall/Winter): Fertilize monthly at 25% strength or stop entirely as growth slows.
3. Application Techniques for Safety How you apply is as important as what you apply. I water the soil directly, never the foliage. I ensure the pot drains completely—no letting the plant sit in a saucer of fertilizer runoff, which is just a salt bath for the roots. Every fourth watering, I use plain water to flush the soil gently and prevent any slow buildup.
4. Reading Your Caladium’s Signals Your plant will talk to you. Lush, steady growth and vibrant color mean your dilution is perfect. The slightest hint of tip burn means you should dilute further. Remember, caladiums are primarily grown for their leaves, not flowers. A high-nitrogen formula can be beneficial, but only when properly diluted. The goal is maintaining caladium health through careful feeding, not forcing maximum size.
Why This Approach Works: The Science of Steady Nutrition
The RHS emphasizes that over-fertilization can inhibit a plant’s ability to absorb water and other nutrients, creating a toxic environment. By diluting fertilizer, we provide a consistent, low-level supply of nutrients that the roots can absorb efficiently without stress. This supports the proper fertilizer dilution for sensitive plants across the board, not just caladiums. It mimics the gentle, constant nutrient availability they would find in a rich, natural forest floor.
Addressing Your Top Concerns
Can a caladium recover from severe nutrient burn? Yes, but patience is key. Immediately flush the soil, cut back all severely damaged leaves to direct energy to healthy parts, and suspend fertilizing for at least a month. Resume with an extremely diluted solution (25% strength) only after you see signs of new, healthy growth.
How often should I fertilize my caladium with diluted fertilizer? During its active growing season in spring and summer, I apply my diluted solution once every 7-10 days. In autumn, as growth slows, I stretch it to once a month. In winter, when my caladiums are often dormant, I withhold fertilizer completely until new shoots appear in spring.
Is organic fertilizer safer and less likely to cause burn? Organic options like fish emulsion or compost tea are generally gentler and improve soil health, but they can still cause burn if over-applied. They are not a free pass. I dilute organic fertilizers just as diligently, following the same “half-strength” principle. The benefit is their slower release and addition of beneficial microbes.
Watching my caladiums transform from burned victims to thriving showpieces was a lesson in humility and precision. The secret was never a magic product; it was the disciplined practice of dilution. By providing less, more often, and always listening to the plant’s feedback, you create the conditions for those breathtaking leaves to flourish without risk. Start with a half-strength solution, observe closely, and let your caladium’s vibrant health be the ultimate measure of your success.





