 bluename
 How to Use Coconut Coir for Caladiums: Mastering Moisture Retention for Lush Foliage
I’ve always been captivated by the stunning, heart-shaped leaves of caladiums, but keeping their soil consistently moist without causing rot was my constant battle. If you’ve ever watched your caladium’s vibrant leaves droop or crisp at the edges between waterings, you know the exact frustration I’m talking about. The secret to solving this, I discovered, lies not in watering more frequently, but in using a superior growing medium. After extensive trial and error, I found that learning how to use coconut coir for caladiums transformed my plants from finicky to flourishing. Its unparalleled moisture retention capability was the game-changer I needed.
Why Coconut Coir is a Caladium’s Best Friend
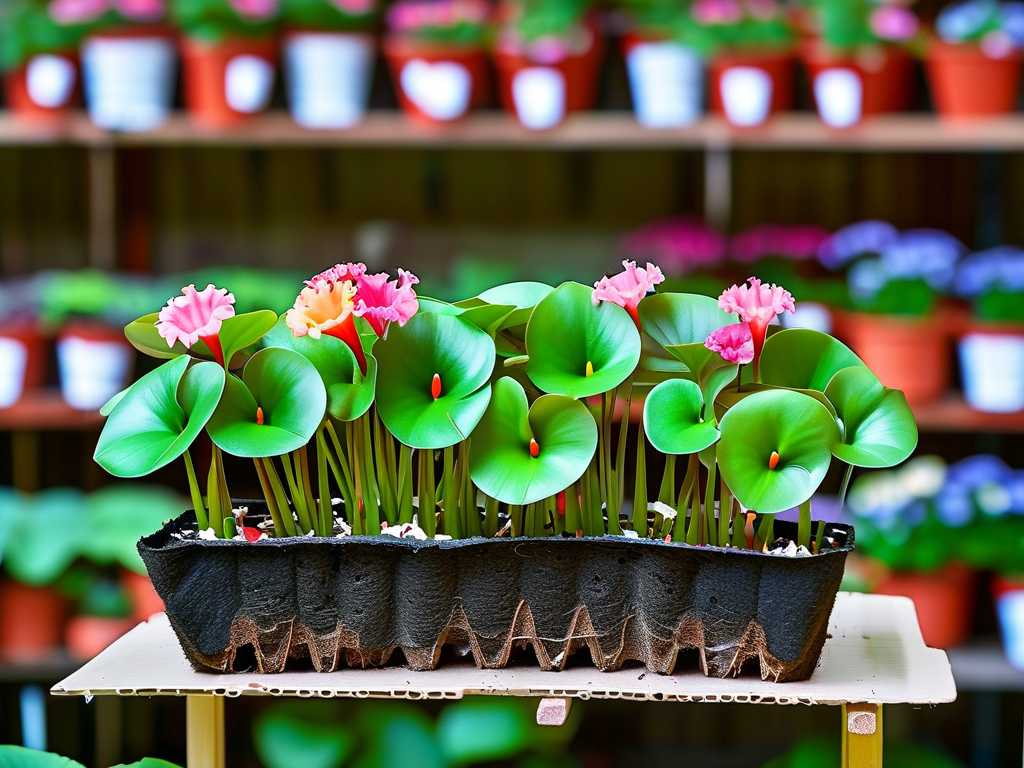
Traditional potting mixes can dry out too quickly or compact over time, suffocating the delicate tubers. Coconut coir, a natural fiber from coconut husks, offers a unique structure that holds significant water while still allowing air to reach the roots. This perfect balance is critical for caladiums, which crave consistent moisture but will quickly succumb to tuber rot in soggy, oxygen-deprived conditions. According to research cited by the American Horticultural Society (AHS), well-aerated substrates like coir promote healthier root development and reduce the incidence of root-borne diseases. For us plant lovers, this translates to fewer worries and more spectacular leaves.
My Step-by-Step Guide to Potting Caladiums with Coconut Coir
I decided to put coconut coir to the test with a batch of new ‘White Queen’ caladium tubers. Here’s the exact process I followed, including the adjustments I had to make along the way.
Preparing Your Coconut Coir Brick
You’ll typically buy coir in a compressed brick. My first mistake was not hydrating it properly. I simply soaked one brick in a bucket of water, thinking it would expand evenly. It created a soggy center with dry, crumbly edges.
- The Fix: I learned to break the brick into smaller chunks before placing them in a large container. Then, I added warm water gradually, mixing and fluffing the coir with my hands as it absorbed. This ensured every fiber was evenly moistened—it should feel like a wrung-out sponge, not dripping wet. I let it sit for about an hour to fully expand and cool.
Creating the Perfect Caladium Potting Mix
Pure coir can sometimes retain too much moisture. Based on advice from resources like the Royal Horticultural Society (RHS), which recommends adding drainage materials for tuberous plants, I created a blend.
- My Recipe: I used a base of 60% hydrated coconut coir. To this, I added 30% perlite for essential aeration and drainage, and 10% worm castings to provide a gentle, nutrient-rich boost. This mix promised excellent water retention for caladium bulbs while ensuring excess water could drain freely, protecting the tubers.
Potting and Initial Care
I filled my pots about one-third full with the mix, placed the tubers knobby-side-up (the “eyes” or growing points), and covered them with about 1.5 inches of the coir blend. I gently watered them in to settle the medium around the tubers. Then, I placed the pots in a warm, bright spot with indirect light—direct sun would fry the emerging leaves. The initial feel of the pot was promising: moist, light, and airy.
The Two-Week Observation: Triumphs and Troubles
The first week was a lesson in patience and observation.
- Days 1-7: The surface of the coir mix dried to a light brown much slower than my old peat-based mix. I resisted the urge to water. By day five, small pink nubs were already pushing through the surface! The consistent moisture and warmth were clearly working.
- The “Pest” Scare: Around day eight, I noticed tiny fungus gnats. Coir, especially if kept very moist on the surface, can attract them. This was my second hiccup.
- Solving the Gnat Issue: I immediately let the top inch of the mix dry out completely between waterings. I also made yellow sticky traps (simple index cards coated with honey) and placed them in the pots. Within a few days, the gnat population plummeted. This reinforced the need for the perlite in my mix—it helped the top layer dry faster, discouraging gnats, while the coir beneath kept the roots hydrated.
- Days 8-14: By the end of the second week, each tuber had sent up multiple sturdy stems, and the first delicate, translucent leaves were unfurling. The moisture retention properties of coco coir meant I only watered once during this entire period, compared to the 2-3 times I would have needed with standard mix. The plants were not stressed; they were steadily and healthily emerging.
Key Benefits I Witnessed and How to Sustain Them
The experiment proved several advantages of using a coconut coir soil amendment for moisture-loving plants.
Superior Root Environment: When I carefully lifted a stem after two weeks, I saw white, healthy roots spreading through the medium, not circling the pot or looking waterlogged. The structure of the coir provided an ideal growing medium for tropical caladiums.
Simplified Watering Routine: The coir acted like a buffer. It prevented the rapid dry-out I dreaded in summer and held moisture evenly, giving me a larger window between waterings. The key is to water deeply when the top inch is dry, then let the coir do its job.
Long-Term Nutrition Strategy: Coir is low in nutrients. As my caladiums grew, I began a bi-weekly feeding schedule with a balanced, water-soluble fertilizer diluted to half strength. This gave them the food they needed without risk of salt buildup, which coir also helps mitigate.
Is coconut coir suitable for all caladium varieties? Absolutely. Whether you’re growing fancy-leaved, strap-leaved, or dwarf varieties, they all benefit from consistent moisture. My mix worked wonderfully for ‘White Queen’, ‘Pink Symphony’, and ‘Red Flash’ alike. The principle of moist-but-not-wet roots is universal for them.
How often should I water caladiums in coconut coir? Throw out a fixed schedule. The frequency depends on temperature, light, and pot size. Always check by sticking your finger into the mix. Water only when the top 1-1.5 inches feel dry. The pot will also feel noticeably lighter. This “touch test” never fails with coir.
Can I reuse the coconut coir mix for next season? You can, but with care. At the end of the season, after the foliage dies back, you can remove the tubers and store the dry mix. Before reusing, I recommend pasteurizing it by baking it moist in an oven at 200°F for 30 minutes to kill any pathogens, then re-fluffing it and adding fresh perlite and fertilizer. For best results, I often refresh it with 50% new coir blend.
Seeing those once-temperamental caladiums thrive with such consistent vigor has been incredibly rewarding. By embracing coconut coir and tailoring it with perlite for drainage, I finally cracked the code on moisture management. It’s a forgiving, sustainable medium that aligns perfectly with what these tropical beauties need. The initial learning curve—proper hydration and gnat management—was a small price to pay for weeks of lush, drama-free growth. If you struggle with keeping your caladiums happily hydrated, I urge you to give this method a try. It might just turn your biggest plant care challenge into your greatest success.





