 bluename
 How to Use Peat Moss for Caladiums: Soil Acidity Adjust
I’ve always been mesmerized by the vibrant, heart-shaped leaves of caladiums. But for years, my attempts to grow them were met with disappointment. The leaves lacked that electric pop of color, growth seemed stunted, and sometimes, the edges would turn an unsightly yellow or brown. I was following all the usual advice about light and water. The real culprit, I finally discovered, was my soil. It wasn’t acidic enough. Caladiums, like many tropical plants, thrive in a distinctly acidic environment, typically a pH between 5.5 and 6.5. My garden soil was closer to neutral, locking away the nutrients my plants desperately needed. That’s when I turned to a classic, yet often misunderstood, soil amendment: peat moss. This is my detailed, step-by-step journey on how to use peat moss for caladiums to perfectly adjust soil acidity, based on two weeks of careful observation and a few valuable lessons learned the hard way.
Understanding the "Why": Peat Moss and Soil Acidity
Before diving into the "how," it's crucial to understand the "why." Peat moss is more than just a fluffy potting mix ingredient. It's a natural, organic material harvested from peat bogs, and it possesses two transformative properties for caladium care.
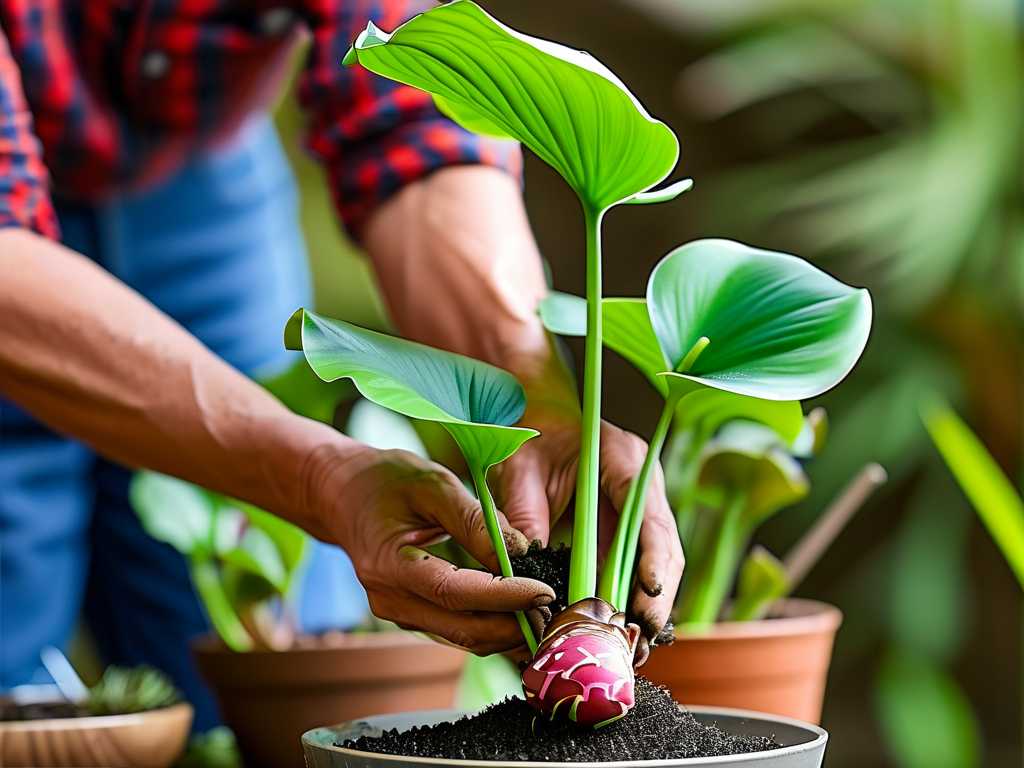
First, and most critically for our topic, it is acidic. Fresh sphagnum peat moss typically has a pH between 3.0 and 4.5. When mixed into your planting medium, it actively lowers the overall pH, creating the sour, acidic conditions caladiums adore. This adjusted acidity makes essential nutrients like iron, manganese, and aluminum more soluble and available for plant uptake. According to resources from the American Horticultural Society (AHS), proper pH management is a foundational step in preventing nutrient deficiencies, which directly manifest as poor leaf color and vigor in foliage plants like caladiums.
Second, peat moss has an incredible capacity to retain water and air. It can hold 10 to 20 times its dry weight in moisture, which it then slowly releases to plant roots. Simultaneously, its fibrous structure prevents compaction, ensuring the delicate tubers of caladiums have access to the oxygen they need. This dual action solves the common dilemma of keeping soil consistently moist but never soggy—a key to healthy tuber development.
My Step-by-Step Process for Amending Soil with Peat Moss
Here is the exact process I followed, tailored specifically for potting container-grown caladiums.
Gathering Materials and Initial Testing I started with three new, dormant caladium tubers (variety: 'White Queen'), a bag of high-quality sphagnum peat moss, a large bag of standard, neutral-pH potting soil, a clean container, a soil pH meter, and a trowel. My first action was to test the pH of the plain potting soil. The meter read 7.0—definitely too alkaline for caladiums. This baseline test is non-negotiable; you can't manage what you don't measure.
Mixing the Perfect Acidic Blend Based on my research and advice from horticultural extension resources, I aimed for a mix of approximately 1 part peat moss to 2 parts potting soil. In my large tub, I combined two gallons of potting soil with one gallon of peat moss. A crucial step here is to moisten the peat moss before mixing. Dry peat moss is hydrophobic—it repels water. I placed the dry peat in a bucket and added warm water, stirring and breaking up clumps until it was uniformly damp, like a wrung-out sponge. Once pre-moistened, I thoroughly blended it with the potting soil, ensuring no dry pockets remained.
Planting and Establishing a Baseline I filled my pots about one-third full with the new mix, placed the tubers knobby-side-up (the "eyes" facing upward), and covered them with about two inches of soil. After a gentle watering to settle the mix, I took another pH reading of the planted pot. The meter now showed a promising 6.0. I placed the pots in a warm area with bright, indirect light and marked the date on my calendar. My two-week observation period had begun.
The Two-Week Observation: Changes, Challenges, and Corrections
Days 1-4: The Waiting Game The first few days were uneventful, as expected. The soil stayed consistently moist without being wet, thanks to the peat's moisture retention. I resisted the urge to overwater, a common mistake. The surface felt cool and slightly damp to the touch—a good sign.
Days 5-10: First Signs and a Minor Setback By day 7, I spotted the first creamy pink nubs of growth pushing through the soil on all three tubers. The growth seemed robust. However, on day 8, I noticed the leaves on one plant were slightly paler than I anticipated. I immediately re-checked the soil pH. It had crept up to 6.5. Why? I realized I had used tap water for watering, which in my area is slightly hard and alkaline. This was my first "pitfall."
- The Fix: I switched to watering with rainwater I collected. As a readily available alternative, you can use distilled water or tap water that has been left out for 24 hours to allow some chlorine to dissipate (though this doesn't affect mineral content). For a more direct solution, occasionally watering with a diluted vinegar solution (1 tablespoon white vinegar per gallon of water) can help, but this requires careful monitoring. I stuck with rainwater. Within two days of switching, new growth emerged with significantly brighter pink veins.
Days 11-14: Vigorous Growth and Color Development The final days of my observation were rewarding. The plants watered with rainwater showed accelerated growth. The leaves were larger, and the iconic color contrast between the deep green veins, white background, and pink splotches of the 'White Queen' was strikingly vivid. The stems were strong and upright. A final pH test showed the soil had stabilized at around 5.8—firmly in the ideal acidic range for caladiums. The adjustment of soil acidity was demonstrably successful.
Best Practices and Professional Insights for Long-Term Success
My experiment confirmed the theory, but long-term care requires a nuanced approach. The Royal Horticultural Society (RHS) notes that while peat moss is excellent for acidification, its effects are not permanent. As peat slowly decomposes and is leached by watering, the soil pH will gradually rise.
To manage this:
- Annual Amendment: When repotting caladiums after their dormancy, refresh the soil mix with new peat moss.
- Mulching: A top dressing of peat moss around the plant can help maintain surface acidity and moisture.
- Fertilizer Choice: Always use a fertilizer formulated for acid-loving plants. These contain ammonium-based nitrogen sources that help maintain soil acidity, unlike nitrate-based fertilizers which can increase pH.
Remember, peat moss is low in nutrients. Your caladiums will still need regular, balanced feeding during their active growth period, but now they'll be able to actually absorb those nutrients efficiently.
Addressing Your Caladium Care Concerns
Can I use peat moss for caladiums already planted in the ground? Absolutely. For in-ground beds, work a 2- to 3-inch layer of moistened peat moss into the top 6-8 inches of soil around your caladiums, taking care not to damage shallow tubers. This will locally acidify the root zone. A soil test before and after is highly recommended for garden beds.
Are there sustainable alternatives to peat moss for acidifying soil? Yes, and this is an important consideration. Coco coir is a popular renewable alternative with excellent texture, but its pH is neutral to slightly acidic, so it won't lower pH effectively. For acidity, consider composted pine bark, pine needles, or specific organic soil acidifiers available at garden centers. These can be excellent peat moss alternatives for acidic soil, though their acidifying strength and longevity may vary.
How often should I check the soil pH after the initial adjustment? For container plants, checking once a month during the growing season is sufficient. If you see signs of chlorosis (yellowing leaves with green veins), test the pH immediately. For in-ground plants, testing at the start and middle of the growing season is a good practice.
Seeing those first brilliantly colored leaves unfurl was all the proof I needed. The journey from struggling plants to thriving specimens hinged on understanding and managing one key factor: soil acidity. Using peat moss as a targeted amendment provided the perfect foundation. It required attention to detail—pre-moistening the peat, monitoring water quality, and planning for long-term maintenance. But the process is straightforward and deeply rewarding. By creating that ideal, slightly sour home for your caladium tubers, you unlock their full potential, transforming them from simple plants into a breathtaking display of living color. Give your caladiums the acidic environment they crave, and they will repay you with a season of stunning beauty.





