 bluename
 How to Use Perlite for Caladiums: The Ultimate Soil Drainage Fix
I’ve lost count of how many stunning caladium varieties I’ve brought home, only to watch their vibrant leaves droop, yellow, or develop mushy stems. If you’re reading this, you’ve likely faced the same heartbreak. The culprit, almost always, is one thing: poor soil drainage. These tropical beauties crave moisture but absolutely despise wet feet. For years, I struggled with finding the right balance until I discovered a simple, game-changing solution: perlite. This isn't just theory; this is the story of my hands-on, two-week experiment that transformed my caladium care routine and saved my plants from root rot.
My journey began with a ‘White Queen’ caladium that was clearly struggling. The soil in its pot stayed soggy for days after watering, and new growth was stalled. I knew I had to repot it, and this time, I was committed to fixing the drainage issue at its core. I decided to document the entire process, from mixing the new soil to observing the plant's recovery over a critical two-week period.
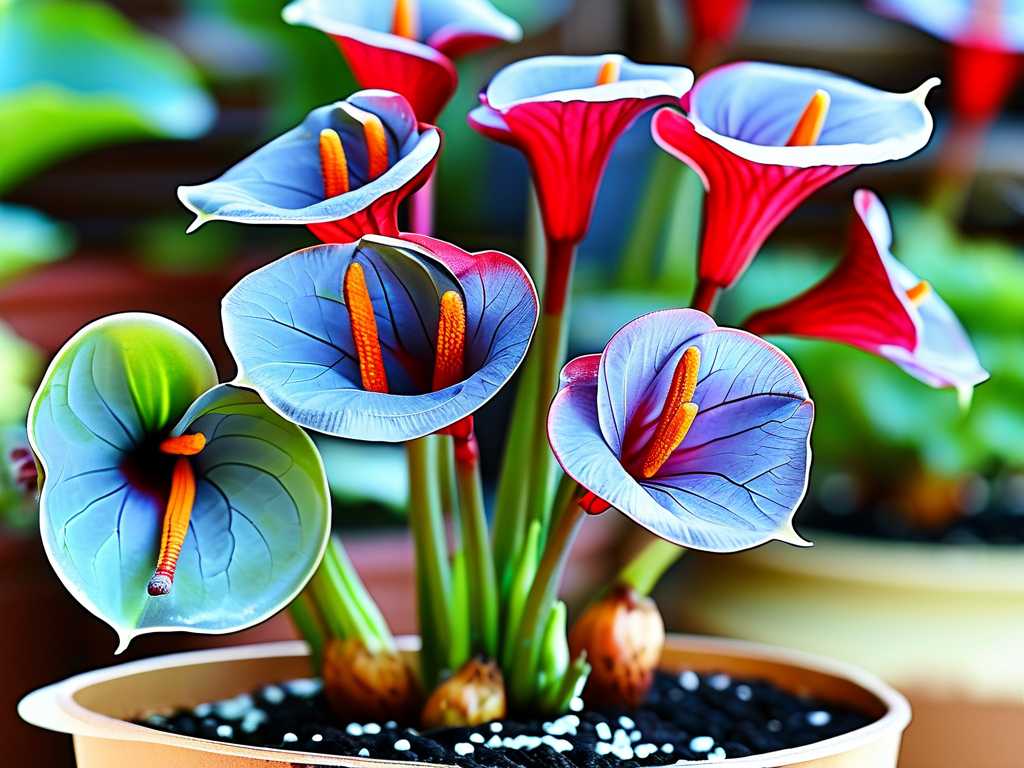
Understanding Why Drainage Is Non-Negotiable for Caladiums
Caladiums grow from tubers, which are essentially storage organs. Think of them like little potatoes sitting in the soil. When surrounded by dense, waterlogged mix, these tubers suffocate and begin to rot. This rot spreads quickly, often before you see clear signs on the leaves above the soil. The goal is to create an environment where water can hydrate the roots and then flow away freely, leaving behind air pockets for the roots to breathe. This is where perlite comes in.
Perlite is that lightweight, white, popcorn-like material you find in many potting mixes. It’s actually volcanic glass that has been superheated until it pops. According to the American Horticultural Society (AHS), inorganic amendments like perlite are crucial for creating a stable, well-aerated soil structure that doesn’t break down over time. Unlike organic matter, perlite doesn’t decompose, meaning it won’t compact and negate your drainage efforts months down the line.
My Step-by-Step Guide to Amending Soil with Perlite
Here is the exact process I followed, including the mistakes I made and how I corrected them.
Gathering the Right Materials I used a standard all-purpose potting mix, a bag of coarse horticultural perlite, my ailing caladium, and a clean pot with a drainage hole. My first mistake was initially choosing a pot that was too large. A pot that’s oversized for the tuber holds excess soil that stays wet longer. I swapped it for one that was only about 2 inches wider in diameter than the tuber itself.
Creating the Perfect Perlite Blend There’s no one-size-fits-all ratio, but for caladiums, you need a mix that drains exceptionally well. I started with a 2:1 ratio—two parts potting soil to one part perlite. This felt too dense for my situation. After consulting resources from the Royal Horticultural Society (RHS), which emphasizes “open, free-draining compost” for tuberous plants, I adjusted my formula. I settled on a more aggressive 1:1 ratio for my water-sensitive ‘White Queen’. For most caladiums, I now recommend starting with a 60% potting mix to 40% perlite blend. You can always adjust based on your home’s humidity and light conditions.
The Repotting Process: A Gentle Intervention
- I gently removed the caladium from its old, soggy soil, carefully teasing away the old mix from the roots.
- I inspected the tuber and roots, trimming away any soft, brown, or foul-smelling sections with sterile scissors. This is a critical step to stop rot from spreading.
- In a large container, I thoroughly mixed the potting soil and perlite until the white granules were evenly distributed. Dry mixing is key—you don’t want clumps of just soil or just perlite.
- I placed a layer of the new mix in the bottom of the pot, set the tuber at the appropriate depth (about 2 inches deep with the knobby side up), and gently filled in around it with more mix.
- I gave it a thorough but gentle watering until water ran out of the drainage hole, which helped settle the soil.
The Critical Two-Week Observation Period
This is where the real learning happened. I placed the repotted caladium in bright, indirect light and resisted the urge to water it again immediately.
Days 1-3: The Waiting Game The plant looked a bit shocked, which is normal. The leaves remained slightly droopy. The key test was the soil moisture. I stuck my finger about an inch into the soil. After just two days, the top layer felt noticeably drier than the old soil ever did, while deeper down it still felt cool and lightly moist—perfect.
Days 4-7: Signs of Recovery By day five, I noticed a change. The existing leaves had perked up and felt firmer. Most importantly, the soil dried out at a consistent, predictable rate. I watered it for the second time only when the top inch was completely dry. The water poured through the pot and out the bottom in seconds, exactly what I wanted to see.
Days 8-14: New Growth Emerges The most exciting moment came on day ten: a tiny, pointed new leaf spike (called a cataphyll) pushed through the soil surface. This was the ultimate sign that the tuber was happy and the roots were actively growing in their new, airy home. By the end of the second week, the plant was visibly healthier, supporting the old leaves and pushing out new growth without any signs of yellowing or stem softness.
Common Pitfalls and How to Avoid Them
My experiment wasn’t without its hiccups. Here’s what I learned the hard way:
- Pitfall 1: Using Fine-Grade Perlite. I initially used a cheap, dusty, fine-grade perlite. It created more of a powder that didn’t improve aeration much and made a mess. Solution: Always buy coarse or medium-grade horticultural perlite. The larger particles create better air pockets.
- Pitfall 2: Skipping the Even Mix. The first time I mixed, I was lazy and just layered soil and perlite in the pot. This created “perlite pockets” and “soil pockets,” leading to uneven moisture. Solution: Take the time to mix your components thoroughly in a separate container before potting.
- Pitfall 3: Overwatering After Repotting. Even with perfect soil, you can still overwater. The new mix dried faster than I was used to, but I stuck to the finger test. Solution: Let the plant, not the calendar, tell you when to water. Always check soil moisture first.
Optimizing Your Caladium Care with Perlite-Amended Soil
With the drainage problem solved, other aspects of care fall into place. Your watering frequency will likely increase slightly because the soil drains so well, but the risk of overwatering plummets. Fertilization becomes more effective too, as healthy roots in well-aerated soil can better absorb nutrients. Remember, a pot with a drainage hole is mandatory—no amount of perlite can save a plant sitting in a pot without an exit for water.
How much perlite should I add to my caladium soil? For most indoor caladiums, a blend of 60% quality potting mix to 40% coarse perlite is an excellent starting point. If your environment is particularly humid or you have a history of overwatering, you can go to a 50/50 mix. The goal is soil that holds moisture for the roots but never becomes waterlogged.
Can I use other materials instead of perlite for better drainage? Yes, materials like pumice or coarse horticultural sand can also improve drainage. However, perlite is often preferred because it’s lightweight, sterile, and creates excellent aeration. Pumice is heavier and sand can be too dense if not used correctly. The RHS notes that while sand can improve drainage, it must be coarse to be effective; fine sand can actually compound compaction issues.
My caladium is still droopy after repotting with perlite. What did I do wrong? Some droopiness immediately after repotting is normal due to transplant shock. Ensure the plant is in warm, bright, indirect light and avoid direct sun. If droopiness persists beyond a week, re-check your watering. You may be underwatering now that the soil drains faster. Feel the soil an inch down—if it’s bone dry, give it a thorough drink. Also, double-check that no root rot was missed during the initial tuber inspection.
Watching my caladium rebound over those two weeks was all the proof I needed. The transformation from a struggling, waterlogged plant to one pushing out vigorous new growth was directly tied to that simple soil amendment. Perlite doesn’t just fix drainage; it builds resilience into your plant’s very foundation. By giving your caladium’s roots the oxygen they desperately need, you’re not just preventing problems—you’re actively setting the stage for a season of stunning, vibrant foliage. Give this method a try with your next struggling caladium; the results speak for themselves.





