 bluename
 How to Make Caladium Soil Rich: My 2-Week Journey with Compost Addition
I’ve always been mesmerized by the vibrant, heart-shaped leaves of caladiums, but for the longest time, mine looked more like a sad watercolor painting left in the rain. The colors were dull, the leaves were small, and growth seemed to stall no matter what I did. The problem, I eventually realized, wasn't my watering can or my sunny window—it was what was happening underneath. My caladiums were living in poor, lifeless soil. If you're struggling with the same frustration, wondering how to unlock those stunning, tropical displays, you’ve landed in the right place. The single most transformative action you can take is learning how to make caladium soil rich. And the most effective, natural way to do that is through the strategic addition of compost. Over the next sections, I’ll walk you through my personal, hands-on experiment of enriching my caladium soil with compost, sharing the exact steps, the mistakes I made, and the remarkable changes I observed over a dedicated two-week period.
Understanding Why Caladiums Demand Rich, Organic Soil
Before we get our hands dirty, it's crucial to understand the "why." Caladiums are not your average houseplant. Native to the tropical rainforests of South America, they thrive in a floor of constantly decaying organic matter. Their growth cycle is intense; they push out large, delicate leaves at a remarkable speed during their active season. This demands a steady, gentle supply of nutrients and a soil environment that retains moisture without becoming soggy—a balance that synthetic fertilizers often disrupt with harsh salts.
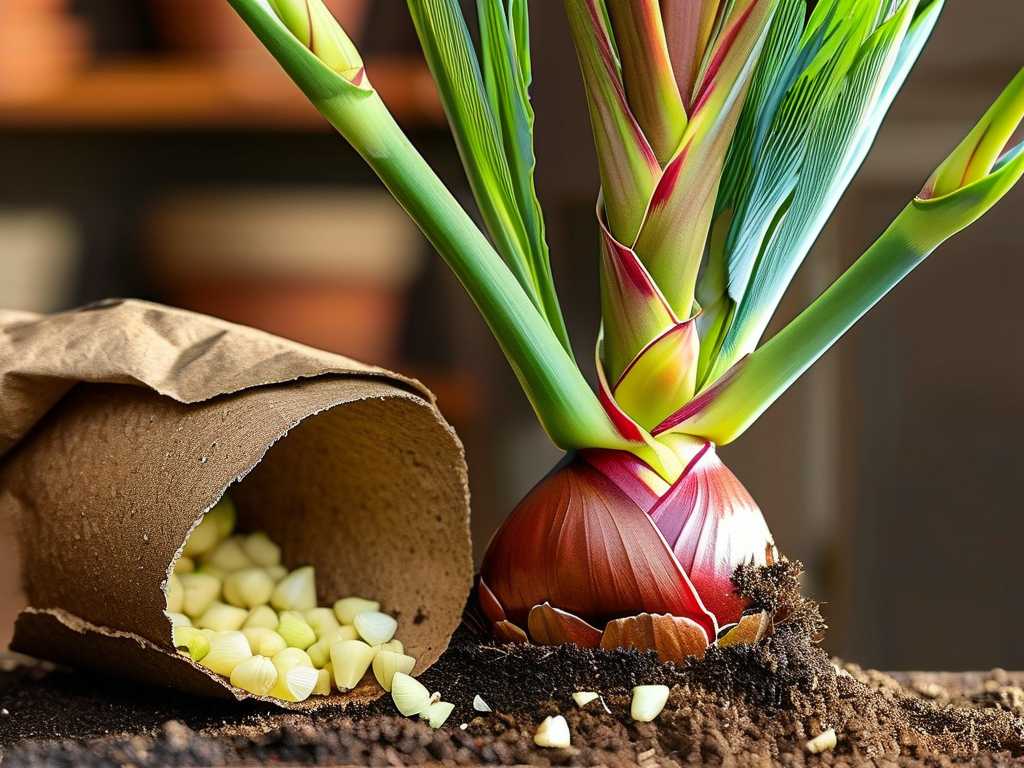
This is where compost becomes non-negotiable. According to principles echoed by organizations like the Royal Horticultural Society (RHS), compost is more than just plant food. It’s a soil conditioner. It improves soil structure, allowing for critical oxygen flow to the roots. It enhances moisture retention, ensuring the tubers don't dry out. Most importantly, it introduces a thriving ecosystem of beneficial microbes that make nutrients bioavailable to the plant. In short, enriching caladium potting mix with compost doesn't just feed the plant; it builds a living, breathing home for it.
My Step-by-Step Process for Supercharging Caladium Soil with Compost
Armed with this knowledge, I gathered my materials: a struggling 'White Queen' caladium, a bag of well-aged, screened compost from my local garden center (it had a pleasant, earthy smell—no ammonia odor), a bag of high-quality peat-free potting mix, perlite, and a clean pot with excellent drainage.
Step 1: Assessment and Base Mix Creation First, I gently removed the caladium from its old pot. The roots were slightly pot-bound, and the existing soil was compacted and dusty—a clear sign of depleted organic matter. I shook off the old soil and gave the roots a gentle rinse. My goal was to create a base mix that was airy yet moisture-reticent. I combined 3 parts potting mix with 1 part perlite. This formed my neutral, well-draining foundation.
Step 2: The Golden Ratio – Integrating the Compost This is the heart of the operation. I’ve learned that more is not always better. Too much raw or overly rich compost can burn tender roots. Following a guideline I trust, I aimed for a 25% compost to soil ratio. For my mix, this meant adding 1 part compost to the 3 parts base mix I had prepared. I thoroughly blended everything in a large tub until the compost was evenly distributed, creating a uniform, dark, and crumbly nutrient-rich soil for caladiums.
Step 3: Repotting and Initial Care I placed a layer of the new blend in the bottom of the clean pot, set the caladium tuber and roots in place, and gently filled around it with more mix, firming lightly. I left about an inch of space from the rim for watering. Then, I gave it a deep, thorough watering until it drained freely from the bottom. This settled the soil and eliminated air pockets. I placed the plant back in its bright, indirect light location, making a note on my calendar to begin my observations.
The 2-Week Observation: Transformations and Troubleshooting
The first few days were about monitoring for shock. The plant looked stable, which was a good sign.
Week 1: The First Signs of Life By day 5, I noticed something exciting. A new leaf spike that had been stalled for weeks was now visibly pushing upward. The existing leaves, which had a slight yellowish tinge, began to look perkier. The most subtle but telling change was in the soil itself. When I lightly touched the surface a couple of days after watering, it still felt cool and slightly moist, whereas before, it would have been bone dry. The compost was already doing its job of improving soil moisture for tropical plants.
The "Pitfall" and Solution: Fungus Gnats Around day 7, I encountered my first problem. I noticed tiny, dark flies hovering around the soil—fungus gnats. They are attracted to moist, organic environments. While harmless to the plant in small numbers, they're a nuisance. I realized my compost blend, while aged, was very moisture-retentive, and I might have been slightly over-enthusiastic with my initial watering. My solution was two-fold. First, I let the top inch of soil dry out completely before watering again, breaking the gnats' breeding cycle. Second, I made a note for my next batch: for indoor plants, I could bake a small batch of compost in the oven at 200°F for 30 minutes to sterilize it, or simply ensure it was very well-aged and not too "fresh." This quickly resolved the issue without harming the plant or the soil biology.
Week 2: Visible Vigor and Color The second week showed dramatic improvement. The new leaf unfurled, and it was noticeably larger and had more intense pink veining than the previous leaves. The overall posture of the plant was more upright and robust. I compared a photo from day 1 to day 14, and the difference was undeniable. The foliage was glossier, and the white sections of the 'White Queen' were brighter, not muddy. The compost amendment for healthier foliage was delivering on its promise. The soil structure remained loose and friable when I poked a finger in, confirming no return to compaction.
Building and Maintaining Long-Term Soil Fertility
My two-week experiment proved the immediate value, but caladiums are long-term guests. To maintain this richness, I’ve adopted a follow-up routine. Every 4-6 weeks during the growing season, I apply a light top-dressing: I scrape away the top half-inch of soil and replace it with a fresh layer of pure compost. This acts as a slow-release feed and continually replenishes the microbial life. When I water, nutrients from this top layer gently seep down. Furthermore, I’ve started brewing simple compost tea by steeping a bag of compost in water for 24-48 hours and using the liquid to water my caladiums monthly. This gives them a direct boost of beneficial microbes and soluble nutrients, further supporting the vibrant leaf production we all crave.
How often should I add compost to my caladium pot? For potted caladiums, a major soil refresh with compost should be done at the start of each growing season when you replant the tuber. During the active season, a light top-dressing every 4-6 weeks is sufficient to maintain fertility without disturbing the roots.
Can I use homemade compost, and what should I watch for? Absolutely! Homemade compost is excellent. The key is to ensure it is fully decomposed—it should be dark, crumbly, and smell like fresh earth, not sour or rotten. Always sift it to remove large chunks that could hinder root growth. If you’ve had pest issues in your compost pile, consider the gentle oven sterilization method for small batches used indoors.
My caladium leaves are still limp after improving the soil. What now? If the soil is rich and well-draining but leaves are limp, double-check your environmental factors. Enriched soil improves water availability, but caladiums also demand high humidity (above 50%) and protection from direct, hot sun. Limp leaves can be a sign of low humidity or temperature stress, not necessarily a soil issue. Try grouping plants together or using a humidity tray.
Watching my caladium transform over just fourteen days was all the proof I needed. The journey from struggling specimen to a centerpiece of lush, colorful foliage hinged entirely on giving it the foundational environment it evolved to love. Enriching caladium potting mix with compost isn't a mere gardening tip; it's a fundamental shift in how we support our plants. It moves us from simply pouring fertilizer on a problem to building a resilient, living ecosystem in a pot. The results—the deeper colors, the sturdier leaves, the sheer vitality—speak for themselves. Start with a good compost, follow the simple ratio, and be patient. Your caladiums will show their gratitude through every spectacular leaf.





