 bluename
 How to Grow Caladiums in Small Pots: A Space-Saving Guide for Urban Gardeners
I love the vibrant, heart-shaped leaves of caladiums, but for years, I thought I couldn’t grow them. My apartment balcony is my only outdoor space, crammed with a few herbs and succulents. The idea of dedicating a large garden bed to these tropical beauties was just a dream. That was until I discovered the magic of growing caladiums in small pots. If you’re like me, craving a splash of dramatic foliage but wrestling with limited square footage, this guide is for you. I’ll walk you through my complete, hands-on journey of cultivating these stunning plants in compact containers, sharing every step, my two-week observation diary, the mistakes I made, and exactly how I fixed them. Let’s turn that small corner into a lush, tropical escape.
Getting Started: Why Small Pots Are a Game-Changer
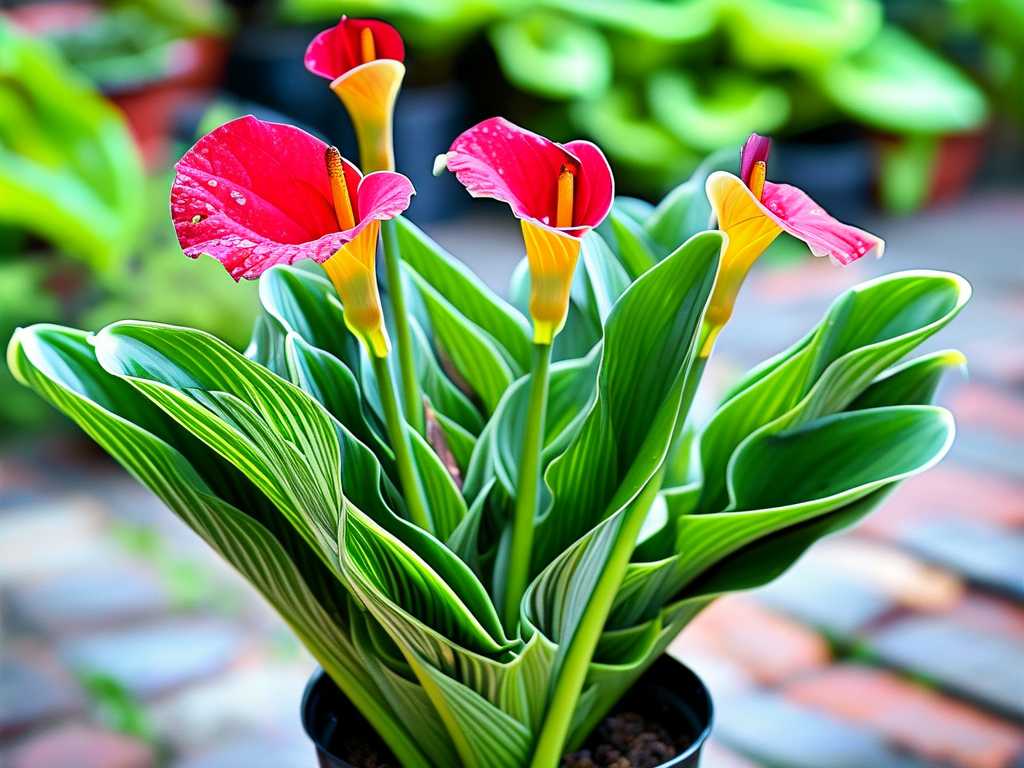
You might wonder if confining a caladium is cruel. From my experience, it’s quite the opposite. Growing caladiums in containers offers immense control. You can manage soil quality, moisture, and sunlight with precision, which is often harder in a garden bed. For urban dwellers, balcony gardeners, or anyone with a petite patio, this method is a revelation. It allows you to move your plants to catch the perfect light or shield them from a sudden downpour. The key is choosing the right small pot and understanding that “small” doesn’t mean “tiny.” A pot that’s too small will dry out instantly and stunt the tuber. After some trial and error, I found the sweet spot.
Choosing Your Champion: Pots, Tubers, and Soil Mix
This first step is where I made my initial, crucial mistake. I got excited and planted a large tuber in a cheap, decorative pot with no drainage hole. It was a disaster in the making. Here’s what I learned you must do instead.
Selecting the Perfect Container Drainage is non-negotiable. Every pot must have at least one hole in the bottom. I now swear by lightweight plastic or resin pots that are 6 to 8 inches in diameter and about as deep. This size comfortably houses one average-sized tuber or two to three smaller ones. According to the American Horticultural Society’s container gardening guidelines, a depth of 6-8 inches provides adequate room for root development without holding excessive moisture that can lead to rot. For a aesthetic touch, use these functional pots as a liner inside a more decorative cache pot. Terracotta is breathable but dries out very quickly, requiring more frequent watering.
Picking Healthy Tubers Look for firm, plump tubers with several “eyes” or growing points. Avoid any that are soft, shriveled, or have mold. I ordered mine from a reputable online nursery, and while they looked a bit dry upon arrival, they were firm. I chose a mix of a classic white variety like ‘Candidum’ and a vibrant pink one like ‘Carolyn Whorton’ for contrast.
Crafting the Ideal Soil Caladiums demand a well-draining, airy, and slightly acidic potting mix. My failed pot had dense, moisture-retentive garden soil. Never use garden soil in containers. I now use a high-quality peat-based potting mix. To supercharge it, I follow a recipe recommended by many expert growers: two parts potting mix, one part perlite, and one part coconut coir. This creates a fluffy, moisture-retentive yet fast-draining environment that caladium roots adore.
The Planting Process: A Step-by-Step Visual Guide
This is where the fun begins. Let’s get those tubers in the soil.
- Prep the Pot: Fill the bottom third of your pot with your pre-moistened soil mix. Moisting the mix beforehand ensures even hydration from the start.
- Position the Tuber: Place the tuber on top of the soil with the bumpy, knobby side facing up. Those bumps are the eyes. If you’re unsure, plant it on its side; the shoot will find its way up.
- Cover and Water: Gently cover the tuber with 1.5 to 2 inches of soil. Water thoroughly until water runs freely out of the drainage hole. This settles the soil around the tuber.
- The Warmth Factor: Here’s a critical tip I learned the hard way: Caladiums need warmth to sprout. My first pot sat on a cool balcony and did nothing for weeks. For my second attempt, I placed the pot in the warmest spot in my apartment—on top of the refrigerator—where the ambient heat is consistently around 70-75°F (21-24°C). This made all the difference.
My Two-Week Observation Diary: Patience is Key
I planted two pots on the same day and placed them both in a warm, bright room (not in direct sun). Here’s what happened:
- Days 1-4: Nothing. The soil surface remained unchanged. I resisted the urge to dig and check, a common beginner mistake.
- Days 5-7: Still nothing visible. I lightly watered only when the top inch of soil felt dry. Overwatering now would rot the tuber.
- Day 8: A tiny, reddish-pink nudge broke the soil surface in the ‘Carolyn Whorton’ pot! The ‘Candidum’ pot showed no signs.
- Day 10: The first shoot was about an inch tall, tightly furled. A second nudge appeared nearby. The white variety pot remained dormant.
- Day 12: The first leaf began to unfurl, revealing a stunning pink and green marbled pattern. It was breathtaking. The second shoot grew quickly.
- Day 14: The first leaf was fully open, about 3 inches wide, and a second leaf was unfurling. The ‘Candidum’ pot finally showed a pure white spear breaking through. The two-week mark proved the importance of warmth and patience. Even tubers of the same type can sprout at different rates.
Essential Care for Thriving Potted Caladiums
Once your leaves are up, the care shifts slightly. This is the maintenance routine that keeps my plants vibrant all season.
Light: The Brightness Balance Caladiums are often marketed for shade, but in my small-pot system, they need bright, indirect light to support their growth in a confined root zone. Direct hot sun will scorch their thin leaves. My balcony gets morning sun, so I place my pots where they receive gentle morning rays but are shaded during the harsh afternoon. If leaves start to look faded or washed out, they’re getting too much sun. If the stems are overly long and leggy, reaching for light, they need more.
Watering: The Art of Consistency This was my second big pitfall. I’d either forget and let them dry out, causing leaf edges to brown, or I’d be over-enthusiastic and keep the soil soggy. The goal is consistently moist soil, like a wrung-out sponge. I stick my finger about an inch into the soil every other day. If it feels dry, I water deeply until it runs out the bottom. In the heat of summer, my small pots often need water every day. A mulch layer of sphagnum moss on top helps slow evaporation.
Feeding: Less is More Caladiums are not heavy feeders. I use a balanced, water-soluble fertilizer (like a 10-10-10) diluted to half-strength. I apply it every 4-6 weeks during the active growing season (late spring through summer). Over-fertilizing, especially with high-nitrogen formulas, can lead to excessive green foliage at the expense of those vivid colors we love.
Troubleshooting Common Problems in Containers
Even with care, issues pop up. Here’s what I’ve faced and fixed.
- Yellowing Leaves: This can be overwatering, underwatering, or a natural process. Older leaves yellow and die back as the plant focuses energy on new growth. If new leaves are yellowing, check your watering habits and ensure the pot drains freely.
- Leggy Growth: As mentioned, this is insufficient light. Gradually move your pot to a brighter location.
- No Growth/Stunted Growth: The soil might be too cold. Move the pot to a warmer spot. Also, ensure the tuber was planted right-side up and not too deeply.
Preparing for Dormancy and Storage
When temperatures drop and leaves begin to die back in fall, reduce watering. Once the foliage has yellowed and withered, I stop watering altogether. For my small pots, I simply move them to a cool, dark closet or basement (around 50-60°F / 10-15°C) and let the soil stay completely dry all winter. Come spring, I bring the pots out, refresh the top inch of soil, resume watering, and wait for the magic to repeat. You can also unpot the tubers, brush off the soil, and store them in a box of dry peat moss.
Can I grow caladiums in small pots indoors year-round? Yes, absolutely. They make excellent houseplants. Provide them with very bright, indirect light (an east-facing window is perfect), maintain consistent warmth and moisture, and they can thrive indoors. Just note they may enter a dormant period in winter even indoors due to lower light levels; just reduce watering and let them rest.
What are the best caladium varieties for small spaces? Look for dwarf or lance-leaf varieties that have a naturally compact habit. Varieties like ‘Miss Muffet’, ‘Little Miss Muffet’, or ‘Puppy Love’ are bred to stay smaller and are perfect for container culture, offering all the color in a space-saving form.
My caladium sprouted but then the new leaf seems stuck/hasn’t unfurled. What’s wrong? This is often due to low humidity. The tender new leaf gets stuck in the dry sheath. Increase humidity around the plant by placing the pot on a pebble tray filled with water (ensure the pot sits above the water line) or by grouping it with other plants. A gentle mist around (not directly on) the plant can also help.
Growing caladiums in small pots has transformed my urban gardening experience. It’s a practice that rewards attention to detail—the right pot, the warm spot for sprouting, the consistent finger-in-the-soil check. Seeing those first colorful leaves push through, knowing you nurtured them from a dormant tuber in a confined space, is incredibly satisfying. It proves that you don’t need a yard to create a lush, tropical oasis. Start with one pot, learn its rhythms, and soon you’ll have a collection of living art that brings joy to every small corner of your home.





