 bluename
 How to Grow Caladiums in Large Pots: Statement Plant Steps
You’ve seen them. Those stunning, heart-shaped leaves splashed with vibrant pinks, reds, whites, and greens, turning a shady corner into a tropical paradise. You want that drama, that living artwork, for your own patio or balcony. But maybe you’ve hesitated, thinking caladiums are too fussy, or perhaps you’ve tried before only to end up with sparse, struggling plants. I was right there with you. The dream of a lush, towering statement plant felt out of reach until I shifted my approach entirely: growing caladiums in large pots.
This guide is the result of my own hands-on journey from hopeful beginner to confident grower. I’ll walk you through every step I took, share the exact mistakes I made (and how I fixed them), and show you the tangible results I observed over a dedicated two-week monitoring period. Forget the guesswork; let’s build your container caladium masterpiece.
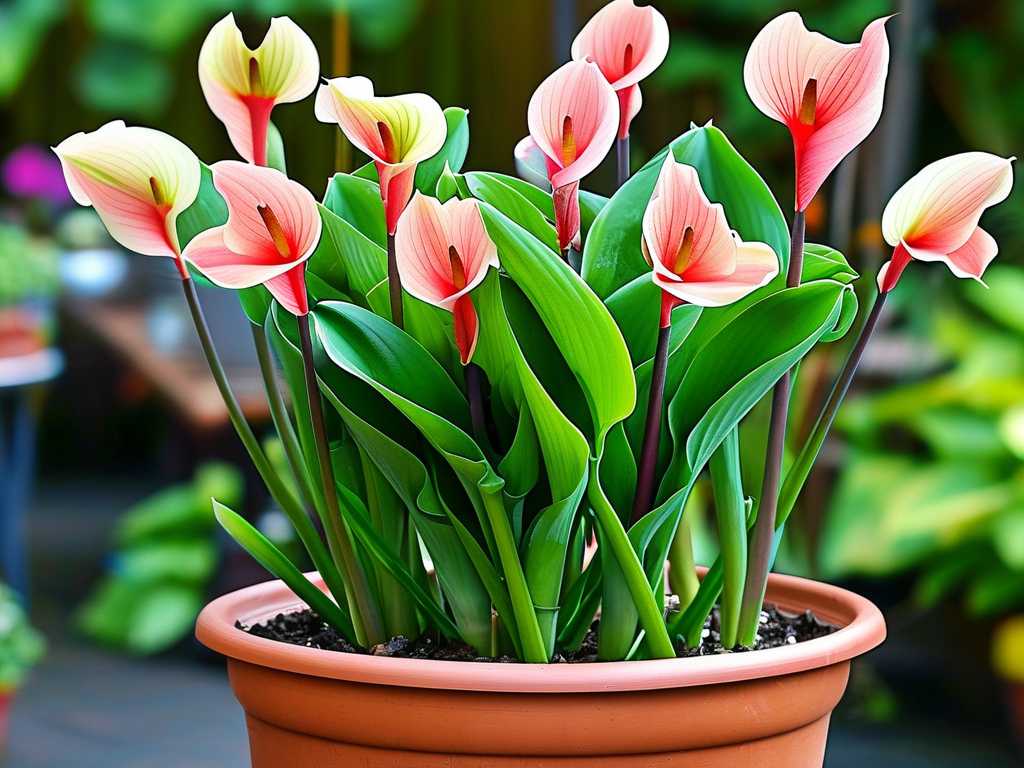
Why Large Pots Are a Game-Changer for Caladiums
Most advice suggests starting caladium tubers in modest-sized containers. But for creating a true focal point—a statement plant—size matters. In a small pot, the plant’s energy is diverted to filling the space with roots, often at the expense of leaf size and quantity. A large pot provides a generous, stable reservoir of moisture and nutrients, which is critical because caladiums are heavy drinkers, especially during peak growth. It also offers better insulation for the tubers against temperature swings. The Royal Horticultural Society (RHS) notes that consistent soil moisture is key to preventing leaf edge burn, a common issue that’s mitigated by the greater soil volume in a large container.
My Step-by-Step Process for Planting Caladiums in Large Containers
Here is the exact process I followed, refined through trial and error.
Choosing the Right Pot and Location
My first pitfall was using a pot that was large but poorly designed. I learned the hard way that drainage is non-negotiable. I now select containers at least 14-16 inches in diameter and depth, with multiple drainage holes. Material matters, too. Glazed ceramic retains moisture well, which helps in hot climates, while lightweight resin is ideal for balconies.
Location is the other half of the equation. Caladiums thrive in bright, indirect light. Direct afternoon sun will scorch those beautiful leaves. I found a perfect spot on my east-facing patio that gets gentle morning sun and dappled shade for the rest of the day. This setup is ideal for growing caladiums in pots successfully.
The Perfect Potting Mix Formula
Garden soil is a death sentence for container caladiums; it compacts and suffocates tubers. After a failed attempt with a generic potting mix that stayed too wet, I created my own blend. I mixed:
- 50% high-quality, peat-free potting compost for structure.
- 30% coconut coir for moisture retention.
- 20% perlite and orchid bark for supreme drainage and aeration.
This mix is fluffy, holds moisture without becoming waterlogged, and allows tubers to breathe—exactly what the American Horticultural Society (AHA) recommends for tuberous plants to prevent rot.
Planting the Tubers: A Crucial Detail
Here’s where I made my most critical mistake. I planted my tubers too deep. Caladium tubers have a knobby side (where the eyes/buds are) and a smoother side. The correct way to plant caladium tubers is to place them knobby-side-up, just 1.5 to 2 inches below the soil surface. Planting them upside down or 4 inches deep, as I did initially, delayed sprouting by nearly three weeks! Once I corrected this, growth was swift.
I plant multiple tubers in one large pot for instant fullness. In my 16-inch pot, I placed five tubers, spacing them evenly about 4-6 inches apart.
Watering and Feeding: The Rhythm of Growth
My initial watering strategy was erratic—sometimes flooding, sometimes forgetting. Caladiums demand consistency. At planting, I water the mix thoroughly until it drains freely. Then, I wait. I don’t water again until the top inch of soil feels dry. This encourages root growth without risking rot.
Once leaves emerge, the thirst begins. During my two-week observation period in peak summer, I watered every 2-3 days, always checking soil moisture first. The large pot meant the roots had constant access to water without sitting in soup.
For feeding, I use a balanced, water-soluble fertilizer (like a 10-10-10) diluted to half-strength every 4 weeks once the plants have 3-4 leaves. Over-fertilizing, especially with high-nitrogen formulas, can wash out those brilliant leaf colors.
My Two-Week Growth Observation and Problem-Solving
After correctly replanting my tubers, I committed to daily observations. Here’s what happened:
Days 1-7: The soil surface remained unchanged. Patience was key. I resisted the urge to dig and check, maintaining light moisture.
Day 8: The first pink nub broke the soil surface! A ‘White Queen’ tuber was leading the way.
Days 9-12: More sprouts appeared daily, unfurling like tiny, colorful scrolls. Growth was visibly faster each morning.
Day 13: I noticed the first fully unfurled leaf on the ‘White Queen’—a spectacular sight of white with green veins and a pink blush.
Day 14: Three plants had full leaves, and two more were unfurling. However, I spotted a potential issue: a slight yellowing on the edge of one older leaf.
The “Pit” and The Fix: This yellowing was my old nemesis: inconsistent moisture. While the large pot helped, a particularly hot, windy day had dried the top soil faster than usual. My fix was twofold. First, I gave the pot a deep, thorough watering. Second, I placed a shallow saucer underneath (raising the pot on feet to avoid bottom sogginess) to create a humidity microclimate. Within two days, no further yellowing appeared on new growth. This reinforced the lesson: caladium care for large containers requires vigilant moisture management.
Seasonal Care and Overwintering Your Potted Caladiums
As fall approaches and leaves begin to fade, reduce watering. I let the soil dry out almost completely after the foliage dies back. Then, I store the entire pot in a cool, dark place like a basement (around 50-60°F). You can also dig up the tubers, let them dry, and store them in peat moss. Come spring, bring the pot back into warmth and light, resume watering, and watch the cycle begin anew. This makes growing caladiums in pots a rewarding, perennial investment.
How often should I water my potted caladium? There’s no universal schedule. The rule is to water when the top inch of soil is dry. In hot weather, this could be every 2-3 days; in cooler periods, once a week. Always check with your finger.
Why are my caladium leaves small or not colorful? This usually points to insufficient light or nutrients. Move the pot to a brighter spot with indirect light and ensure you’re feeding monthly with a balanced fertilizer at half-strength.
Can I leave my caladiums in the same pot next year? Absolutely. Simply stop watering in fall, let the foliage die back, and store the dormant pot in a cool, dark place over winter. Refresh the top few inches of soil in spring before resuming care.
Watching those bold, painterly leaves unfurl from a pot you’ve curated yourself is one of the most satisfying experiences for a plant lover. It transforms a simple gardening task into creating living decor. By choosing a large pot, mastering the soil and planting depth, and tuning into the plant’s needs for water and light, you’re not just growing a plant—you’re cultivating a breathtaking centerpiece. The journey from dormant tuber to lush canopy is a testament to a little knowledge and a lot of attentive care. Your own tropical statement is waiting to happen.





