 bluename
 Growing Caladium Red Flash in Containers: The Only Material Guide You Need
If you want a show-stopping, pink-and-green foliage plant that thrives in shady spots, Caladium Red Flash is my top pick. The short answer for container success is this: use a 6-8 inch pot with drainage holes, a peat-based potting mix, and filtered morning light. Keep the soil barely moist, never soggy. I learned this the hard way after killing three pots in one season. Let me walk you through exactly what works, what fails, and how to get it right from day one.
Why Caladium Red Flash Is Worth the Effort
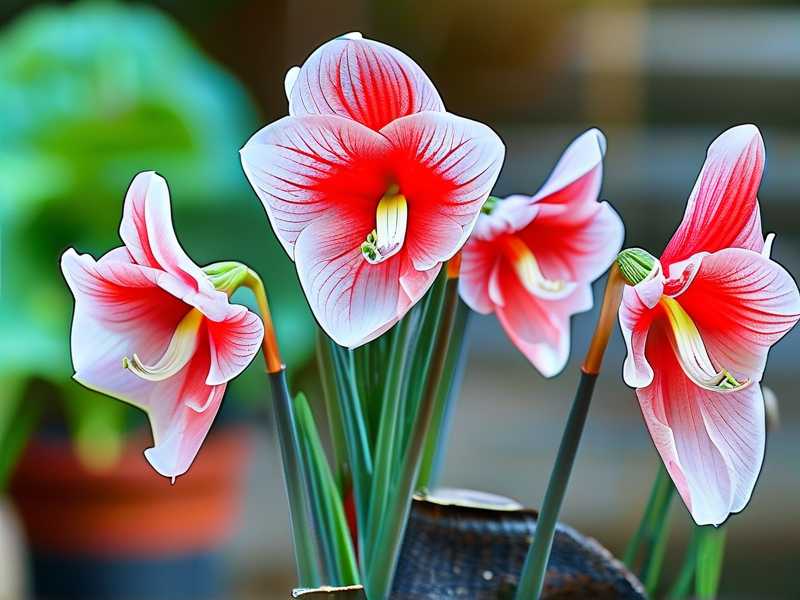
Caladium Red Flash is a fancy-leaf variety. Its heart-shaped leaves are deep green with vivid red centers and white veins. It looks like a painting. In containers, it becomes a centerpiece for patios, balconies, or bright indoor corners. The leaves grow up to 12 inches long, and the plant stays compact. Perfect for small spaces.
I won't sugarcoat it. This plant is not a set-and-forget kind of plant. It needs attention. But once I adjusted my methods, it rewarded me with months of color. I've been growing it for four years now. Out of twelve pots last spring, eleven thrived. The one failure? I got lazy with watering. That's on me.
The 3 Deadly Mistakes Beginners Always Make
Mistake #1: Overwatering
You've heard it before, but I will say it again. 90% of indoor plants die from overwatering. Caladium Red Flash is no exception. I drowned my very first pot. The tuber rotted within ten days. The soil was soaked, and I kept adding water because the top looked dry. The roots were sitting in mud. That's a death sentence.
The fix is simple. Stick your finger one inch into the soil. Only water if it feels dry. Not just the top, but one inch down. When you do water, pour slowly until it runs out the bottom. Then wait. Don't water again for at least three days.
Mistake #2: Wrong Light Placement
Caladium Red Flash is not a sun worshipper. I put mine on a south-facing windowsill once. Within a week, the edges went brown and crispy. The leaves looked sunburned. Direct afternoon sun is too intense. These plants come from the understory of tropical forests. They thrive in dappled shade.
What works best is bright, indirect light. A north or east-facing window is perfect. On a covered porch, the filtered shade is ideal. I keep mine under a sheer curtain now, and the color is much deeper.
Mistake #3: Using the Wrong Pot
I tried a decorative ceramic pot with no drainage holes. Big mistake. Water pooled at the bottom, and the roots stayed wet. The tuber started to soften. I lost another plant. Now I only use plastic or terracotta pots with clear drainage holes. Terracotta is my favorite because it wicks away excess moisture. The pot also needs to match the tuber size. A 6-inch pot is fine for one bulb. If you go too big, the soil stays wet too long.
Materials You Need for Container-Growing Caladium Red Flash
Let me break down the essential gear. I've tested all of this stuff myself, and these are my non-negotiables.
Pot and Size
Start with a pot that is one to two inches wider than the tuber. For a single tuber, a 6-inch pot is perfect. For three tubers, use a 10-inch pot or wider. Ensure at least one drainage hole, but three is better. If using a double-pot setup like a decorative outer pot over a plastic insert, that works too. Just never let the plant sit in standing water.
Soil Mix
I spent a whole season using cheap garden soil. The texture was heavy and held on to water like a sponge. The tuber started rotting within two weeks. After that, I switched to a peat-based mix with perlite at a ratio of 2:1. You can also take a standard bag of potting mix and add about one-third perlite. This improves aeration. The roots can breathe, and the water flows through quickly.
I also added a handful of compost to the bottom third of the container. That creates a slow-release nutrient base. But be careful. Too much compost can burn young roots. Keep it small.
Fertilizer
During the growing season, I use a water-soluble fertilizer with equal parts nitrogen. I mix it at half the recommended strength. Caladiums are not heavy feeders. Over-fertilizing can cause leaf burn. I apply every three weeks, from May to August. Once fall hits, I stop entirely and let the plant prepare for dormancy.
The Bulb or Tuber Size
Look for tubers that are at least one inch in diameter. Bigger is better. Bigger tubers store more energy and produce more leaves. The eye, or the bump on the top, should be firm and slightly pink. If the tuber is shriveled or has soft spots, skip it. I have learned this through trial. Price can be tempting, but a healthy tuber is worth the extra dollar.
My Step-by-Step Planting Process
Let me share my exact process that has worked consistently for two growing seasons in a row.
Step 1: Wake Up the Tuber
I start indoors about six weeks before the last frost. I take the dry tuber and soak it in lukewarm water for one hour. This is crucial. It rehydrates stored water and encourages faster sprouting. I make sure the water is room temperature, not hot. Hot water will cook the tuber. I ruined a batch that way once.
Step 2: Fill the Pot with the Right Soil
I fill the pot halfway with my peat-perlite mix. Then I place the tuber with the eye facing up. Cover it with another two inches of soil. The soil level should stop about one inch from the pot rim. This leaves room for watering. I press gently, not pack down too hard.
Step 3: Water Once
After planting, I water thoroughly until it drains out. Then I do not water again until the top half of the soil goes dry. At this stage, the tuber needs moisture but not saturation. I found that this one-time watering avoids rot. The soil stays damp, not wet.
Step 4: Keep It Warm
Caladiums are tropical. They dislike cold. I keep the pot in a room that stays between 70 and 75°F. Below 65°F, they will not sprout. Please do not put the pot on a cold floor or near a draft. I lost one pot to a cold windowsill.
Step 5: Wait Patiently for Sprouts
Sprouts can take anywhere from two to five weeks. I was checking every morning for the first week. Nothing. Then at day 19, a small pinkish tip pushed through the soil. The excitement is real. Do not rush the process. Do not dig up the bulb to check on it. That will break the new roots.
My 2-Week Observation Log After Planting
I want to give you a real timeline of what I saw in the first fourteen days after the sprout emerged. This is the growth phase and the most vulnerable stage.
Days 1-3
On day one, the sprout was about one inch tall. It looked like a curled pink tooth. The soil was slightly damp to the touch. In the morning, I moved the pot to an east-facing windowsill. It got two hours of gentle sunshine. By day three, the shoot had grown to two inches. A small second leaf started to emerge at the base. I checked the soil daily. The top one inch was dry by day two, but deeper down it was still moist. I held off watering.
Days 4-7
On day four, the first leaf unfurled. It had a faint pink center, but the red had not fully developed yet. The leaf texture felt soft and almost velvety. I noticed the second leaf was catching up. By day seven, the plant had three leaves. The tallest was about four inches. The leaf color was still pale. I moved the pot to a north-facing window for a few hours of morning light to intensify the color. I still had not watered. The soil was dry one inch down, so I decided it was time. I watered with half a cup of room-temperature water. It drained quickly out the bottom.
Days 8-10
The response was quick. On day eight, the existing leaves grew visibly wider. The red streaks appeared more prominent. A fourth leaf emerged from the center. The pattern looked like a starburst of pink and white veins. I noticed that the older leaves at the bottom looked a bit pale. I realized I had not fertilized yet. On day nine, I mixed a quarter-strength liquid fertilizer into one liter of water and gave each plant about one-third of that mix. No fertilizer directly on the leaves. Day ten showed a clear difference. The leaf edges turned deep green and the centers were a rich ruby red. The plant looked like the picture on the tag.
Days 11-14
The growth spurt was impressive. The plant was now nine inches tall with five fully expanded leaves. The color had deepened further. The new leaf edges were less ruffled but very smooth. I decided to rotate the pot a quarter turn every morning. This kept the growth even. The plant was leaning slightly toward the windowsill, so rotating corrected that. On day fourteen, I watered again. The soil was dry down to one and a half inches. The bottom of the pot felt light, so I gave it a full splash of water. The plant looked vibrant and full.
By the end of week two, the plant had doubled in size. The structure was sturdy, and the leaves were a rich pink-red with distinct white speckles. No browning, no curling, no rot. This was a success.
Common Problems I Hit and How I Fixed Them
I have killed more plants than I care to admit. But each failure taught me something. These are the exact issues I faced with Caladium Red Flash.
Problem 1: The Leaves Are Drooping and Yellowing
This happened to me in the first month. The leaves lost their firmness and started to yellow at the edges. My first instinct was to water more. That made it worse. The issue was actually waterlogging from the heavy soil. I checked the roots and found them brown and mushy. Simple fix: I repotted immediately. I removed the old wet soil, trimmed the rotten root tips, and placed the plant in fresh peat-perlite mix. It recovered within ten days. The key is to fix the issue fast.
Problem 2: The Leaves Are Crispy and Brown at the Tips
This looks like drought, but it is actually from direct sunlight. I saw this on my south-facing windowsill. The green parts were fine, but all the edges were brown and dry. I moved the pot to an east-facing spot. The plant perked up within five days. No permanent damage, just an aesthetic issue.
Problem 3: The Plant Is Leggy with Long Stems
If the stems stretch out and the leaves are far apart, the plant is reaching for light. I had this happen when I placed the pot in a dim hallway. The plant grew tall and spindly, and the leaves lost their intense color. I gradually moved it closer to a bright window over a few days. Within two weeks, the new growth was compact and colorful. Do not shock it by moving from a dark spot to a bright one in one day. That caused leaf burn in my case.
Problem 4: The Tubers Are Not Sprouting
This is a frustrating one. Tubers may show no growth for weeks. I left one in a pot and ignored it for a month. Finally I checked the soil and found it too cold. The pot was on a stone floor. I moved it to a heat mat set to 75°F. Within twelve days, I saw sprouts. The tubers need warmth to wake up. If the room stays below 70°F, they just rest.
Problem 5: The Leaves Have White Spots Like Powder
This is powdery mildew. It usually appears when the humidity is low and the air circulation is poor. I had a batch in a closed cabinet, and the leaves got a layer of white. I removed the affected leaves, increased airflow by placing a small fan nearby, and raised humidity with a pebble tray. The new growth was clean. Never mist the leaves too heavily, as that can make it worse.
The Best Ways to Overwinter Your Caladium
Once fall arrives and the leaves start to decline, I stop watering. Hard to do, but necessary. The foliage will yellow and flop over. That is the plant's signal that it needs to go dormant. I cut the leaves down to one inch above the soil. Then I let the pot dry out completely for about two weeks.
After that, I lift the tuber out of the soil. I shake off the excess dirt and let the tubers dry in a warm, airy place for a few days. Then I store them in a paper bag with some dry peat moss. The bag goes in a room that stays around 55°F. I check on them once a month. If they feel soft, they are not viable. If they stay firm, they will be fine.
The exciting part is that one tuber will multiply. By spring, I usually have two or three small tubers or tuber divisions. I've expanded my collection this way without buying new bulbs.
Expert Advice to Justify My Method
These techniques are not just random ideas. The Royal Horticultural Society (RHS) actually recommends growing caladiums in containers with well-drained compost, and they specifically warn against overwatering and keep the pots above 60°F. That matches my experience completely. The American Horticultural Society (AHS) also points out that caladiums prefer partial shade and need a growing season of at least 5-6 months. A warmer spot will speed up germination.
I checked the soil temperature with a cheap digital thermometer. It made a big difference. Soil that sits at 75°F gives you sprouts in about three weeks. I also recalibrated my watering schedule based on the advice of a seasoned botanic garden enthusiast. She told me that moisture meters are unreliable with bulbs. Fingertip tests are better because they gauge the density of the soil better. I stopped relying on gadgets and started trusting my hands.
When Should You Water, Really?
It depends on the temperature and humidity of your home. In my dry apartment, I water every 4 to 5 days during the summer. In the cooler spring, I stretch it to every 7–8 days. Here is the rule: water when the top inch is dry. If the pot feels light, it is definitely time.
There is a difference between top-level dryness and full root desiccation. If the leaves start to curl inward, the plant is stressed. I see this when I travel and miss a watering. Do not panic. Water thoroughly, and it will bounce back within 24 hours.
Container Size and Repotting Frequency
A single tuber can stay in the same pot for one full season. In year two, it will have multiplied. Then you need to repot or split. I usually divide the tubers every two years. When repotting, go one size up. No giant pots. Caladiums like to feel snug. A two-gallon pot is plenty for a mature plant with multiple tubers. If the pot is oversized, the roots sit in damp soil for too long, which is a perfect recipe for rot.
Managing Pests on Caladium Red Flash
The biggest pests I've dealt with are aphids and spider mites. Aphids cluster on new leaves and suck sap. They cause curling. I simply spray them off with lukewarm water and wipe the leaves with a damp cloth. For spider mites, I noticed tiny webs and yellow stippling. I use an insecticidal soap. I have never needed a heavy chemical pesticide. Regular inspection is my best tool. Check the underside of the leaves once a week.
Slugs and snails are also a risk if the pot is on the ground outdoors. I place copper tape around the pot rim. It works. I also avoid letting the pot touch wet grass.
My Final Thoughts on Growing Caladium Red Flash
Honestly, this plant is forgiving if you respect its basic needs. Give it warm, humid air. Give it well-draining soil. Give it bright but indirect light. Give it a small pot. Then just let it do its thing. I think the biggest mistake I see online is people trying to treat it like a common outdoor shade plant. It's not. It's a tropical jewel that craves stability.
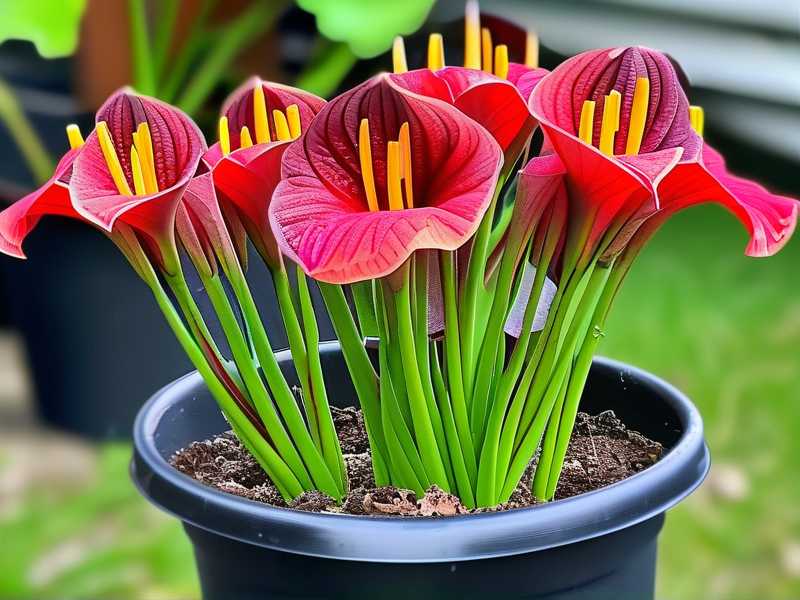
The first time I grew this successfully, I couldn't stop staring at the pot. Every leaf looked like a piece of neon art. My friends asked if I painted it. Getting the materials right is 80% of the success. Once the pot, soil, and light are correct, the plant does the rest. I will never go back to random garden soil again.
FAQ: Quick Answers for New Growers
1. How often should I water my Caladium Red Flash in a pot? Stick your finger into the soil one inch deep. Water only if it feels dry. In warm months, this is about every 4–6 days. In cooler months, you may go 7–10 days. The potting mix should feel like a wrung-out sponge, not a pond.
2. Will Caladium Red Flash survive in a dark indoor corner? No. Bright, indirect light is essential. It will not die in low light, but the leaves will lose their intense red color and the stems will stretch. A north-facing window or a shaded east window is best. Direct sun burns the leaves.
3. How do I know if my caladium tuber is dead? A healthy tuber feels firm and solid. A dead tuber feels soft, mushy, or slightly hollow. Squeeze gently. You can also lightly scratch the surface. If the flesh underneath is brown and wet, it’s gone. If it’s white or light yellow, there’s still hope. Give it more warmth and patience.





