 bluename
 How to Grow Caladiums on Patios: Your Ultimate Shade Setup Guide
I’ve always dreamed of transforming my sun-baked, rather plain patio into a lush, tropical retreat. The problem? Most of my favorite leafy plants wilted under the intense afternoon sun. I needed something spectacular that thrived in shade, something with dramatic foliage that could turn my paved space into a private garden room. That’s when I discovered caladiums. Their stunning, heart-shaped leaves in vibrant shades of pink, red, white, and green were exactly what I envisioned. But I quickly hit my first major hurdle: my patio gets about 4 hours of direct morning sun before becoming brightly lit but indirectly sunny for the rest of the day. Was that too much? How do I create the perfect shady haven for these beauties on a hardscape? If you’re struggling with similar questions about light, heat, and container growing, you’re in the right place. After a season of trial, error, and meticulous observation, I’ve perfected a system for growing dazzling caladiums on patios. This guide will walk you through exactly how to set up the ideal shade environment, a process I personally tested and observed over a critical two-week period, including all the mistakes I made and how I fixed them.
Understanding Caladiums and Their True Shade Needs
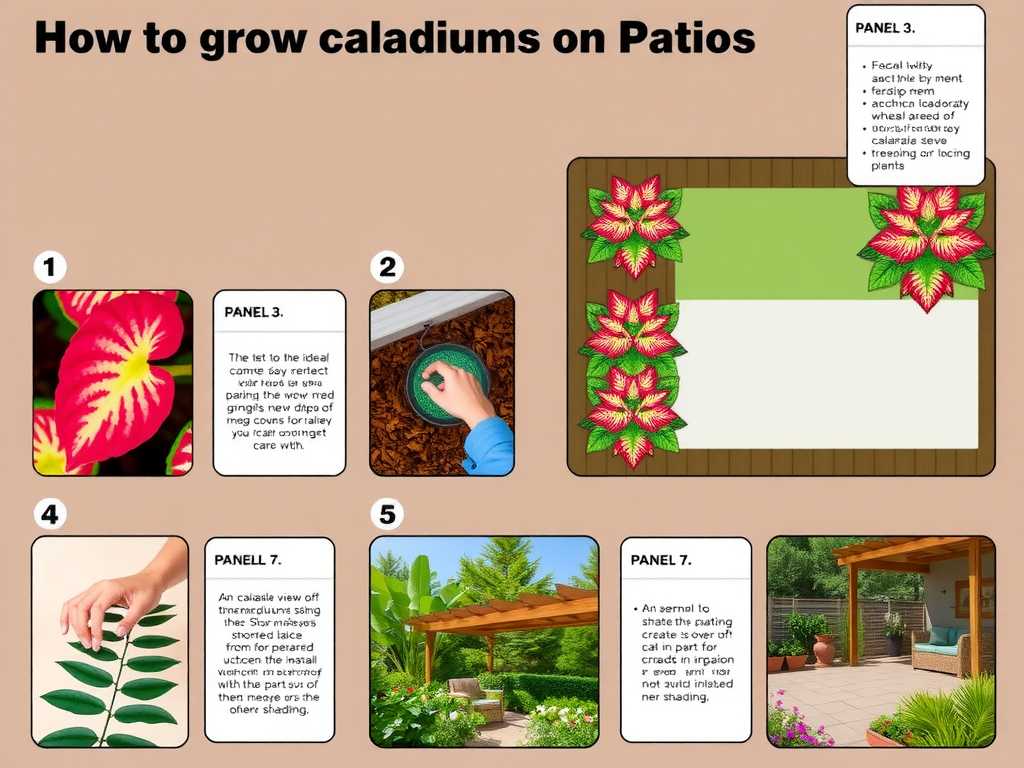
Many gardening sites will vaguely tell you caladiums need “shade.” But as a hands-on grower, I’ve learned that’s an oversimplification. According to the National Gardening Association, caladiums are tropical plants native to the understory of rainforests, where they receive dappled light filtered through taller trees. They crave bright, indirect light—not deep, dark shadow. Direct, harsh sunlight, especially during hot midday hours, will scorch their delicate leaves, causing brown, crispy patches and faded colors.
On a patio, this light is often reflected and intensified by walls, floors, and furniture. The American Horticultural Society’s Heat Zone Map is a useful tool here; it reminds us that container plants on patios often experience more intense heat and light than their in-ground counterparts, making shade management even more critical. My goal was to replicate that dappled, forest-floor condition. For us, this translates to a setup where the plants are protected from direct sun between 10 AM and 4 PM, the peak intensity hours. This understanding is the foundation of everything that follows.
My Two-Week Patio Shade Setup Experiment
I decided to treat this as a formal experiment. I purchased three healthy, pre-sprouted caladium tubers (variety ‘White Queen’) and three identical 12-inch containers with excellent drainage. My mission: to test three different shade setups over two weeks and document the daily effects on growth, color, and leaf health.
Week 1: The Initial Setup and Immediate Observations
I placed all three pots on my east-facing patio, which receives direct sun until about 11 AM.
- Plant A (Control – Underestimated Shade): I placed this one under a small, existing ornamental tree in a corner. I thought it was shaded enough.
- Plant B (The Canopy Test – DIY Shade Cloth): I created a simple frame using four bamboo stakes and draped a 50% density black shade cloth over the top and on the west-facing side.
- Plant C (The Mobile Solution – Strategic Placement): I placed this pot on a rolling plant stand. My plan was to manually move it twice a day: into a fully shaded corner when the direct sun hit the patio, and back out for bright ambient light later.
The First 3-Day Check-In: By Day 3, I noticed the first critical difference. Plant A (under the tree) showed slight paling on the newest leaf. The dappled light was too intense, with hot spots breaking through. Plant B, under the shade cloth, had leaves that were a vibrant, crisp white and green with no signs of stress. Plant C was doing well, but I already felt the chore of moving it—and I worried about missing the window on a busy day.
The Critical Day 5-7 Period: Here’s where I hit my first major “pitfall.” We had an unexpected heatwave. Daytime patio temperatures soared.
- The Problem: Plant A’s leaf paling turned into a definite yellow tinge. The soil dried out incredibly fast. Plant B was holding steady. Plant C, which I diligently moved, was fine, but the soil in its shaded spot stayed damp… almost too damp.
- The Solution & Adjustment: I realized shade isn’t just about light; it’s about microclimate. The heat radiating from the patio stones was “cooking” Plant A from the bottom up. I immediately inserted pot feet under all three containers to elevate them and allow air circulation. For Plant A, I added a temporary lattice panel on its west side to block the intense afternoon reflected light. This simple adjustment made a visible difference within 48 hours; the yellowing stopped.
Week 2: Refining the System and Seeing Results
Entering the second week, the plants began to establish themselves, and the effectiveness of each setup became clear.
- Plant A (Adjusted): With the pot feet and side lattice, it stabilized. Growth was slower than the others, but it recovered. Lesson learned: Natural shade from trees may need supplementation on a hot patio.
- Plant B (Shade Cloth Winner): This plant thrived. It pushed out a new, perfectly colored leaf every 4-5 days. The 50% cloth created a perfect bright-but-diffused light environment and also reduced ambient heat around the foliage. The soil moisture was more consistent.
- Plant C (The High-Maintenance Option): While healthy, I missed moving it one afternoon. The result was a single, small scorch mark on a leaf edge—a permanent reminder of the system’s fragility. I concluded this method is not sustainable for most people or for multiple plants.
The Verdict After 14 Days: The DIY shade cloth structure (Plant B) was the undisputed winner for consistent growth, vibrant color, and manageable maintenance. It provided the most stable and ideal microclimate.
Your Step-by-Step Guide to the Perfect Patio Shade Setup
Based on my experiment, here is the fail-proof system I now use for all my patio caladiums.
1. Assess Your Patio’s Light Personality Before you buy a single plant, spend a day observing. Note the times when direct sun hits your patio and where the shadows fall. Use a light meter app on your phone for a more precise reading. Caladiums do best with 2,500 to 5,000 foot-candles of light—bright enough to read by easily, but without sunbeams directly on the leaves.
2. Choose Your Shade Method
- Best for Most (My Top Recommendation): DIY Shade Canopy. Use wooden stakes, metal rods, or a simple freestanding canopy frame. Drape a 40-60% density polyethylene shade cloth over it. Secure it with zip ties. This offers customizable, reliable protection. It also shields from light rain and wind.
- Alternative: Strategic Placement with Enhancements. If using existing structures (eaves, pergolas, taller furniture), ensure they provide all-day coverage. Remember my heat reflection pitfall! Use light-colored patio screens or tall, bushy companion plants (like ferns in pots) to create shaded zones and block reflected light.
3. Potting for Success: The Foundation Shade is useless if the roots are stressed. Use a pot at least 10-12 inches deep with multiple drainage holes. The potting mix is crucial. I use a blend of 50% high-quality peat-free potting soil, 30% coconut coir for moisture retention, and 20% perlite for aeration. This ensures the soil stays evenly moist but never soggy—a condition the Royal Horticultural Society (RHS) emphasizes for healthy tuber growth. Always plant the tuber “eyes up” and about 1.5 inches deep.
4. The Critical First Two Weeks: Acclimation When you first place your caladiums in their new shaded spot, monitor them like I did. Look for signs of too much light (fading, scorching) or too little (excessively long, weak stems reaching for light). Don’t be afraid to tweak your setup. Raising pots off the hot ground is non-negotiable.
5. Ongoing Care in Your Shade Oasis
- Watering: Check soil moisture daily by finger. Water deeply when the top inch feels dry. Under shade cloth, evaporation is slower, so you may water less frequently than expected.
- Feeding: Once a month, use a balanced, water-soluble fertilizer diluted to half strength. Too much fertilizer, especially nitrogen, can diminish those stunning leaf colors.
- Grooming: Regularly remove any yellowing or damaged leaves to encourage new growth and maintain beauty.
Beyond the Basics: Companion Planting and Aesthetic Design
Your shade structure doesn’t have to be an eyesore. I trained a gentle moonflower vine up one side of my shade cloth frame for evening beauty. Within the shaded zone, I paired my pink-caladiums with deep green sweet potato vine and delicate begonias for a textured, layered look. This creates a mini-ecosystem that feels cohesive and intentional, turning your functional shade setup into the centerpiece of your patio garden.
What is the absolute minimum shade needed for caladiums on a west-facing patio? A west-facing patio gets the harshest afternoon sun. You will need a setup that provides full protection from at least 1 PM until sunset. A 60-70% density shade cloth or a solid roof-like structure is ideal here. Morning sun is tolerated, but the intense afternoon rays are a guaranteed threat to the foliage.
My caladiums are under a shade cloth but their leaves are still turning yellow. What’s wrong? Yellowing under shade often points to a watering issue, not a light issue. Check if the soil is waterlogged. Soggy soil causes root rot, which manifests as yellowing leaves. Ensure your pot has excellent drainage and you’re not overwatering. Conversely, if the soil is bone dry and the pot is too small, it could be underwatering and stress.
Can I use a patio umbrella instead of a shade cloth? Yes, a large, adjustable market umbrella can be an excellent solution for a cluster of pots. The key is consistency—you must remember to deploy it before the harsh sun hits. It’s less effective against reflected heat from the sides, but it’s a great start. For best results, choose a light-colored umbrella to reflect, not absorb, heat.
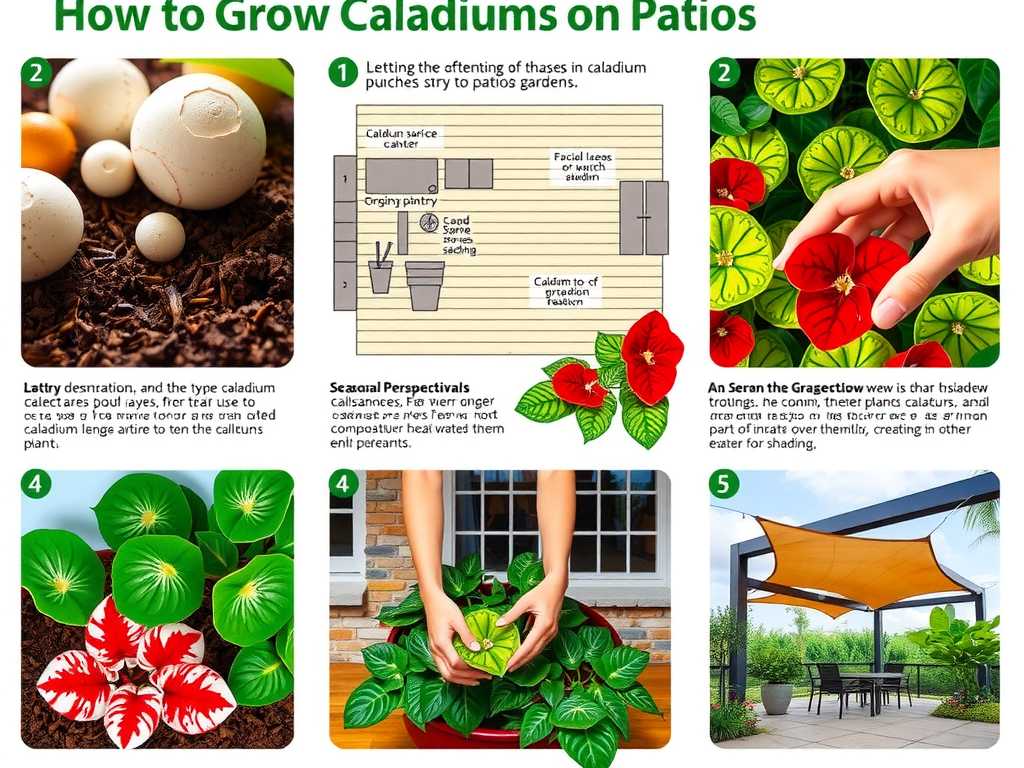
Growing breathtaking caladiums on a patio is entirely about mastering the art of shade. It’s not just blocking the sun, but crafting a cool, bright, and sheltered microclimate where these tropical jewels can perform their magic. By understanding their true needs, setting up a dedicated structure like a simple shade cloth canopy, and paying close attention to soil and water, you can create a lasting oasis of color and texture. My two-week experiment taught me that a little upfront effort in creating the right environment saves countless headaches later. Now, my patio is no longer just a slab of concrete; it’s a shaded, leafy sanctuary that brings me joy from spring straight through to fall.





