 bluename
 How to Grow Caladiums on Balconies: Wind Protection Steps
I love the vibrant, heart-shaped leaves of caladiums. They look like living stained glass, and I was determined to bring that tropical magic to my 10th-floor balcony. But my initial excitement quickly met a harsh reality: wind. My first batch of caladiums, placed with hopeful optimism, ended up with tattered, bruised leaves within days. The constant buffeting stressed them, drying out the soil rapidly and leaving them looking defeated. If you’re struggling with the same issue, know this: growing caladiums on a windy balcony is absolutely possible. It just requires a dedicated wind protection strategy. Over a focused two-week period, I tested various methods, learned from my mistakes, and finally found a system that lets these stunning plants thrive, not just survive. Here is my complete, step-by-step guide based on real experience.
Understanding the Enemy: Why Wind is a Caladium’s Worst Foe
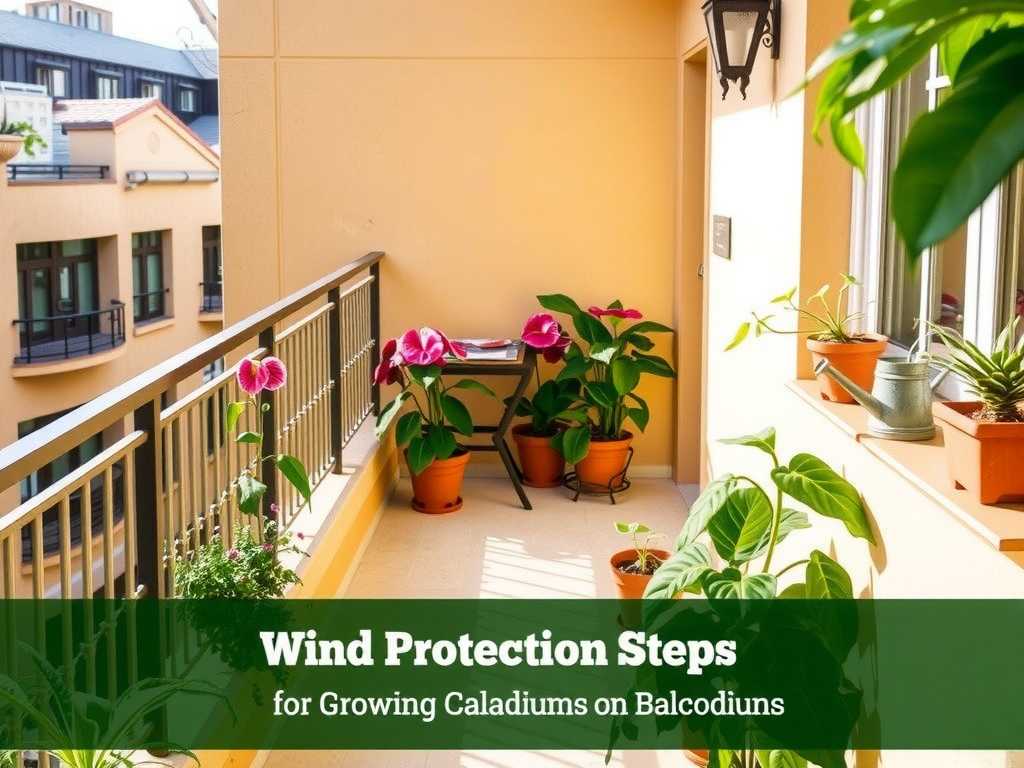
Before we build defenses, we need to understand the threat. Caladiums (Caladium spp.), native to the forest floors of South America, are adapted to sheltered, humid environments. According to the American Horticultural Society (AHS), their large, thin leaves are highly susceptible to physical damage from strong air currents. Wind doesn’t just tear leaves; it accelerates transpiration, pulling moisture from the foliage faster than the roots can replenish it. This leads to browning leaf edges, curling, and overall plant stress, making them vulnerable to pests and disease. My initial failure was simply not respecting this fundamental weakness.
My Two-Week Wind Protection Experiment: A Diary of Trial and Error
I decided to treat my balcony as a laboratory. I purchased three healthy, similar-sized caladium plants (variety ‘White Queen’) and subjected them to different protection setups for 14 days, documenting daily observations.
Week 1: The Setup and Initial Mistakes
My balcony faces west and gets consistent afternoon winds. I started with three common ideas.
Plant 1: The “Natural Windbreak” Method. I placed this caladium behind a cluster of larger, tougher potted plants (a small olive tree and a rosemary bush). My thinking was that these would filter the wind.
Plant 2: The “Commercial Protector” Method. For this one, I used a store-bought, transparent plastic cloche designed for seedlings. It covered the entire plant and pot.
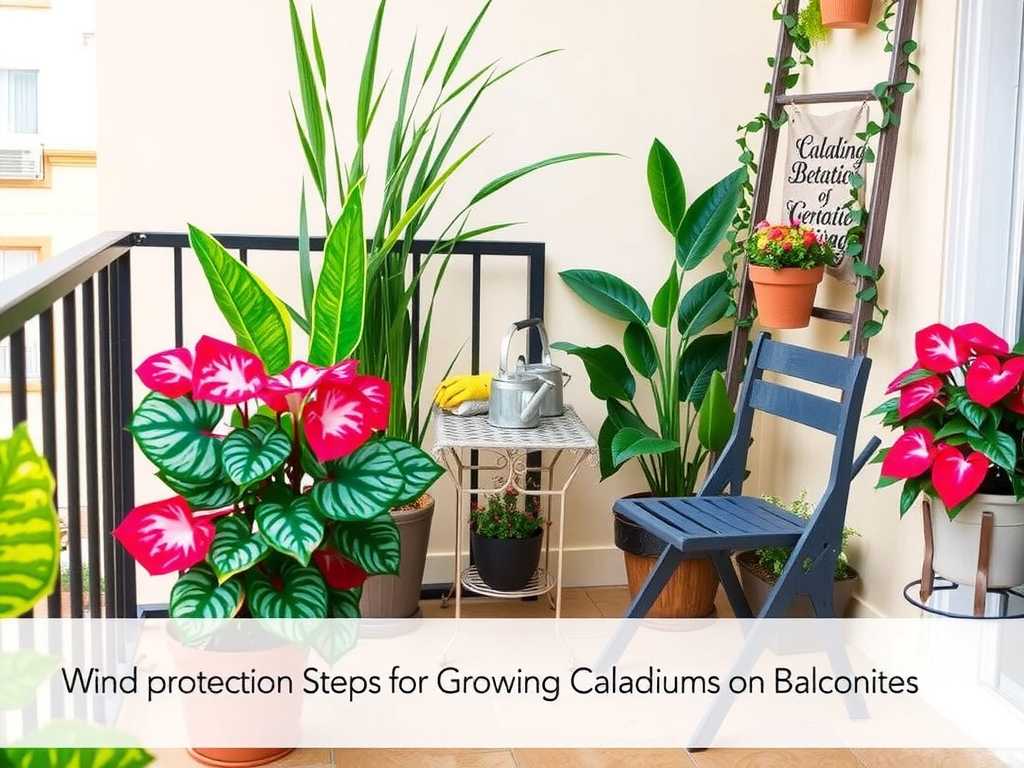
Plant 3: The “DIY Screen” Method. This plant sat behind a custom-made screen. I built a simple frame from bamboo stakes and attached a permeable windbreak fabric (with a 50% density rating), securing it to the balcony railing.
Days 1-3: All plants looked good. The cloche (Plant 2) created a visibly more humid microclimate, with condensation on the walls.
Days 4-5: Problems emerged. Plant 1, behind the natural windbreak, showed the first signs of windburn on its outermost leaf. The wind was clearly swirling around the other pots. The cloche on Plant 2 became a problem on a sunny day—it turned into a miniature greenhouse, spiking the temperature inside so high I feared cooking the plant. I had to remove it during peak sunlight, which defeated its purpose. This was my first major “gotcha”: absolute barriers can create harmful secondary effects like overheating.
Plant 3, behind the fabric screen, was faring best. The leaves were still pristine, and the soil moisture was more consistent.
Week 2: Adjustments and Breakthroughs
I made immediate adjustments based on my observations.
For Plant 1, I added a second layer of defense. I inserted a few short, decorative wicker panels directly into the pot around the plant’s base, breaking up the wind at the soil level and providing a bit more stem support. This helped reduce leaf flutter noticeably.
I abandoned the solid cloche for Plant 2. Instead, I repurposed it by cutting large ventilation holes in the top and sides, transforming it into a perforated shield. This provided physical blockage while allowing for air exchange and heat dissipation.
I left Plant 3 as my control, but I also added a thick layer of moss mulch to its soil surface to combat moisture loss from the wind passing over the pot.
By Day 14, the results were clear:
- Plant 1 (Adjusted Natural Windbreak): Improved. Minor damage on one leaf stabilized. Growth was slow but present.
- Plant 2 (Modified Perforated Cloche): Thriving. New leaf unfurling, zero physical damage, and vibrant color.
- Plant 3 (DIY Fabric Screen): The clear winner. It showed the most robust growth, with two new leaves emerging, perfect existing foliage, and perfectly balanced soil moisture. The combination of filtered wind and moisture retention was unbeatable.
Your Step-by-Step Wind Protection Blueprint
Based on my two-week experiment, here is the effective, multi-layered system I now use for all my balcony caladiums.
Step 1: Strategic Placement and Assessment Start by observing your balcony’s wind patterns. Where are the calm corners? Often, the leeward side of a solid wall or the corner where two walls meet offers the most natural shelter. Avoid placing caladiums in wind tunnels created by parallel walls or railings. Use a simple windsock or even observe how flags on neighboring balconies flutter to map the flow.
Step 2: Create a Filtered Wind Barrier A solid wall stops wind but can cause turbulent eddies on the other side. A permeable barrier filters and slows it down. This is the golden rule I learned.
- Best Option: Windbreak Fabric. Attach a shade cloth or specialized windbreak netting (40-50% density) to your balcony railing or a freestanding frame. It reduces wind force without eliminating air circulation, preventing overheating and stagnation.
- Good Option: Trellis with Climbers. Install a lightweight trellis and grow a fast-climbing annual vine like morning glory. The leaves will create a living, breathing wind filter that’s also beautiful.
- Simple Option: Furniture as Buffer. Strategically place a bench, a low shelf filled with other plants, or even a decorative privacy screen to disrupt the wind’s direct path to your caladiums.
Step 3: Implement Pot-Level Stabilization and Insulation Wind protection isn’t just about the leaves.
- Heavy, Wide Pots: Use ceramic or concrete pots instead of lightweight plastic. A wider base prevents tipping. Research from the Royal Horticultural Society (RHS) on container gardening emphasizes that weight and stability are crucial in exposed sites.
- Secure Stems: Gently tie tall or top-heavy caladium stems to a thin, discreet stake inserted into the pot. This prevents snapping at the base.
- Mulch the Soil Surface: Apply a 1-2 inch layer of sphagnum moss, coco coir, or even decorative pebbles. This was a game-changer in my experiment, drastically slowing soil moisture evaporation caused by wind sweeping over the pot.
Step 4: Optimize Plant Health for Resilience A stressed plant is more vulnerable. Strengthen your caladiums from the inside out.
- Consistent Watering: Wind dries pots out incredibly fast. Check soil moisture daily by sticking your finger an inch deep. The goal is consistently moist, never soggy or bone-dry, soil.
- Balanced Feeding: Use a balanced, water-soluble fertilizer diluted to half-strength every 4-6 weeks during the growing season. Over-fertilizing leads to soft, weak growth that’s more prone to damage.
- Humidity Boost: Group your caladiums with other plants. Their collective transpiration creates a more humid microclimate. On extremely dry, windy days, a fine morning misting on the leaves (not in direct sun) can help, but good air circulation from Step 2 is crucial to prevent fungal issues.
Step 5: Monitor and Adapt Seasonally Your job isn’t over once the setup is complete. Be prepared to adapt.
- Inspect Regularly: Check for any signs of wind shear on leaf edges or staking ties that have become too tight.
- Seasonal Changes: Be ready to add extra protection during stormy seasons. A temporary, clear acrylic panel can be leaned against the railing for a few days during a gale. Conversely, ensure ventilation is adequate during hot, still summer days.
Addressing Your Top Concerns
Can I use a clear plastic sheet as a wind barrier? I don’t recommend it as a primary solution. As I discovered with my cloche, solid plastic creates heat buildup and stops all air movement, which can lead to fungal rot. If you must use it temporarily during a storm, ensure it’s not touching the foliage and remove it as soon as possible.
My balcony gets wind from all directions. What can I do? In this case, consider creating a sheltered “zone.” Use a freestanding, three-panel privacy screen arranged in a U-shape in a corner. Place your caladiums inside this nook. You can also use large, sturdy plants like dwarf bamboos or ornamental grasses in pots to form a protective ring around your more delicate caladiums.
Will staking my caladiums damage the tubers? No, if done correctly. Use a slim stake and insert it at the pot’s edge, several inches away from the central tuber cluster. Tie the stems loosely with soft plant ties or cloth strips. The goal is support, not constriction. Avoid piercing the center of the root ball where the tubers are stored.
Growing caladiums on a windy balcony is a rewarding challenge that demands a shift from simple gardening to tactical microclimate management. The key isn’t building a fortress, but crafting a filter—slowing the wind, stabilizing the environment, and bolstering the plant’s own health. By layering solutions from the railing down to the soil surface, you can transform your windy balcony into a sheltered haven where these tropical beauties can showcase their spectacular foliage all season long. My two-week journey from tattered leaves to thriving plants proved that with the right steps, even the most exposed spaces can host a stunning caladium display.





